|
| Bomber Jacket |
This is the free
Floral Bomber Jacket pattern, size 2T, from Sew A Little Seam. I have a new niece or nephew due in June and I know that a size 2T will not fit for quite awhile, but I had an ideal combination of remnants from other project to use I was looking forward to trying out a new pattern. There are five different fabrics in this project and they're all scraps leftover from previous projects. Since I do not know if the intended recipient of this jacket with be a boy or a girl, I opted for a very neutral color palette. The gray knit on the front and back and the black sleeve cuffs are from two separate hoodie projects, the black waist band and collar are from a recent shirt dress, the white and gray stripe lining is from two shirts, and the print fabric on one of the sleeve lining is from a long-sleeved shirt.
 |
| Some of the fabric selections |
The pattern was a pdf that was easy to tape together and cut out. I opted not to add pockets to this version, but I do like how they look in the pictures on the Sew a Little Seam website.
 |
| Cutting the lining |
The gray that I chose for the body was reversible and I chose to go with the side that had the more noticeable stripes.
 |
| Back side of fabric |
 |
| Front view, fabric right side out |
 |
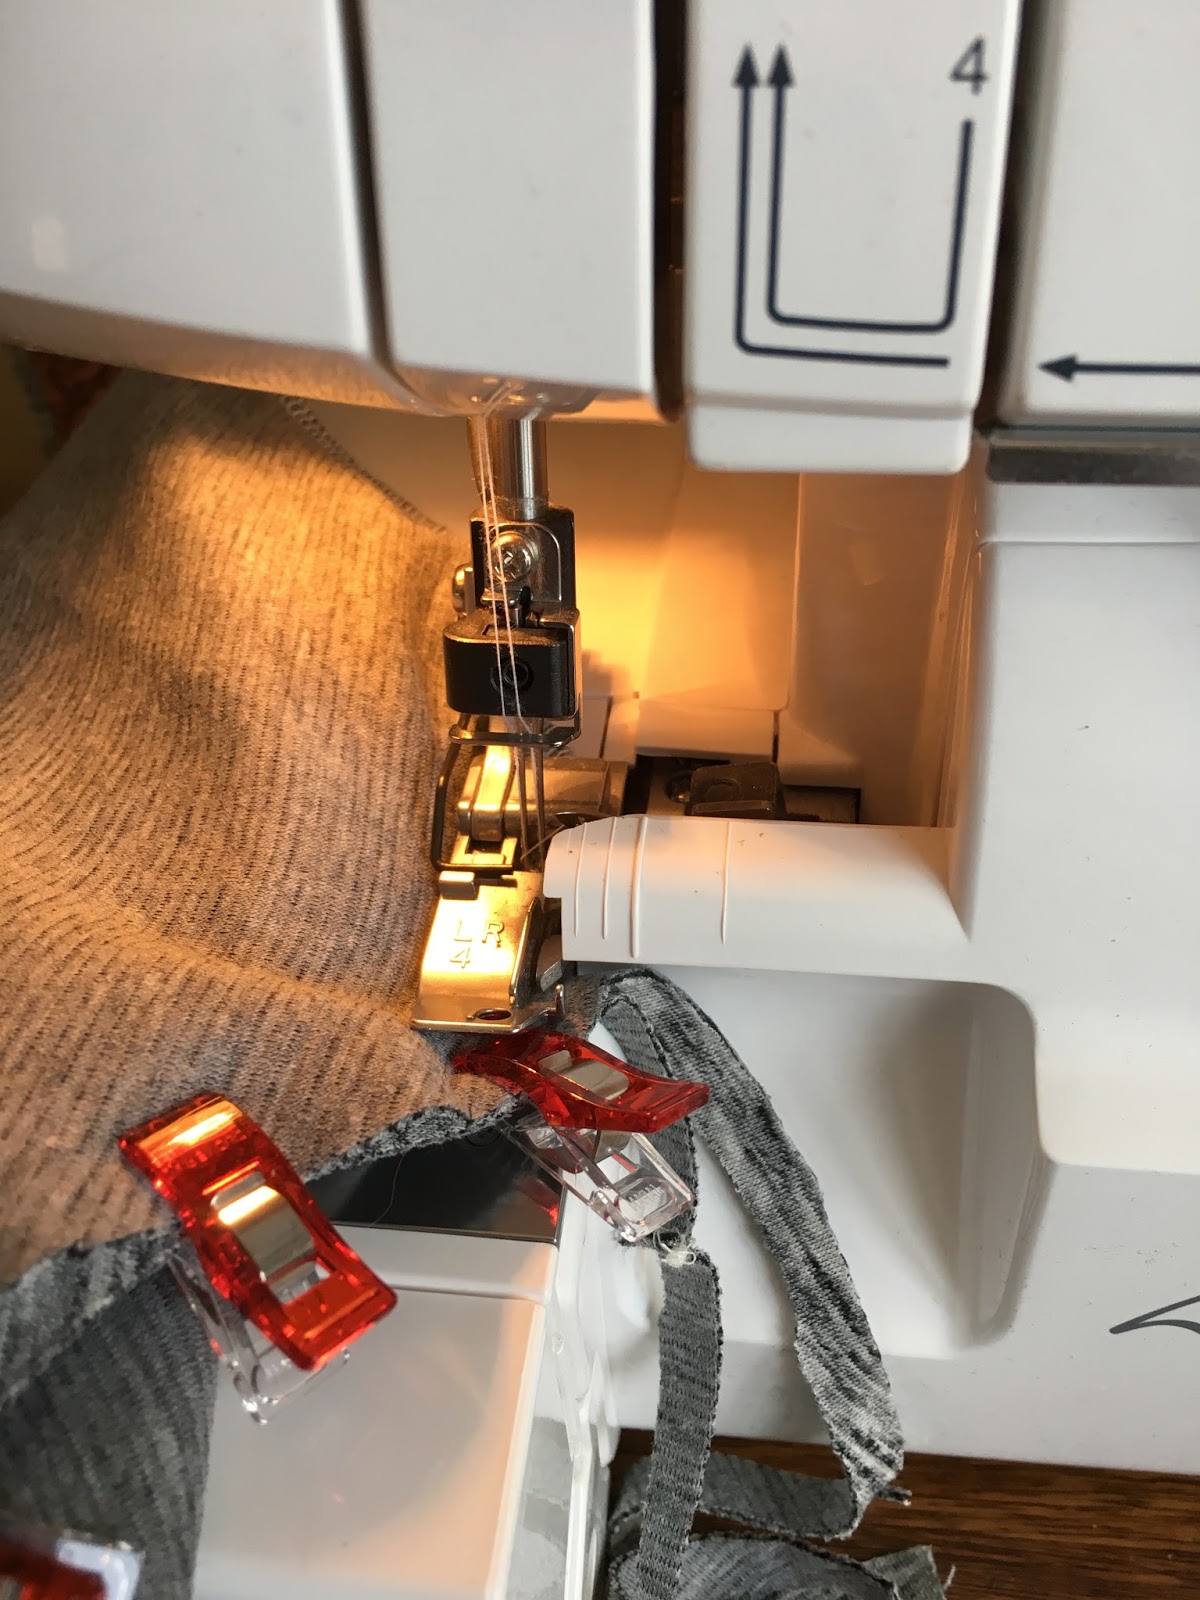
| Serging seams |
Most of the seams were done with my serger and I am pleased with their finished look.
 |
| Sleeve and side seams |
The bottom band was clipped on and then the seam serged as well.
 |
| Adding bottom band |
I did not have quite enough striped fabric for the lining, so one sleeve does not match. No one will see that inside the coat.
 |
| Mis-matched sleeves |
 |
| Lining ready to be attached to coat |
After installing the zipper and adding the collar, the instructions for attaching the lining to the coat were straight-forward. When attaching the lining at the sleeve cuffs I was not able to get all of the fabric under the serger foot and ended up sewing that on the machine. The lining was attached to the collar with hand sewing.
 |
| Lining at collar |
 |
| Collar |
I really like the look of the standup collar on this jacket and I hope it will be comfortable for my niece or nephew to wear.
 |
| Finished jacket |
 |
| Finished jacket: back |
 |
| Four different fabrics in this pic |
I was very pleased with how well this pattern went together and will probably make it again when I have a good selection of fabric scraps to use up. Right now, I only have the one pattern size, but it is available for sale on the Sew A Little Seam website as the
Ollie Bomber Jacket in a pdf pattern sizes 12 months to 12 years. If I purchase the pattern I could use it for the next several years.
This was a fun project to work on and I would be happy to sew another one.