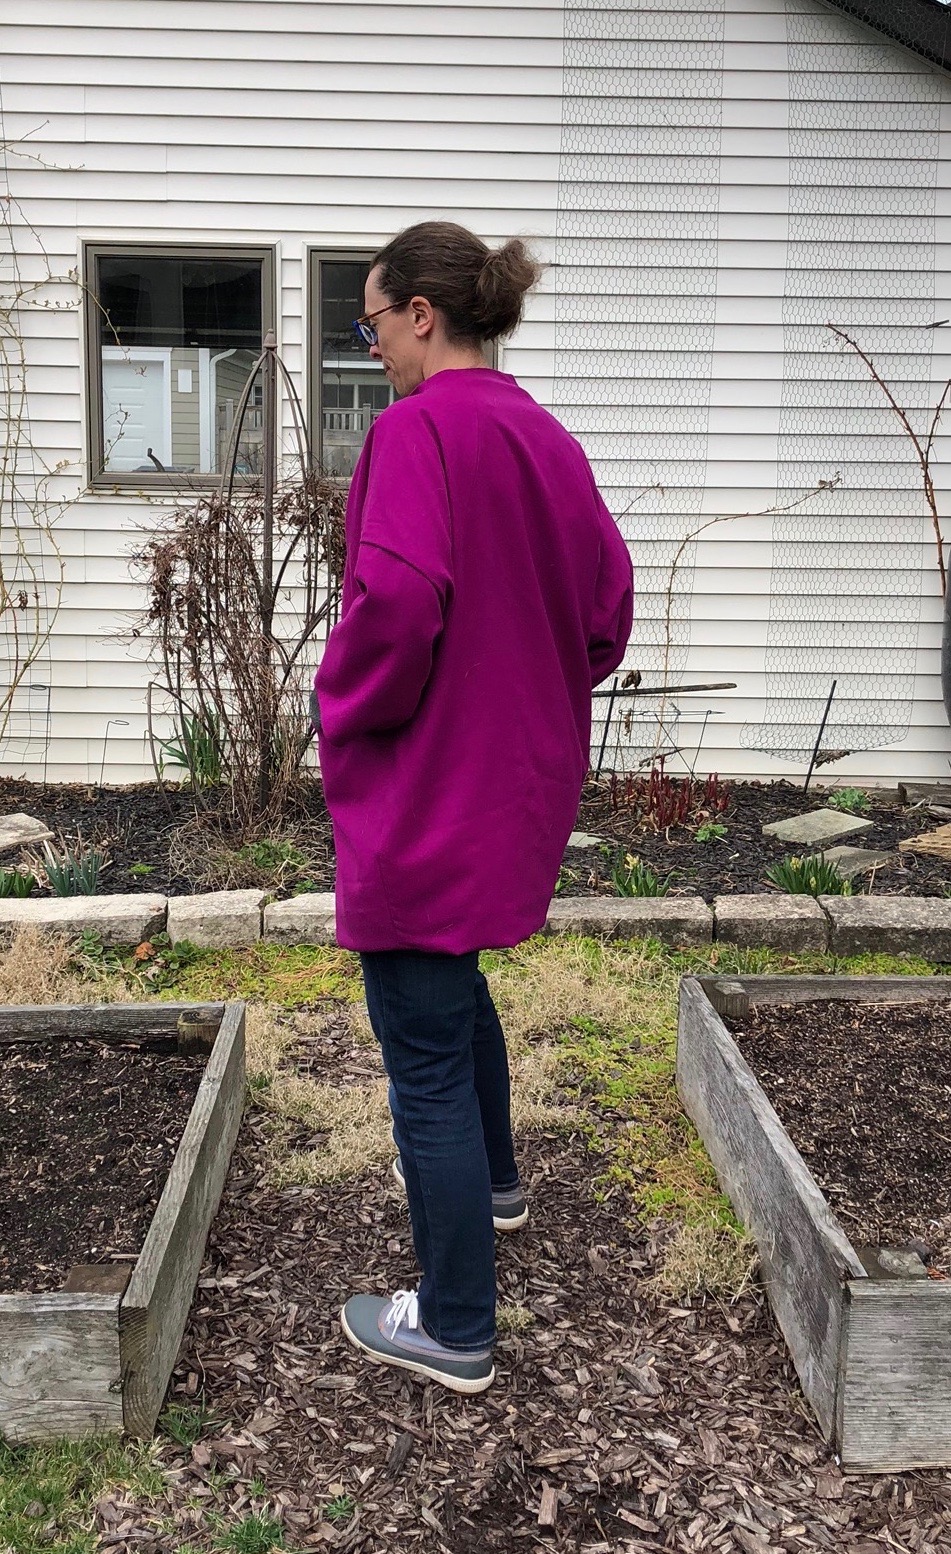
This is my first Sapporo coat from Papercut Patterns. I bought the pattern while mom and I were in Toronto, Canada this summer. The Tamarack jacket by Grainline Studio is the only other jacket/coat I have made, so this was a bit of a challenge to myself. After reading several reviews of the pattern, I cut a size large to start. The blue wool is from Freecycle and the lining is from Joann's.
 |
| Blue wool |
The wool was pre-washed, but the lining was not. All the cutting was done on the dining room table over the course of two evenings.
 |
| Only 2.5 yds of fabric |
As I was sewing this coat together I referred to a couple sew-alongs and blog posts by people who had sewn the pattern earlier. There were hints and tips for most of the steps in the construction process. At one point it was very helpful to see up close how to put the lining inside the bottom front corner of the coat. Another person suggested that one stop sewing 3/8" from the edge and to fold edges in at a 45 degree angle to get a great finished corner. Most sewing was done on my Bernina 1230, but there were also some seams finished with the serger. This was my first time working with wool, and I worked slowly as I tried to get the feel for a new type of fabric. I've heard that pressing is key when working with wool, so I tried to be patient during that process.
 |
| Coat on dress form before lining is added |
 |
| Lining pattern has great movement |
So many pins were employed to hold the lining in place for sewing. It really did feel like I was trying to sew water on to wool as the lining was incredibly slippery. Most of the lining is sewn in by machine, but after the coat is turned right side out, the last few inches are sewn in by hand.
 |
| Pins all around the front opening |
The coat was finished this summer. Because of the heat outdoors, pics were snapped quickly indoors to minimize sweating and avoid overheating.
 |
| Finished when it was 90+ degrees outside |
 |
| I'm still on fence about the full cocoon sleeves and body, but those pockets are great |
 |
| Love the pop of color in the lining |
Reflecting on my first coat, there are a few things I'm thinking about as I plan my next Sapporo.
- A couple blog posts I came across when reading about this pattern were written about adding a front closure to the coat. That's something I want to incorporate on the next coat--maybe even a full length zipper?
- I will keep the length, but I may try cutting out a size M instead of L. I also want to narrow the sleeves and probably lengthen them.
- I'm not sure what fabric I will use next time, but a quick Instagram search yielded about 40 different versions of this coat that I'd like to sew up.
- A few people suggested lengthening the pockets, but I think I'm fine with this size for now.