Sunday, March 18, 2018

New Quilt, Renewed Machine


Bernina 730 that Neal Iund serviced
This machine came to me a couple years ago through a Craigslist posting.  At some point I will do a post on it's story and why I am so grateful to Neal Iund for the repair work he did on this fantastic machine. I have had this machine for a few months now since Neal sent it back in nearly new condition, but I was waiting for a good project to work on so that I could put her through her paces.  Currently, I'm working on a quilt for spring and this machine has been performing like a dream.

The quilt has come together without a clear idea of what the finished project will look like. I know where I want to hang the quilt though so I have a good estimate for finished size, and I know what colors I want to use so I've kept within that palette. The quilt started a few weeks ago with 10" pinwheel blocks and I have 16 of those completed. 
Pinwheel block #1

Pinwheel block #2

Pinwheel block #3
Then I decided I wanted to play around with the sashing. The width of the sashing is set at 3", but I'm going to make it piecemeal and work in several different types of blocks and settings. The fabrics will be the same as in the larger pinwheels so things may start to look too busy, but I can always add more white if need be. For now, I'm playing around with different combinations of 3" blocks with the goal of having enough sashing for the entire quilt. Here are some of the blocks  I've made so far:
Churn dash

Quarter of log cabin block

Arrowhead

Sailboats

Friendship Star

1" squares

Strips of varying widths
There are still quite a few stashing pieces to be made before I can lay out the quilt top and start looking at placement. For now, I am enjoying the freedom to choose any number of different block patterns and I make as many or as few of each as time/my interest allows. My 730 and I are having fun with the creative flow of this project. 
My sewing partner


Tuesday, March 13, 2018

Blue Suede Shirt

 The fabric was from box of remnants I picked up on Craigslist.  The pattern is one I have used several times, Vogue V1509. I did not take any construction notes, so these are just pictures of the final project. This project was sewn on my Bernina 1230.
Front view
Front view, neckline folded over 
Back view
Side view with sleeves rolled up

Small snap on sleeve, tab on inside of sleeve can be left hanging

Sleeve rolled up and tab held by snap
Front view, solid blue
Closeup on neckline
Finished in March, ready to wear


Sunday, March 4, 2018

Pink and Green Girl's Dress for Spring

Girl's dress for spring
This project was started several years ago by my aunt. She was sewing for her grandchildren. Before she finished though, the girls had out grown the dress and she decided not to finish it. When she moved homes, this didn't go with her and I added it to my pile of UFO's. Yesterday, I finally decided to try to finish the dress. The picture below shows what had been done on the dress by the time I got it. The pattern is McCall's M6270 and my best guess is a size 2. The top had already been finished and would only need the button added on the back.  All the pieces for the ruffles and the body of the dress were included and only pattern number 6 needed to be sewn on the sides.
Great start, all the pieces are here and the ruffle hems are finished
My aunt had already meticulously finished the ruffle pieces with wonderful pink trim and the neckline had pink bias tape.
I'd like to learn how to such small serged trim
Neckline is perfect
There are 5 different fabrics, six if you include the bias tape, used in the dress and all are well-coordinated pinks and greens. I didn't have the exact color of pink thread used originally, but I found something relatively close. I used my Bernina 1230 for this project and it worked well. After finishing the bottom ruffles and attaching them to the dress, I used some of the remaining fabric to cut out a lining.

Cutting lining
Lining in dress
For the back button, the choice was between a white and clear button. Final decision was to go clear.
Look how nicely those plaids match up
This was my first button loop. I know that the girl who ends up wearing this dress will not be able to fasten it herself but it should be quick for someone helping her.
Button with button loop
The finished dress. I really don't know if any of my nieces can still fit into this dress, but I'm happy to have it completed and it was fun to work with such bright colors.
Front view
Back view


Saturday, February 24, 2018

Fresh Look for the Front Porch

Shortly after moving in 2008
The porch furniture came with the house. We had asked the seller to leave the set because we weren't bringing any of our own. We have since changed the arrangement, but the chairs, tables, and ottomans are still in good shape today.  I made covers for all of the pillows and cushions in 2009.  
No cover (left) with cover (right)
This past summer, we decided the pillow and seat cushion covers needed to be replaced. They were faded from sun exposure, torn from cat claws, and had several food stains on them. The seat cushions had also lost all support and were not comfortable to sit in for more than 5 minutes. T ordered two new foam cushions for the larger chairs. The fabric for new covers was purchased on sale this summer, but I knew that I wouldn't start working on this project until the short winter days kept me inside. The last weekend in January, I started making the green welting that would go on all the cushions and pillows. Originally, I had planned to use my Singer 201-2, but I don't have a working zipper foot for it. Maybe I'll find one this summer? I tried my Necchi Supernova and that worked great. Once the welting was finished I took apart the old pillow covers and used the pieces as patterns for new covers. I also took the zippers out of the old pillows to reuse them when possible. I ended up only having to install one new zipper. Twice, I underestimated how much welting I would need and after one trip back to the store to buy more, I decided to reuse some from the original pillows to finish up the last pillow.  

I had help attaching the welting
The four seat cushions all got zippers sewn into the backs so that the covers could be removed for cleaning. The four back pillow covers are not removable. Zippers were inserted into the side pieces first and then the tops and bottoms were clipped to the sides with the welting sandwiched in-between.
When I tried to sew through four layers of fabric on the Necchi, it balked three times.  After replacing 3 needles, I moved over to my Pfaff 131 and used the zipper foot on there.  It was a bit difficult to maneuver all the fabric within the limited harp space, but I didn't have any broken needles. It sewed right through the multiple fabric layers and even two layers of welting that overlapped in the back.
Pillow covers without zippers were finished by hand after the pillows were inserted
 After arranging the pillows on the porch and taking a picture, I realized that I would need to redo one of the seat cushions. I had inserted the zipper on the front side of one cushion instead of the back side. Since the cushions are rounded in the back and a bit wider across the front, I could not just turn it around.
The pattern almost camouflages the errant zipper, right?
Today, I picked up my seam ripper and took the top and bottom off the cushion. The pieces were repositioned and then I sewed them back together again using the Pfaff 131.
Hopefully, it goes back together
A new bulb on my machine made visibility noticeably better


And now everything is finished
 Come on over for a little porch sitting any time you're in the neighborhood!

Sunday, February 4, 2018

Quilt of Many Squares

Orange, turquoise, mauve, black, coral, lime, blue, olive, gray, tan...
The fabric was purchased with plans for a quilt for my sister, but the longer it sat around in my sewing room the less likely it was that she would get the finished product. The pattern is from one of Kaffe Fassett's books and I made a smaller version of it once before for a baby quilt that I gifted years ago. I remembered how small some of the pieces were on this quilt and how much time went into its construction--that convinced me that I wanted one of my own to keep. Most of the fabric is from a jelly roll that I purchased and I think there are scraps from only three or four non-roll fabrics incorporated. This is unusual for me, I like to put as many fabrics as possible into any quilt and the more scraps the better. Since these were not colors and patterns I have worked with before though, I really didn't have scraps laying around to expand the tableau. All of the piecing was done on my Necchi Supernova.  So many seams, but it went together smoothly.
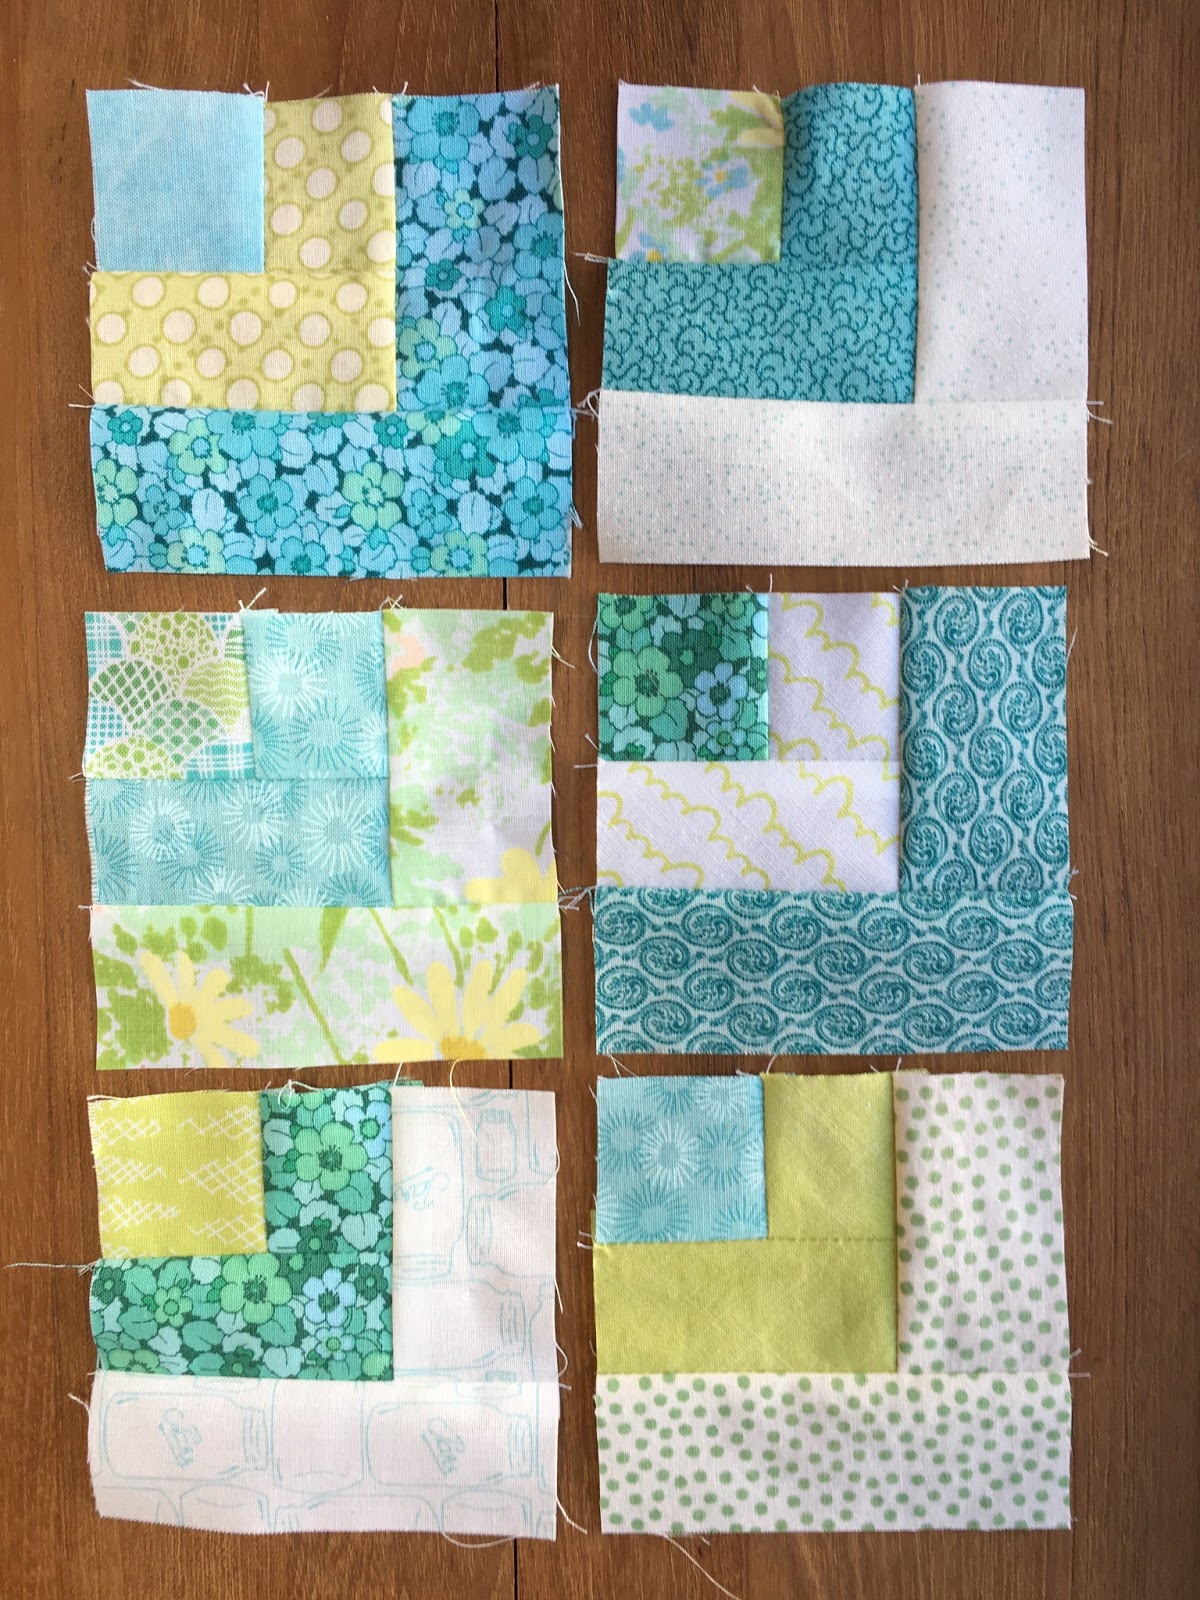
I started by making the larger squares first. I really didn't know if I had enough fabric and I didn't want to be piecing strips for the longer square sides. Tally marks were used to keep track of the finished squares pile.
Kaffe Fassett's name misspelled in my notes, I corrected it after this picture
Once all of the square were completed, I started building the quilt out from the middle.  In his book, Kaffe details how to work from the center out by adding a row or column and working counter-clockwise.

A couple segments in
Row added to the top

Left side and bottom completed
Wouldn't you know it, even with my careful tallying, I still ended up with an extra block.  I ended up embroidering the year on it and then using it as part of the pieced backing. After much deliberation, I chose a basketweave pattern for the quilting. It required a lot of starting and stopping and changing direction, but I used my Pfaff 131 and I absolutely love working on that machine.

For the binding I was hoping for a solid, but I had nothing suitable in my fabric stash. I checked mom's stash as well and surprisingly, she didn't have anything I wanted either. So, back to the fabric store. :)  There I found a fantastic orange and only needed 1/3 yd for the entire binding. Of course, while searching for orange, several other fabrics fairly jumped off the shelves into my open arms.  They needed a good home and I happily adopted them. What project will I use them in?
Some orange and a new project...
I sewed the binding on by machine and then finished the back by hand.
Lainie watched the hand stitching very closely
I use these clips for all types of projects, but they're particularly handy at holding binding
I had this partial spool of old thread sitting around, perfect color match, but would there be enough of it?
I finished the binding with about 3 inches of thread left to tie off. 
The sleeve on the back was a scrap and that was basted on by hand as well.

Here is a view of the back of the quilt. Backing was pieced from scraps and one leftover block.  I love how the quilting looks from this side.
It took awhile, but I did find the perfect quilting pattern
Here is a trial run of the quilt hanging in its new spot. It had not been washed yet and the quilting does not show up very well.
Our walls are cinderblock and there is no picture rail here, so a curtain rod is employed

Spotlight highlights the bright colors, patterns, and quilting equally
The can light was already in place before the quilt got hung, but I have to say I'm pretty impressed with how it's centered. It almost looks like it's hanging in a gallery, right? I love how this turned out, every time I look at it I notice something new. Color, pattern, movement... a visual feast.