Sunday, June 24, 2018

Lime-Teal Quilt Part 2: A Walking Foot and A Finished Quilt

Shining in the sun 
Mom and I were still in Golconda, IL when this quilt top was finished and ready to be quilted. On a day trip to Paducah, KY, I picked up some batting and backing from Hancock's of Paducah. The backing was a batik that I picked up from the remnant table. Due to some poor math on my part I thought I had plenty of fabric for the backing, but it turns out I was a bit short and ended up piecing some extra polka-dot fabric onto the backing as well. Not a problem, this quilt is all about using fabric scraps and piecing things together as needed.
Layers ready to be basted

Quilt is basted
In choosing a pattern for the quilting, I was looking for something that could be done by machine and would not compete with the blocks. This is a lot going on visually with the fabric and variety of blocks designs in this quilt and I wanted quilting that would add some texture but wouldn't demand attention. There are also quite a few seams on this quilt and some very small pieces in the blocks, so I didn't want to add heavy quilting. Mom suggested fans and we set about making a template. There was no paper at the house and we had no pencil or pen, so mom used some leftover fabric from the backing and her chalk marking tool to draw out the fan template.
Mom sketching out a fan stencil
This will be the largest fan and then I will add fans with 1" spacing inside it
Along with a visit to Hancock's of Paducah, mom and I visited the National Quilt Museum and another quilt/fabric shop. It was at that shop that I purchased a walking foot for my Bernina 730 Record. We had a bit of trouble finding one that would work with the old style prongs of the 730 feet, but eventually they found one in the back room.  We tried it out on a Bernina 830 Record that they had in the shop and it worked so we were confident it would fit the 730 as well. I had never sewn with a walking foot before, this was my first project with it.
Bernina walking foot and accessories
When I got home from Golconda, I set up my machine with the walking foot on the dining room table. This gave me plenty of table space to layout the quilt.
Using cats as fabric weights slows quilting progress
I need constant supervision
New to me walking foot
The walking foot worked well, and I improved in my skills of changing direction in my sewing and keeping keeping the material flowing through the machine at a constant rate. It was easy to forget about the fabric bunching up under the sewing machine arm and then movement along the curved fans was impeded. If anyone looks closely at the stitches they will know that it was done by a beginner, but again, the focus for this quilt is on the variety of blocks and not the quilting. I learned a lot using the walking foot this time, and I know that I will continue to improve with the next project.
When it came to adding the binding, I was worried that I didn't have enough of the solid teal. I entertained the idea of piecing the binding from quilt scraps, but I really wanted to try to have a uniform binding so I cut what was left of my teal fabric into strips and crossed my fingers.  The binding strips were sewn together and then added to the quilt using my Bernina 717. This machine sits in its own table and while the workspace is smaller, it's difficult for a cat to share the space.
Sewing on the binding
Once the binding was on though, I moved back to the dining room table so that I could finish sewing by hand. Again, I had my handy fabric weights.
Here's a peek at the batik backing
The last steps were to sign the back of the quilt and to add a sleeve so that the quilt could hang on the wall. The finished size is 54" square. I probably feel this way every time I finish a quilt, but this one is my current favorite. I love that my mom and sisters and I all contributed to the design and construction of this one-of-a kind artwork.    

Hanging on wall

Hanging on fence


Thursday, June 21, 2018

Finishing A Red, White, and Blue Miniature Quilt

Pieced a few years ago, time to finish the project
This quilt was actually finished last year, but I didn't get it posted until now. The red, white, and blue colors are  timely now.  There are some pretty small scraps of fabric in this quilt. The center of the log cabin block is only 3/8 inches square and the finished quilt is 19 inches on each side. 
Sketching out the quilting
This quilt wanted to be hand quilted, but I wanted to avoid quilting the actual log cabin blocks. The piecing seams were close together and did not need any quilting. I looked for patterns that would fill in the sashing.  The one I landed on is a combination of a couple samples I saw.

Hand quilting started in the corner
I used my 17" quick snap quilt frame to support the quilt, and with that I was able to work indoors and outdoors when weather permitted.
Sewing on binding and trimming excess fabric
The binding was pieced and attached with a machine, but it was then finished by hand.  All of the binding fabrics are from leftover reds in the quilt.

Binding

Finished quilt
The only thing left to do is attach a sleeve on the back for hanging.

Close up

Hanging out in the garden

Sunday, June 17, 2018

Golconda Pinwheel Quilt: A Guest Post by Linda Kluss

Scrappy pinwheel quilt
The owner of this blog has a partner in many of her fiber pursuits. She is my daughter, and we both love to figure out sewing and quilting projects. Last week we took our annual “school-is-out-for-the-summer” trip, this time to southern Illinois. We have hiked to the bottom of the Grand Canyon, we've done mountain trails in Alaska, and this time we chose the serenity of an old lockmaster's house near Golconda on the Ohio River. It was really hot, so we split our time between hiking in the Shawnee National Forest and sewing in our little house on the river. Perfect!


Ohio River in the background
Quilting in the lockmaster's house
I have a number of unquilted tops waiting their turn, so for this trip I chose a little pinwheel doll quilt or wallhanging (haven't decided which) to finish. Some very sensible quilters do not keep tiny fabric scraps, understanding that doing so can quickly cause stashes to grow out of control. I'm not very sensible in this regard, but I do love to make scrap quilts. The fabrics themselves are a visual reminder of past projects, and I love that. It's also just easier to cut little pieces from a little basket of scraps rather than sort through piles of yardage. A complete pinwheel here finishes at 4”, so the two-color squares are each 2” finished. Simple and soothing.


Basted and ready for quilting
Taking a break with a walk by the river
Finishing the binding
The hand quilting went quickly, the little quilt is bound and ready for use, so here is the Golconda Pinwheel.

All the garden colors are in this quilt


Monday, June 11, 2018

Lime-Teal Quilt Part 1: Piecing

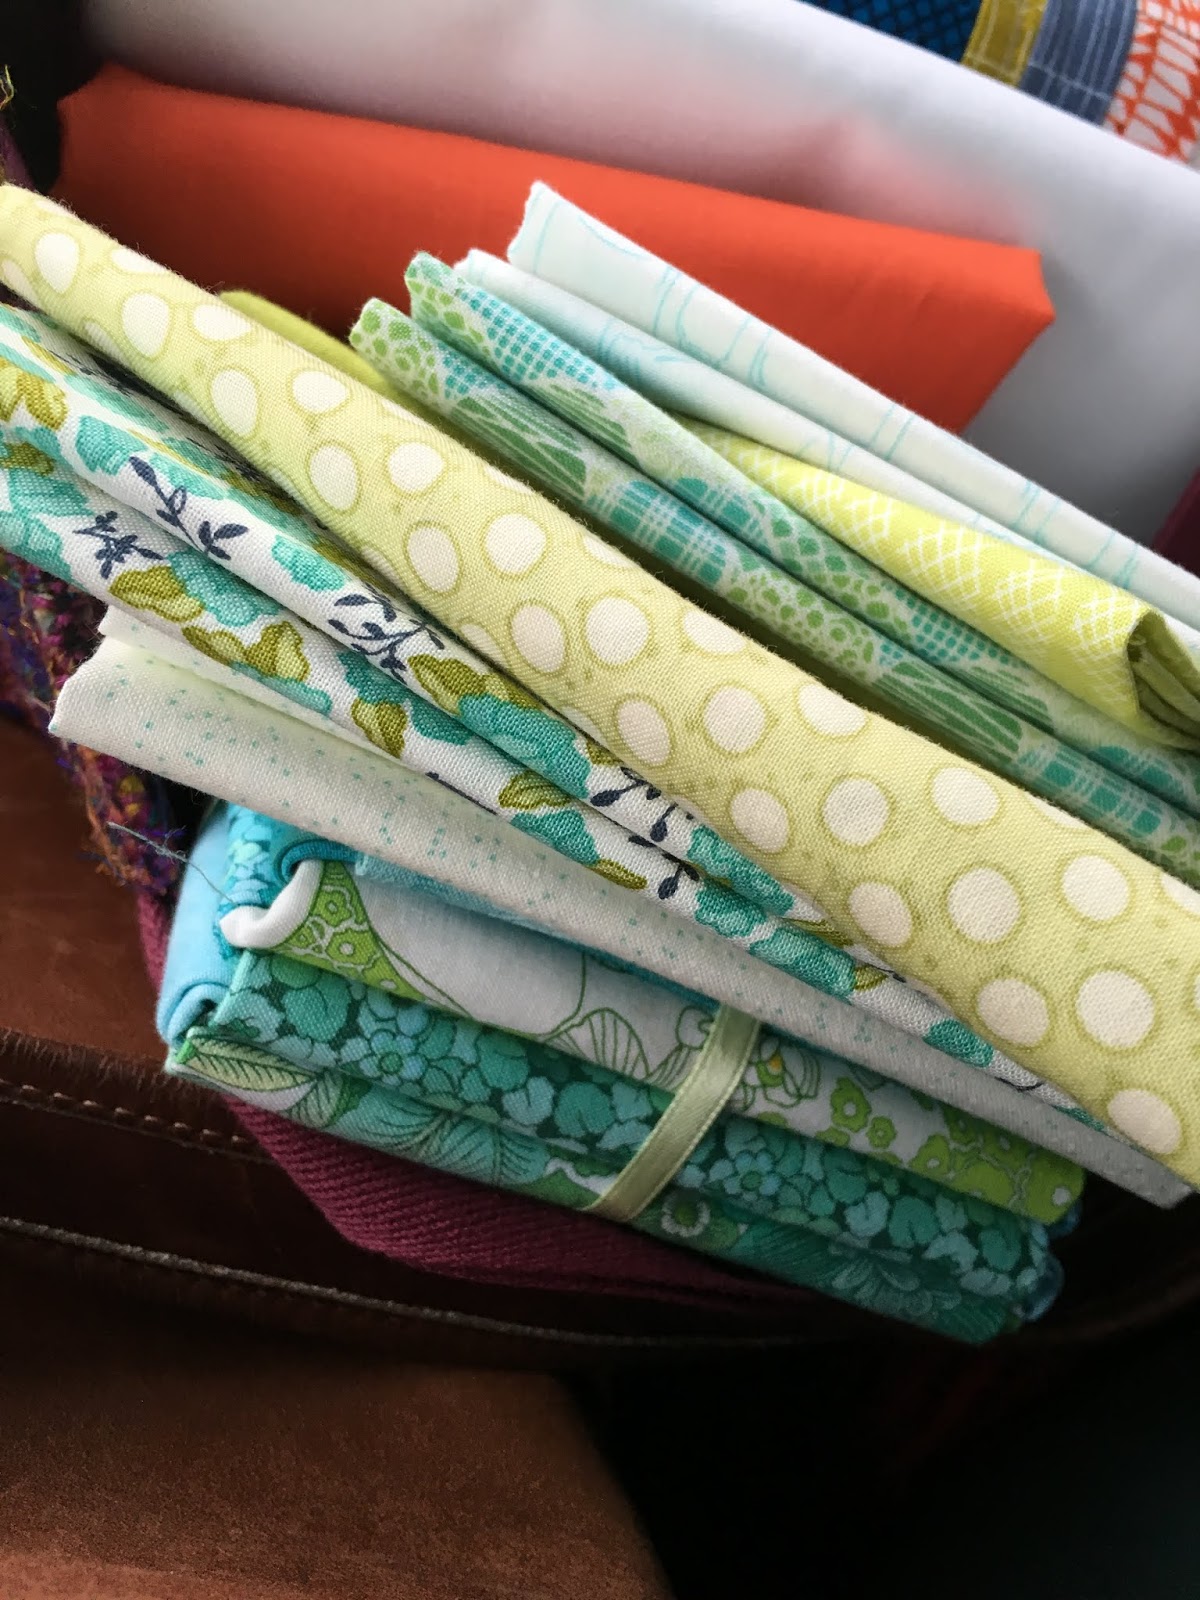
The fabric was bought at the end of January 2018. I was finishing up the orange binding on another quilt and this fabric followed me home.
Orange fabric hidden among the pile of new fabric

I started by making pinwheels.  Originally, I was thinking I'd make a full size quilt of all pinwheels.
These colors are not ones I typically work with, but they say spring to me

Blocks finish to 10 inch squares
After piecing 12 blocks, I decided to make a wall hanging instead of a full size quilt.
Pinwheels have been pieced
I planned to do a 3 inch sashing between the blocks and to make that sashing out of an assortment of pieced blocks. I looked online for inspiration and found many suggestions for 3" blocks and others that I could modify to a finish at 3". Some blocks were made in pairs or groups and some were singles. This was a good way to use up scraps leftover from cutting the pinwheels.
Sailboats

Churndash

Log Cabin

Flying Geese


Star

One inch squares
Slowly the sashing came together.
I start filling in the spaces

Lainie prefers this layout
Eventually, Lainie and I agreed on a layout and the sashing got sewn together. I love that there is so much going on here. The eye keeps moving to try to take it all in. 
Pinwheels with sashing
In May, my sisters and I spent a long weekend in Duluth Minnesota.  After piecing a wall hanging for my sister, we spent some time making blocks for the border of this quilt.  I brought my Bernina 730 Record and it sewed beautifully for three days.
Duluth, May 2018

Blocks that my sisters made
Given free reign to design any block they wanted to, my sisters came up with some creative styles.  No scrap of fabric was too small and no pattern was off limits. In a few hours one day, we put together enough blocks for about a side and a half of the border.  Then about a month later, mom and I headed down to Golconda, IL for a long weekend and we finished up the rest of the blocks for the border. Two sewing weekends with my family this spring--that was fantastic!

3 sides done in Golconda, IL
Mom cut all the pieces for the remaining blocks and I sewed on my Bernina 730.  

Picture is a bit dark, but you can see most of quilt
There are about a million tiny pieces in this quilt top and I'm glad I didn't have to cut each one myself. This will be one of my favorites to look at though because I can find so many blocks that I didn't make myself. This was a group effort by the Kluss ladies.  

Quilt with Ohio River in the background
 Now, on to the basting and quilting.  Will this be a quilt that gets completed in 2018?


Sunday, June 3, 2018

Bomber Jacket

Bomber Jacket

This is the free Floral Bomber Jacket pattern, size 2T,  from Sew A Little Seam. I have a new niece or nephew due in June and I know that a size 2T will not fit for quite awhile, but I had an ideal combination of remnants from other project to use I was looking forward to trying out a new pattern.  There are five different fabrics in this project and they're all scraps leftover from previous projects.  Since I do not know if the intended recipient of this jacket with be a boy or a girl, I opted for a very neutral color palette. The gray knit on the front and back and the black sleeve cuffs are from two separate hoodie projects, the black waist band and collar are from a recent shirt dress, the white and gray stripe lining is from two shirts, and the print fabric on one of the sleeve lining is from a long-sleeved shirt.
Some of the fabric selections
The pattern was a pdf that was easy to tape together and cut out. I opted not to add pockets to this version, but I do like how they look in the pictures on the Sew a Little Seam website.
Cutting the lining
The gray that I chose for the body was reversible and I chose to go with the side that had the more noticeable stripes.
Back side of fabric

Front view, fabric right side out

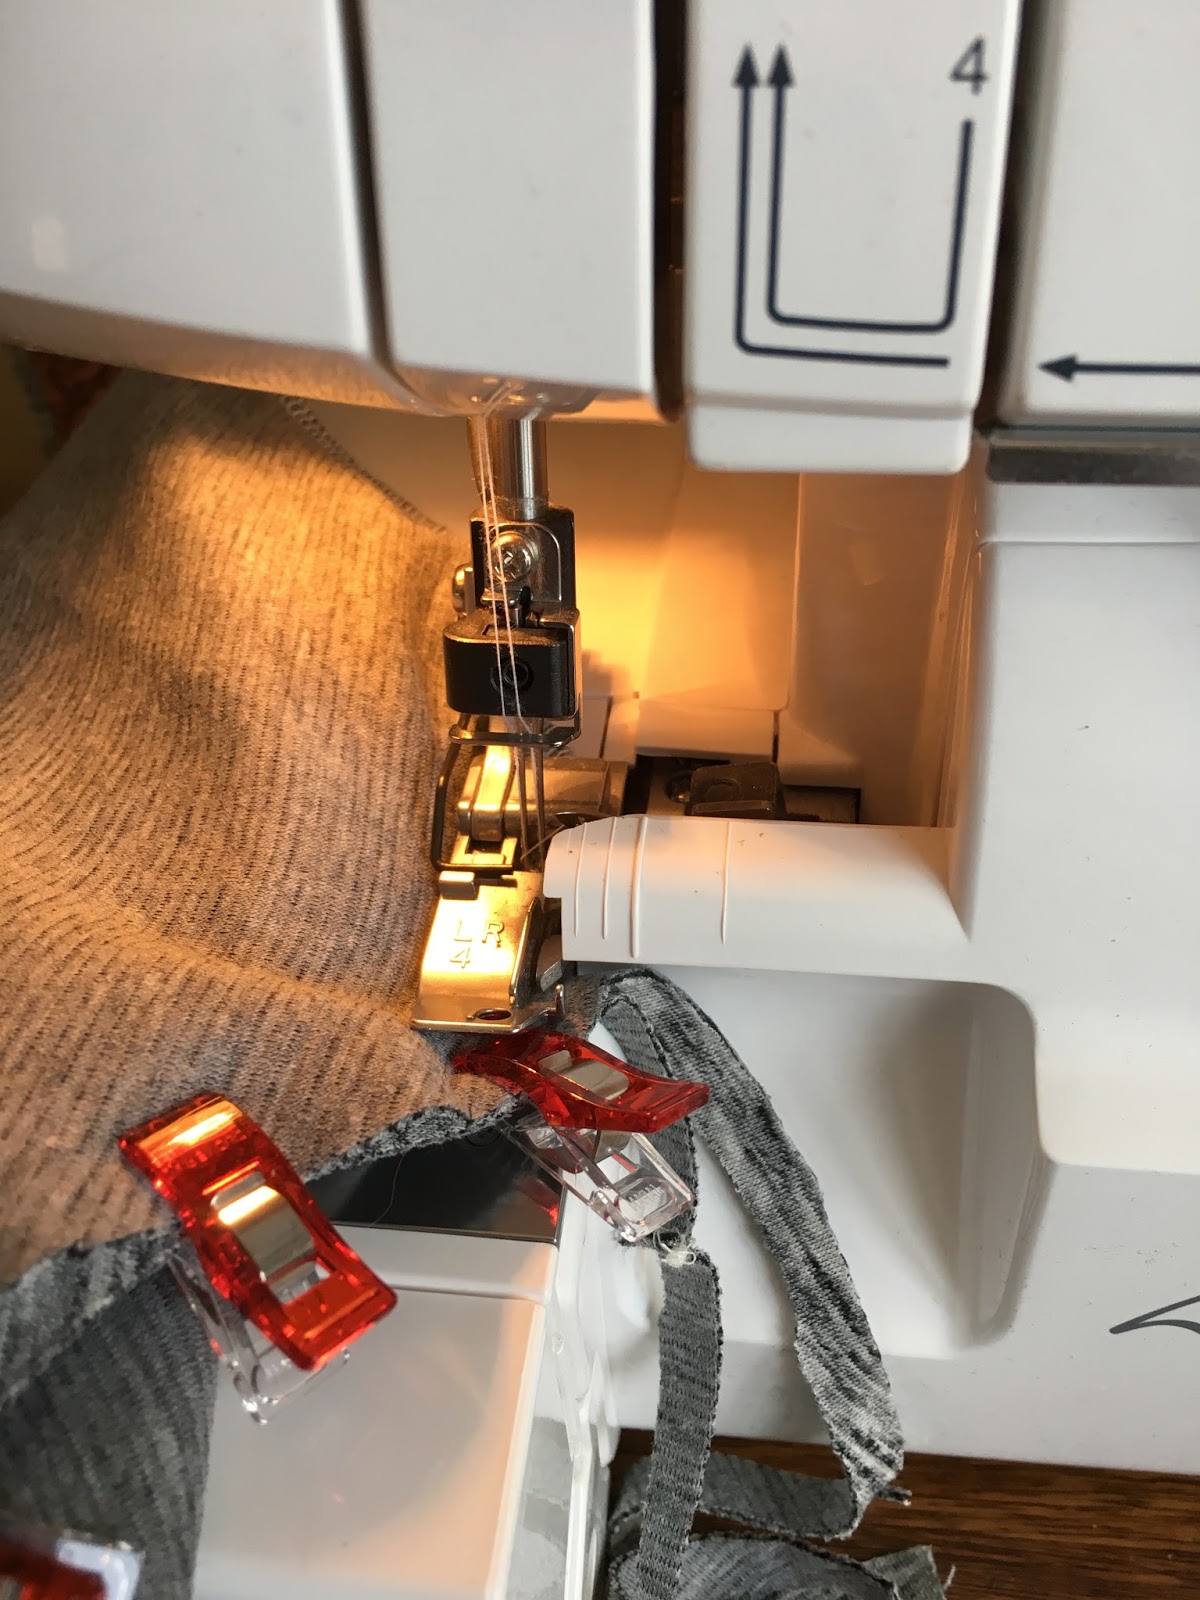
Serging seams 
Most of the seams were done with my serger and I am pleased with their finished look.

Sleeve and side seams
The bottom band was clipped on and then the seam serged as well.
Adding bottom band
I did not have quite enough striped fabric for the lining, so one sleeve does not match. No one will see that inside the coat.
Mis-matched sleeves

Lining ready to be attached to coat
After installing the zipper and adding the collar, the instructions for attaching the lining to the coat were straight-forward.  When attaching the lining at the sleeve cuffs I was not able to get all of the fabric under the serger foot and ended up sewing that on the machine.  The lining was attached to the collar with hand sewing.
Lining at collar
Collar
 I really like the look of the standup collar on this jacket and I hope it will be comfortable for my niece or nephew to wear.
Finished jacket

Finished jacket: back

Four different fabrics in this pic
I was very pleased with how well this pattern went together and will probably make it again when I have a good selection of fabric scraps to use up.  Right now, I only have the one pattern size, but it is available for sale on the Sew A Little Seam website as the Ollie Bomber Jacket in a pdf pattern sizes 12 months to 12 years.  If I purchase the pattern I could use it for the next several years.
This was a fun project to work on and I would be happy to sew another one.