Saturday, September 1, 2018

Weaving Bags from Plastic Newspaper Sleeves, Guest Post from Linda

Daily deliveries of newspapers and advertising circulars amount to a huge pile of plastic sleeves just for my household alone. Strolls through the neighborhood make me wonder just how many of those plastic sleeves lying in almost every lawn are being recycled. The plastic really is pretty--bright colors, soft and pliable, and a really nice size to this weaver's eye. Tada!!
Finished bag
I'd seen a few photos on Ravelry of shopping bags made from various materials, and newspaper sleeves seemed perfect. I used cotton rug warp as weft and put three yards on my little Wolf Pup LT. (Twelve ends per inch, 206 total ends, yielding 17" in the reed.) I split the bags down the sides lengthwise, which was fairly time consuming but gave me narrower stripes which should wear better.
Laying out bag strips by color
The prototype bag is tough, lightweight, and has been in use all summer by my youngest daughter for
everything from groceries to beach gear.
Prototype hanging on Wolf Pup loom
Such a good idea shouldn't be limited to one bag, so I put another, longer warp on a bigger loom.
Generous friends offered to save newspaper sleeves for me to speed up my inventory acquisition. It was great fun choosing the colors of carpet warp, and I certainly didn't limit my palette!
Cones for warp
My huge Oxaback warping mill made short work of measuring twelve yard ends in random stripes.
Oxaback decked out in striped warp
Warp chains ready to go
Beaming the warp and threading the heddles and reed took a few hours. I work slowly and meticulously, because a well-behaved warp is all important to the success of any project. Seeing the first few inches of weaving is so much fun--now I get to play with sparkly colors for hours!
Warp on loom before weaving starts
Weaving has started
The weaving is fairly quick, and the bag construction was surprisingly easy. I made my own pattern,  very similar to the Butterick B267. My Bernina 1130 handled the basic straight stitches without a hiccup. I used strapping from the local fabric store for handles and added a bit of that strapping to the top edge of the seams for reinforcement.
Bag interior
I wove a seam allowance from cotton and stitched it down so that the inside seam would be covered.
Finished interior seam
Red straps-prototype, green straps, improved construction
These are the first finished bags. I have a 12 yard warp on for another 8 or 9 bags, but only enough plastic for about half of them. It's time to collect more plastic sleeves!


Sunday, August 19, 2018

Elna Super 62C

Elna Super 62C
This was the first Elna machine I had ever sewn on. Well loved and often used, this machine came with a bit of a patina. The machine came to me after a customer decided she could not pay to replace the camstack gear so the machine could only sew a straight stitch. Fortunately, the customer had another machine that I serviced instead and she decided to donate this machine. It has the manual, carrying case, and accessories that originally came with it and I offered to clean and oil the machine and then find a beginning sewist to whom I could donate the machine. 
As it turned out, I got this machine shortly before going Ray White's class this summer though, and I decided I would like to try replacing the camstack gear with Ray's help. I knew I would learn a lot from such a project and then the machine could be returned to its full sewing abilities before it moved to its new home. I purchased a replacement gear from Ray and this repair took me a full day of class to complete. I consider that donated labor and well worth my time to invest in this project. 


It's all got to come out
With Ray's guidance, I opened the top of the machine and took out the stitch width selector, camstack reader, and camstack. The gear is hidden underneath the camstack, so there's a bit of work to get to it.


Hand wheel off and pulling out upper shaft
Empty now
Taking out the camstack, gear is underneath here
And there's the broken gear, notice missing teeth in upper right quadrant
Old gear on left, replacement on the right
Actually switching out the gear was relatively quick and then it was time to reassemble the machine.

About half way through reassembly
This is a project I was hesitant to take on until I could work with Ray.  Now this machine has a new lease on its sewing life and I'm happy it will continue to sew for years to come. I will find a project soon that will put it through its paces, but here are some pictures of how she looks now.
Steel travel case
All packed into case

Accessories tray that slides under the freearm

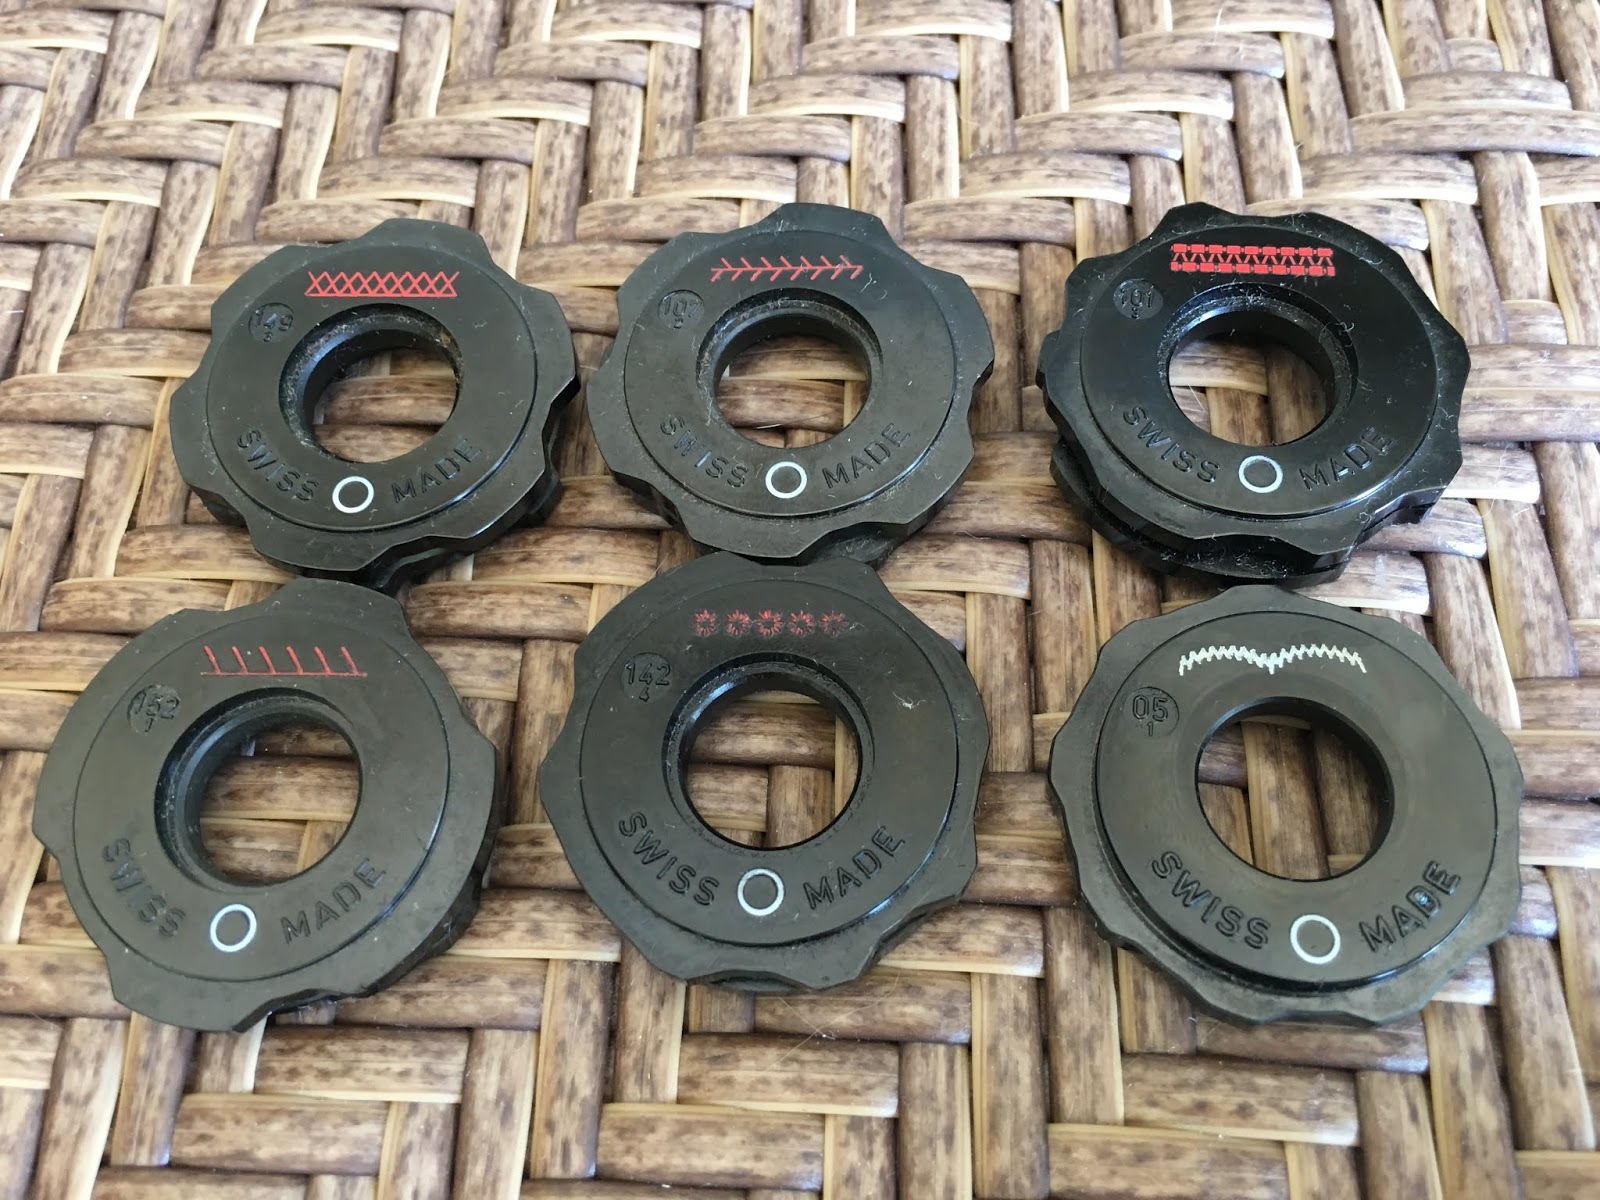
6 decorative stitch cams

The front panel of the case doubles as an extension table

Instruction manual and foot control

Machine with accessories tray

Back of machine
Does anyone want to share a praise or complaint about their Elna? I'm looking forward to learning more about these machines.


Monday, August 13, 2018

Simplicity 1692, Flowered Shirt

The fabric was picked up for free about a mile from my house.  Someone had posted online that they were cleaning out and had a couple bags of fabric remnants that anyone could claim. There were a lot of upholstery remnants in the bags, but I did find a couple pieces that I could use for garments. I wish everyone would call me when they had fabric they wanted to pass along!
I held off cutting into this piece for awhile because I knew I couldn't get more if I made an error
The pattern, Simplicity 1692, is a vintage 1940's blouse that I picked up at Joann's. It has long and short sleeve options and high and scoop neck options. I chose to cut view B, jewel neck and short sleeves, in size 14. There were three muslins for this shirt before I cut into the fabric. Among the changes I made in the muslin process were to add 1.5" to the bottom and move the front darts down, add 1/2" to the side seams then add another 1" to the length and 1" to the hips.
Muslins 1 and 2 from an old sheet
After the third muslin, I was ready to cut into the fashion fabric.
Bright colors
Having partially constructed three shirts already, this fourth one went together quickly. The back is fastened with a button.
Facing for back opening, button will be added to top
The finished shirt as not what I had planned. First, I had to abandon the sleeves as they wouldn't go around my arm and there was not enough fabric left to recut them. The armscyes were a bit small as well, so I trimmed about 1/4" off and then turned under about a 1/4" to finish them. I don't mind the sleeveless look though, it is nice for summer.
There is too much fabric across the chest area for me.  
 I chose not to put in shoulder pads, but there wasn't room and I don't think that I miss them. The button on the back was from the extra button box.
Back with button closure
I was happy with the overall length of the shirt. There was too much fabric around the bust though, it doesn't give a fitted look. And the armscyes were still too small. It would improve arm mobility if the openings were a little larger.
The size zipper looks good and even matches one of the blues in the fabric


The gathers at the neck look great, but the neckline is a bit tight. If I could take some of that extra fabric in the bust area, open the armscyes and neckline a bit, and take in the side seams maybe I'd have a good fit?

I do think I'd like to try this pattern again with a few more adjustments.  Unfortunately, I don't think I will even be able to use this shirt as a wearable muslin. That means I don't get to keep this fabric in my collection. I'm going to miss the bright colors.

Update: I wasn't ready to let this one go. It hung in my closet for several weeks before I decided to give it one last go on the fitting. There was way too much fabric in the front and I didn't want to take out the side zipper, so I played around with other ways of eliminating extra fabric. I ended up taking in about 2" in the middle above the waist and 1" below the waist. Now this shirt will come out of my closet to be worn regularly.

Here is a much better fit

Keyhole opening in back

Front pleat is almost lost in the flower pattern

The neckline is still a bit high, but I do like the gathers

Keyhole with button

Red like the blooming hibiscus
Pattern washed out a bit in the sun
I am very pleased with how this shirt turned out in the end. The gift of free fabric pushed me to try something new and I relished the challenge. If you want to get rid of some fabric, send it my way-- I'm curious to see what will inspire my next project.  :)

Sunday, August 12, 2018

Pinwheel Quilt Finished

Hanging in the garden

Fabric- Kaffe Fassett collection from Quilter's Destination in Arlington Heights, IL
Backing- scrap piece from Mom's stash
Binding- Kaffe Fassett collection from Jackman's Fabrics in St. Louis, MO
Machine pieced on Bernina 717
Hand quilted on a roadtrip from Chicago to St. Louis and back

Friday, August 10, 2018

City Sewing Room

Slowing down the pace while vacationing in St. Louis
T and I spent this past few days in St. Louis. For one of those days he had a ticket to the PGA Championships and I had about 9 hours to myself. My first stop was to hike at the Powder Nature Center. This area was all forested and even though the high temp for the day reached almost 90 degrees, it was quite nice on the shaded paths. After traversing 4 miles of trails I headed back to the hotel for a quick shower and then drove to Jackman's Fabrics arriving soon after they opened. The store had a huge collection of quilting fabrics, sewing and quilting machines sales and repair, sewing notions, books, patterns, and a smaller but adequate selection of fashion fabrics. I was looking for fabric from the Kaffe Fasset collection to use as binding for the pinwheel quilt that I was hand quilting. Jackman's had several fabrics in this collection to choose from and I ended up buying two fat quarters for binding. Then I perused the fashion fabric section and found some white knit for t-shirts that was not transparent and black and gray cotton/linen combo for a dress.
After lunch I decided to check out the City Sewing Room. I found this place when I searched "sewing St. Louis," and the concept of sewing space rental, sewing lessons, custom work, etc. sounded promising. I had no trouble finding the place and when I stepped into the building, I immediately felt at home. Anne, the owner, has created such as welcoming retreat for sewing in this space. There seems to be every sort of tool, machine, notion, pattern, and fabric available to anyone who wants to sew on about any project. Anne introduced herself and told me a bit about the place. I told her what I was hoping to use the space for that afternoon and she got me working in no time. There were a couple other women who were already in the studio or who came in throughout the afternoon. One lady runs her sewing business out of a corner space, another was refashioning thrifted shirts, and a third was cutting out fabric for duffle bags. Her sewing guild was planning to make bags for children who have to move around a lot and do not have luggage other than perhaps a garbage bag. There was plenty of room for all of these projects to be occurring at the same time.
Anne also gave me a tour of the building and I continued to be impressed with the use of space.  There were several cutting tables of varying heights (loved having an extra tall one for me), sewing machines both domestic and industrial, sergers, a notions area, an ironing table, dressing area with mirrors, dress forms in various sizes, many in progress projects, and a wall of fabrics.

Work tables
Wall of notions on the left, fabric shelves on far wall, sewing machines in the middle

Books on technique

Sewing supplies in spades

Washer and dryers across from the fabric wall

Wall of fabric

View from front to back

Anne said that many of the supplies were donated and there was quite a range of items so I think you could find about anything you needed for any project. I arrived with only my basted quilt and the fabric I had bought for binding and I soon found a cutting table, rotary cutter, ruler, iron, sewing machine, thread, and scissors at my fingertips. It did not take long to cut my quarter yard into strips and then sew the strips together for binding. I had never put the binding on a quilt before the actual quilting was done before, but I knew that I wanted to finish the project on the car ride back to Chicago so I took advantage of the supplies Anne had available.

Ironing my fabric

Sewing my binding strips together

Before I left for the afternoon, I shopped the fabric wall and a few bins Anne had under the tables. We talked about the fabrics I had chosen and even planned out how to use a few of them.  For one fabric Anne showed me how to do a burn test.
Clearly, I did not go home empty-handed

Conducting a burn test
My heart was so happy after spending the afternoon with these ladies. If St. Louis was closer I would plan to come down again soon. As it is, I will definitely visit next summer when I'm at sewing machine repair camp. If you're in the neighborhood or passing through St. Louis on your travels, stop in to City Sewing Room. Whether you choose to sew, craft, or just draw inspiration for a next project you'll surround yourself with friends.