Monday, December 17, 2018

Sew Frosting, Tamarack Jacket


In October this year, Kelli from True Bias and Heather Lou from Closet Case Patterns hosted a sewing challenge that ended in December. They encouraged participants to sew their own frosting by venturing outside your comfort zone to try a new technique, pattern, or fabric. Take on a project that you tackle for fun, not for practicality.
I had finished my Tamarack Jacket muslin shortly before I learned of this challenge and I thought it would be fun use this pattern for some frosting. I also had some slippery black fabric with silver stars that would make for make a fantastic party jacket. The fabric came from Joann's and had been in my stash for about a year.
Back side of fabric is silver and very slippery
I cut a size 14 in the fashion fabric and then cut the lining from a combination of scraps. The back panel is corduroy and the front and sleeves are some stretchy black fabric of unknown origin. I didn't have a piece of corduroy large enough, so there is a seam about 6 inches up from the bottom.
Pieced to add length to jacket

Beautiful floral pattern gets turned to the inside of the lining and won't be visible
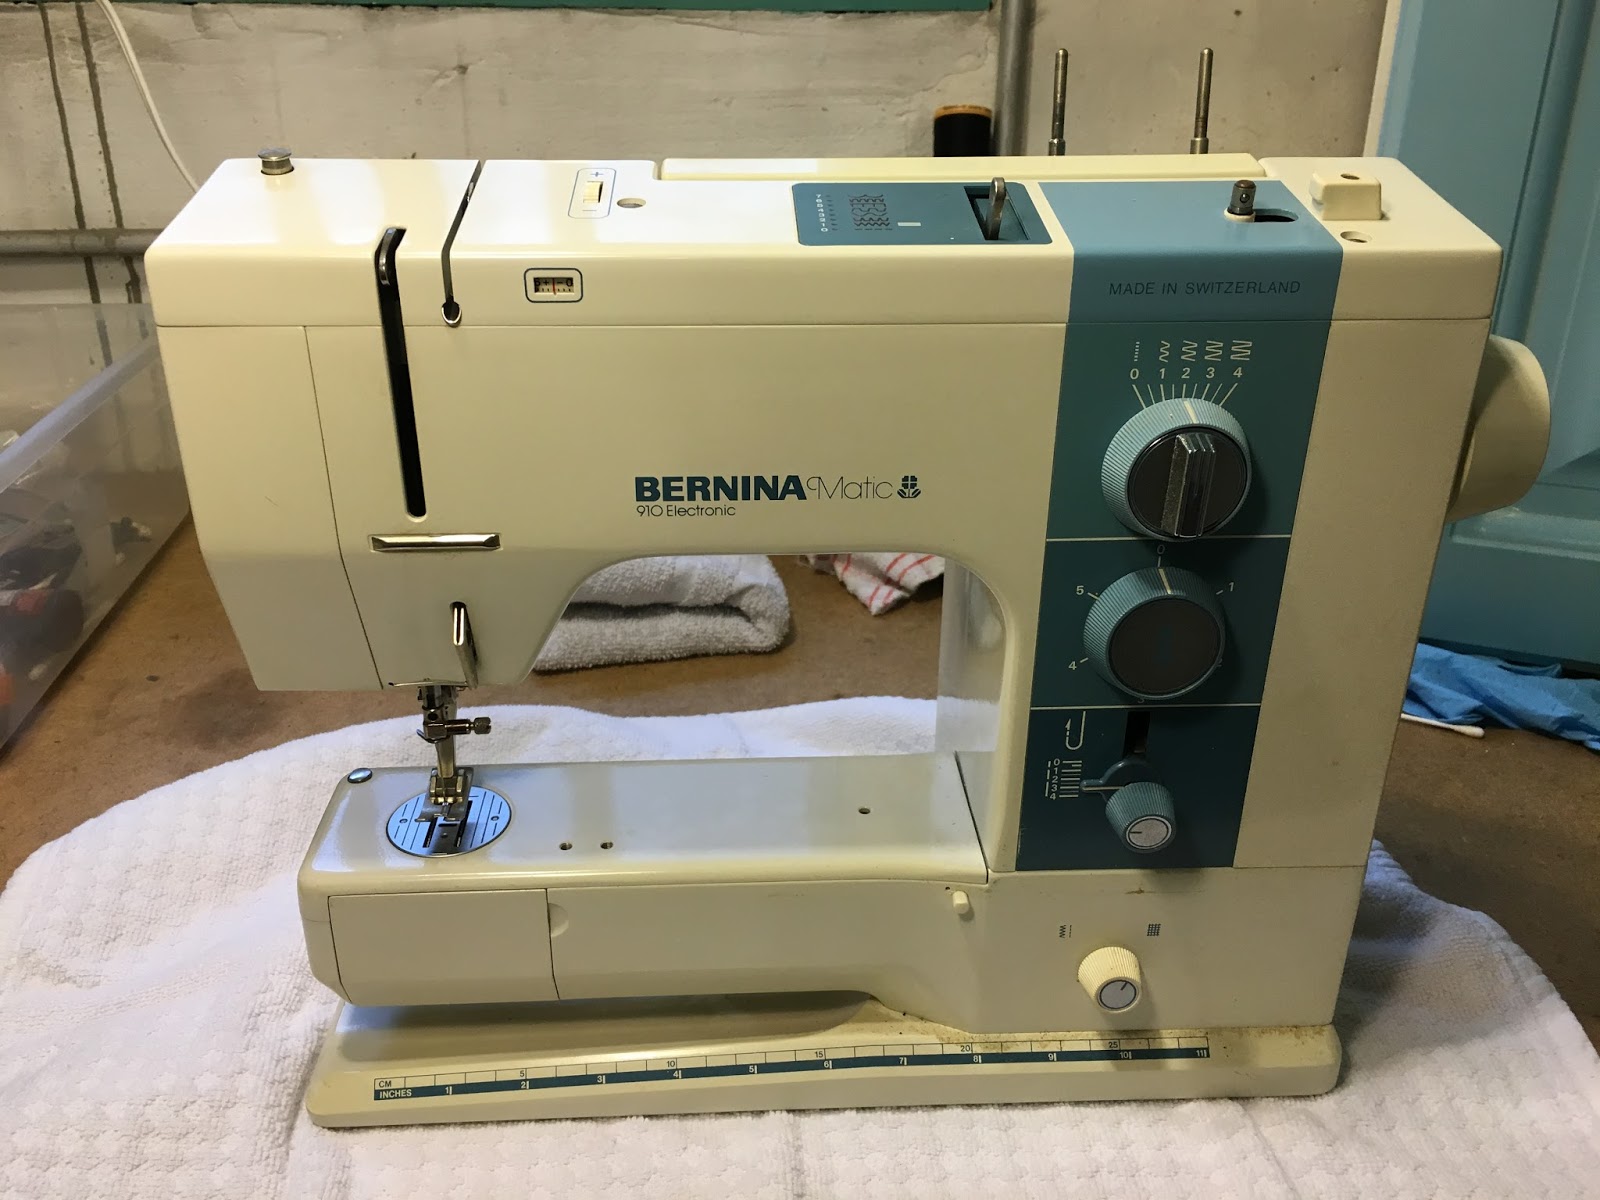
This time, the quilting was done on my Bernina 1230. Mom had tracked down a walking foot for each of her daughters' machines, and this was the trial run for mine. It worked smoothly and didn't snag any of the star fabric. I did have to pick out a seam one time after the fabric got folded under by mistake. The stitching came out easily though and did not leave a mark.
Fabric got folded over when I was quilting, had to take this out
I designed a starburst pattern for the back between the shoulders and then the lower back, sleeves, and front panels were rows spaced 3.5" apart.
Dividing the back into two sections
Creating starburst pattern between shoulders
I used green tape to mark the lines and it was easily repositionable on the fabric. After all the pieces were quilted, front and back panels were sewn together at the shoulder seams.

Attached at shoulder seams
The inside seams are finished with fabric scraps--corduroy, black stretch, and some fashion fabric. All of the bias binding is from the stars fashion fabric. The bias binding has iron on interfacing to help stabilize and minimize fraying. The silver threads in the stars did snag easily.

Iron-on interfacing for all of bias binding

Attaching bias binding

Inside of coat with bias binding
Here is the jacket with all bias binding complete. I love the sparkle!


The fabric is too delicate to withstand a purse or bag strap over my shoulder, and I knew the fabric would fray uncontrollably if I were to attempt adding pockets. I was even hesitant to add snaps to the front and eventually found buttons that could be attached away from the edge of the coat. The dark, seemingly mirrored, buttons came from Vogue fabrics. Buttonholes would have frayed the fabric in short order, so I opted for thread loops. When sewing the buttons on, I put another button behind each one to help keep the fabric from tearing or the button from pulling through. For the thread loops, I used the technique my friend Jane showed me at a Loose Ends meeting. The loops were made with regular sewing thread, but I may go back and reinforce with a thicker thread.
Buttons spaced 5 inches apart

Botton on back adds support to delicate fabric

Black and shiny fits well with the fabric

Stewie supervises sewing on buttons
Thread loops and buttons 
Finished coat all buttoned up
This jacket is definitely frosting. It is a lot of fun to wear, but too delicate for everyday use. For its first outing I was trying to figure out what to wear with it. The quilt batting makes it warmer than a sweater, but it's full on winter here now and the jacket is not warm enough for that. I tried pairing it with a long sleeve shirt, but was soon overheated. I ended up wearing it to work one day, unbuttoned over a short-sleeve t-shirt with jeans. The jacket definitely garnered compliments and I was comfortable in it all day. Photos were difficult to take with this shiny fabric. Often, there were spots on the fabric that looked blurry or like a solid spot of silver when the stars blended together.
Buttoning my jacket

Better fit, but still a bit too much fabric around the middle

Good length in the back
For now, I don't put the jacket in the closet because it don't want it to get snagged on a zipper, button, or another coat. It's showcased on the dress form in my sewing room and I can be inspired by it every time I walk past.

Sunday, December 16, 2018

Holiday Banner

This banner came together when I found myself looking for new holiday decorations that I didn't have to purchase. My fabric stash and overflowing fabric scrap bag provided everything I needed for the project.
Flags are a relatively neutral and will work for most holidays
The white and green polka-dot fabric was left over from the lime-teal quilt I finished this summer. Some of the letters were already made, and others were pieced from batting and fabrics in the scrap bag. The hem tape used for the ribbon has been in the drawer for years.
Hem tape holds all of the flags together
The flags are evenly spaced and attached to the hem tape,  but the letters for Merry Christmas are not permanently affixed. I wanted this banner to be adaptable for other holidays, so the letters are pinned from the backside of the flags. There are also extra flags so that letters and images could be swapped out over the course of a year.
Adding letters and hem tape
This project only took a couple of hours to complete and T helped me hang it from the picture rail in my sewing room.


Above the window

Above the built-in

Friday, November 23, 2018

Quilt for New Nephew


Love those colors!
The newest member of our family is due this November. To welcome him to the family, his aunt's and grandma made him a quilt. Marlene and Carolyn started us off by picking a pattern and fabric. Carolyn picked the blue background and Marlene cut a selection of circle pieces from her fabric stash. She did a great job fussy-cutting cartoon animals and scenery. After a trip to MN this fall, I brought home the cut pieces and the templates. More background pieces were needed and I added a few circle pieces from my collection.
These came in handy
I did the piecing on my Bernina 1120. It took a couple podcasts to put it all together, but M and C did a good job estimating the finished size and I didn't have to add anything to it.
Just starting out, waiting to be pressed
Playing around with placement
One more column to piece
Final arrangement
For the basting, I took the top over to Grandma's house and we found batting and a backing in her stash.
Blue for the backing
While we were basting, we had time to study the variety of fabrics and talk through some of the stories associated with them. There are fabrics that have been around for 4 decades and ones that were purchased in the last couple years. I don't think baby will get tired of looking at all of the different designs and colors.
Polka-dots and elephants
Ducks and owls
Monsters, chickens, and an estate sale find
Elephants, dragons, and cats
Bees, flowers, chefs
Basting complete
Marlene suggested a fan pattern for the quilting and Grandma did all the quilting and binding. We had fun making this quilt and we look forward to sharing it with our nephew and grandson soon. 


Wednesday, November 21, 2018

Baby Play Mat


This was a project that K and I made for a co-workers new granddaughter. We started with a rough idea and took inspiration from several pictures online, but our mat ended coming together through a variety of twists and turns. Once we settled on incorporating flip-up tabs with pictures, we had fun cutting out pieces from both of our fabric stashes.  We decided to make all of the tops of the flaps with an assortment of pink fabrics that complemented each other and then the pictures underneath the flaps included a wide variety of logos, cartoons, writing, etc. The letters for spelling the new baby's name are also mixed in among fish, flowers, food, animals, Cubs fabric, and my favorite--a typewriter--because that might be the only typewriter she sees in her lifetime :)

The ribbon that secures all of the flaps is blue as that was what we had available.  I used my 201 to sew through the multiple layers of fabric, denim, and ribbon---it handled everything with no problems.

Originally, the background for the flaps was going to be a patterned fabric, but a trip to mom's house turned up a fantastic stash of denim that could be repurposed. I ended up cutting and piecing together a background from three pairs of jeans. We really liked the softness of the worn denim and the durability it provided. This mat will be easy to throw in the washing machine whenever that is needed.
Patchwork denim
For the backing we used fabric that had the alphabet and corresponding pictures. I basted the mat at home and then handed it off to K who did all of the quilting at her house.
Lainie helped with the basting
She did a free-hand squiggle and it added such a great texture. The flaps are not quilted, nor is the blue ribbon. K also left the little pocket in the background that I pieced in there.
Look at that fabulous quilting
For the binding, the mat came back to me and I made the binding from scraps of the pink fabrics we used for the flaps. Again, I used my 201 to sew on the binding and then finished it by hand.
Trimmed and reading for binding
Finishing the binding
After a good washing, the blanket was wrapped up and delivered to the baby's grandmother who would share it later.  K and I were so happy with how this project turned out. We made a great team throughout the process. Whether we met and were working on a step together or moved things along at our own houses, we communicated regularly and combined skills and creativity for top-notch results. I could definitely see us working together again.  I hope baby enjoys playing on the mat as much as we enjoyed making it.
Finished back


Monday, October 8, 2018

Bernina 910

It has now been a few months since I purchased this machine, but I'm just getting around to sharing how this machine came to live with me. It was the first day of Spring Break and T sent me a link for a free machine that someone was giving away. I contacted the poster, but the machine had already been picked up. Since I was already online, I took a quick look around Craigslist to see if there were any other interesting machines. Yes, there was a Bernina 910 offered. The pictures were not great, but the blue on the machine caught my eye and the machine was close by so it was worth investigating.
She looked like a beauty, but seller didn't take any photos with the machine out of the cabinet
In one drawer I saw the corners of what I hoped were the instruction manual and the accessories box
The machine was listed as 'needing some light repair' and when I inquired about its history I found that it had not been used in a few years. The seller said the machine turned on, but would not make a stitch. I was still interested and arranged to see the machine that afternoon.
The cabinet was in rough shape and in need of a good cleaning. A quick peek in the drawers confirmed that the instruction manual and accessories box were included. When I looked under the needle plate, I saw thread wrapped around the bobbin casing and a significant amount of lint buildup. The hand wheel turned freely when I tried it. This machine had been neglected in her cabinet, but she was ready to be cleaned up and put to work.

Before cleanup

Dials are filthy, but turn smoothly

Missing its tray

Dirty, but bobbin casing and hook in good condition

Lint packed around and behind the feed dogs

A bit dry on the top, but no cracked gears

Stitch selector operates smoothly between all 7 options
I cleaned inside and out and I replaced the bulb with a new LED. Under the layers of cigarette smoke, dirt, lint, and dried oil was a solid machine with no cracked or broken parts. The bobbin winder worked on the first try and the machine threaded up easily. A prior owner had played with both the upper and lower tensions so it took a few minutes to reset those. It stitched beautifully both straight and zig-zag, forward and reverse. One thing that is taking a little getting used to is the definitive click that the hand wheel does when I take my foot off pedal. I think this is the machine moving the needle to the full up position at the end of every seam, but it is a loud click and I thought something was wrong at first. The manual mentions the electronic system that moves the needle, but it does not suggest an ideal noise level. I searched online to find where someone identified and acknowledged this click, but I haven't found anything yet so I'm still a bit worried that maybe it shouldn't be quite that loud? If you have a Bernina 910, can you let me know if that's a normal sound?

All cleaned up


7 decorative stitches and bobbin winder on top

Hand wheel has silver colored cap

Still no tray, but clean

Lint gone

Instruction manual

Full accessories case

Power cord and blue foot control

And a Bernina brochure for the 910
The brochure says "-youthful - for a lifetime", are they referring to the machine or the sewist who chooses this machine?  Did I just luck into a fabulous new machine and the fountain of youth?