Sunday, March 25, 2018

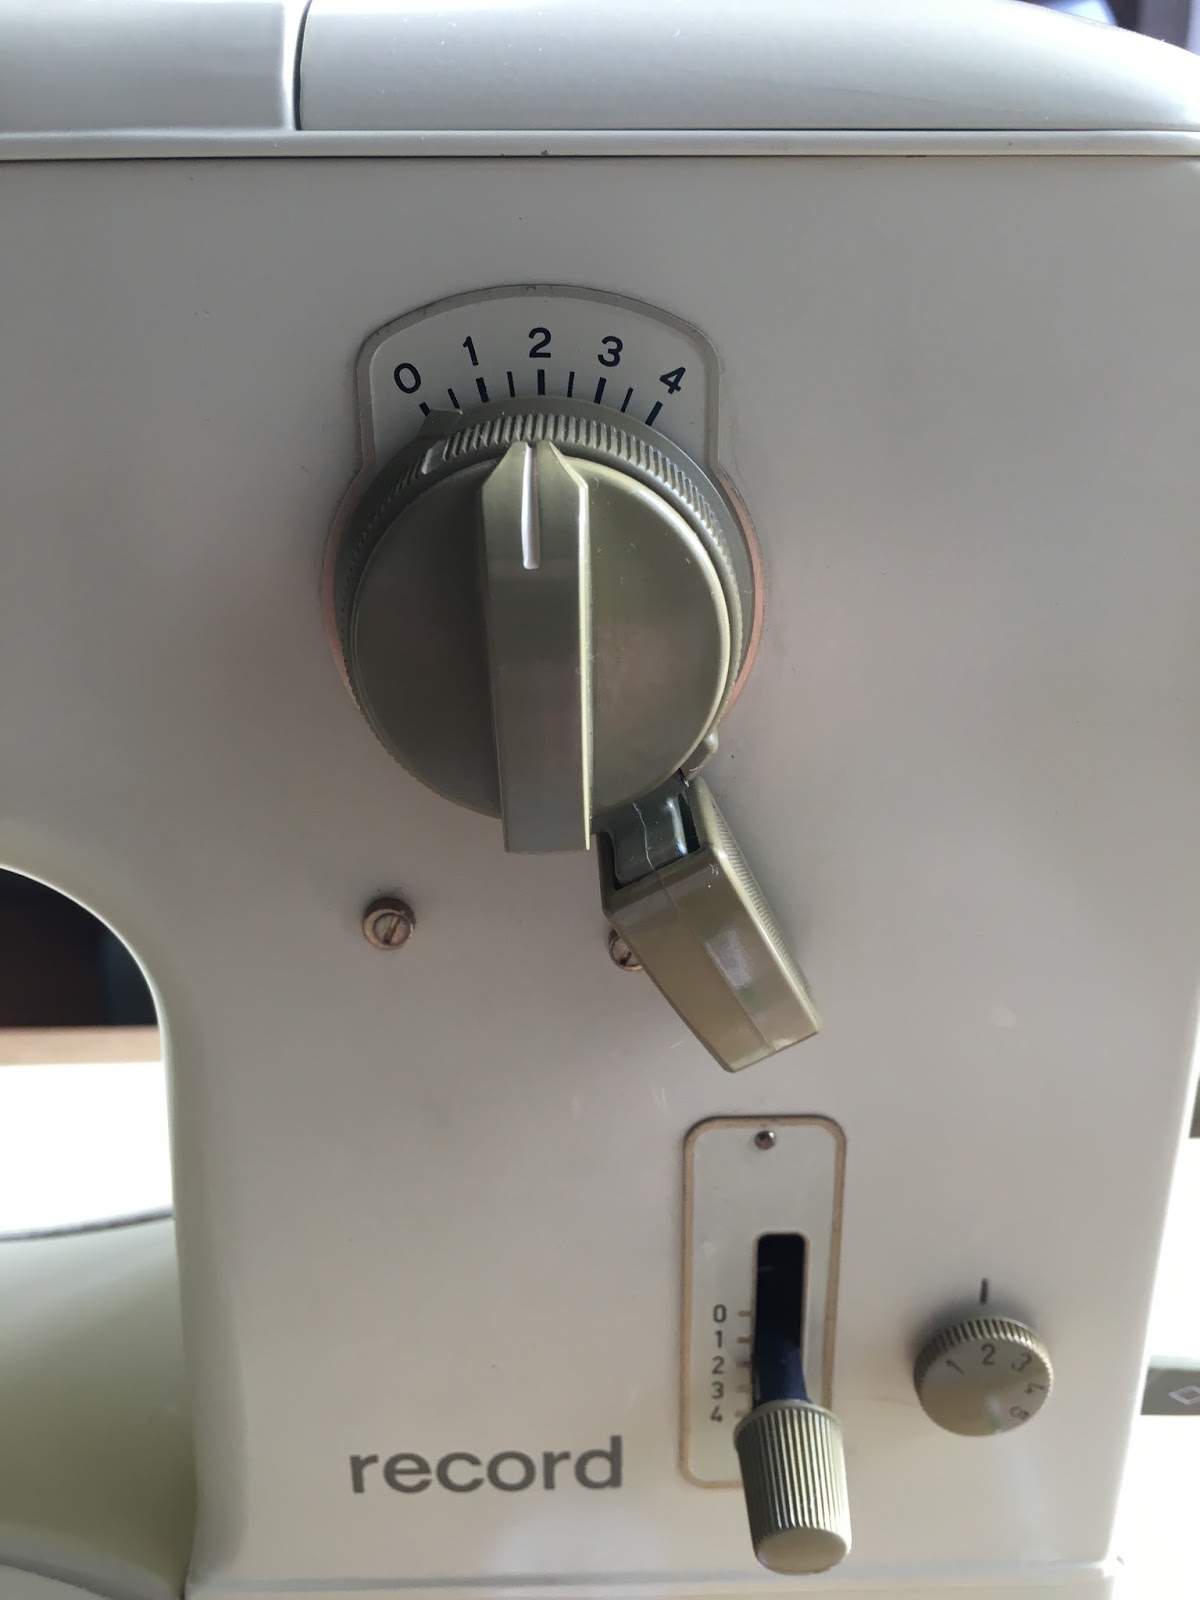
Bernina 730 Record

Bernina 730 Record
This machine was listed on Craigslist near me and the buyer asked for reasonable offers. I submitted my best offer and the seller informed me that he was going to see if he got any better offers and would get back to me. Since the machine came with accessories, original case, foot control, and extension table I knew that there would be other interested buyers. A week later, I emailed to see if the machine was still available and the seller agreed that I could buy it for my original offer. I drove down to pick up the machine a couple days later. The machine had belonged to a family friend of the seller. She was fondly referred to as Aunt and the family was cleaning out her estate.
When I first saw the machine, I was impressed with its condition. There were a couple minor scratches to the paint, but overall it looked like it had been used maybe 2 or 3 times. The seller had it set up so that I could try it before purchasing. I turned the hand wheel and could tell that the machine was dry, but everything else looked good. The seller had the original case so I happily packed up the machine and drove home, smiling all the way.
Case with key and plenty of goodies
At home, I unpacked the entire case so that I could take inventory of its contents. Neatly packed along with the machine was the foot control and power cord, extension tray, knee lift, instruction manual, record of purchase in 1969, the guarantee card not filled out, advertisements, a parts list, extra purchases from the store in 1979 and the green accessories tray.
Instruction manual
Take note, this Bernina was originally purchased by J. Singer
We have exceeded the 30 guarantee term
On back of picture: "The BERNINA is a mountain of overwhelming beauty, and the dream of Alpinists all over the world to ascend to its summit, Piz BERNINA.  BERNINA is also the name of the queen of Swiss sewing machines and thus the dream of innumerable women all over the world."
Parts list for new 730 Record
Bernina bag with a few tears in its side

Two receipts, one for the needles pictured and the other for the bobbins pictured
Tray fits snuggly on the back of the machine

Drawers filled with goodies
I first contacted Neal at NIT, Inc. in February of 2017 looking for a replacement motor. My machine would sew for about 10-15 seconds at a time and then slow and stop. Neal is one of the Bernina specialists at NIT, Inc. All of the specialists there were specifically trained by Fritz Gegauf AG in the early 1970's and know how to handle these now vintage machines. I had tried different power cords, changed the belts, and cleaned the motor brushes, but nothing fixed the problem. Neal had a couple suggestions for me to try as well, but ultimately I decided to ship my EPL motor to him so he could fix the bad field winding. In under two weeks, Neal emailed to say that the motor was fixed. He explained what he had done and let me know what changes in operations I could expect with the new motor.

The rebuilt motor function will now be as follows:

Max speed is normal with the motor switch on MAX.
Min switching now provides an off/on condition, something that this machine needed in the first place. 

In March, after trying out my new motor, I emailed Neal again to say that I was still experiencing problems. He was so thorough in trying to diagnose the problem and had me send multiple photos so that he could see key parts of my machine. We both saw a crack in the vertical shaft gear. Originally, I said that I would like to try to tackle replacing this gear myself and Neal sent the link to one of his videos. After watching the video though, I decided that repair was beyond my skills and I boxed up my machine to send to Neal so that he could work on it. In June, I sent the machine packed in one box and the power cord and foot control in another box. Along with vertical shaft gear replacement, Neal said that he would be repairing the needle position piston detent, replacing the bobbin winder, and checking the foot control power. 
While he was working on the machine Neal was nice enough to give me updates through his Facebook website. He sent me this link so I could check on his progress. I loved being able to see my machine and if you have time I suggest you check out the NIT, Inc website. It has a wealth of information and some great pictures on there.
Newly unwrapped machine upon its return from Utah
When Neal was done with my machine he shipped it back to me and it arrived in nearly pristine condition. I was so excited to see my machine, it was BEAUTIFUL. I have only used the machine on a couple projects so far, but it has performed very well. There was a bit of an adjustment period for me as to the level of noise the machine makes. It is noticeably louder than my Necchi Supernova or my Pfaff 131, but it is a constant and comforting sound. It reminds me that my machine is powerful and could work very hard if need be but is, for the most part, content to tackle the quilt piecing I have provided thus far.  
The foot control is still the original and I intend to use that as long as possible.  The max/min speed control is non-selective now and the motor is always set to max speed. This is not as fast as some of my other machines, but well-suited to almost anything I would be working on.
Foot control
The new bobbin winder works well and a repair on the needle piston detent now allows me to move my needle right-left-center to varying degrees.


Bobbin winder

R-L-C needle position any time I want to now
Here are a few final pictures of the machine set up and ready to go. I'm so glad this machine joined my collection, she and I will have many sewing adventures in the coming years.
The tray has minimal wear

Beautiful coming and going

Sunday, March 18, 2018

New Quilt, Renewed Machine


Bernina 730 that Neal Iund serviced
This machine came to me a couple years ago through a Craigslist posting.  At some point I will do a post on it's story and why I am so grateful to Neal Iund for the repair work he did on this fantastic machine. I have had this machine for a few months now since Neal sent it back in nearly new condition, but I was waiting for a good project to work on so that I could put her through her paces.  Currently, I'm working on a quilt for spring and this machine has been performing like a dream.

The quilt has come together without a clear idea of what the finished project will look like. I know where I want to hang the quilt though so I have a good estimate for finished size, and I know what colors I want to use so I've kept within that palette. The quilt started a few weeks ago with 10" pinwheel blocks and I have 16 of those completed. 
Pinwheel block #1

Pinwheel block #2

Pinwheel block #3
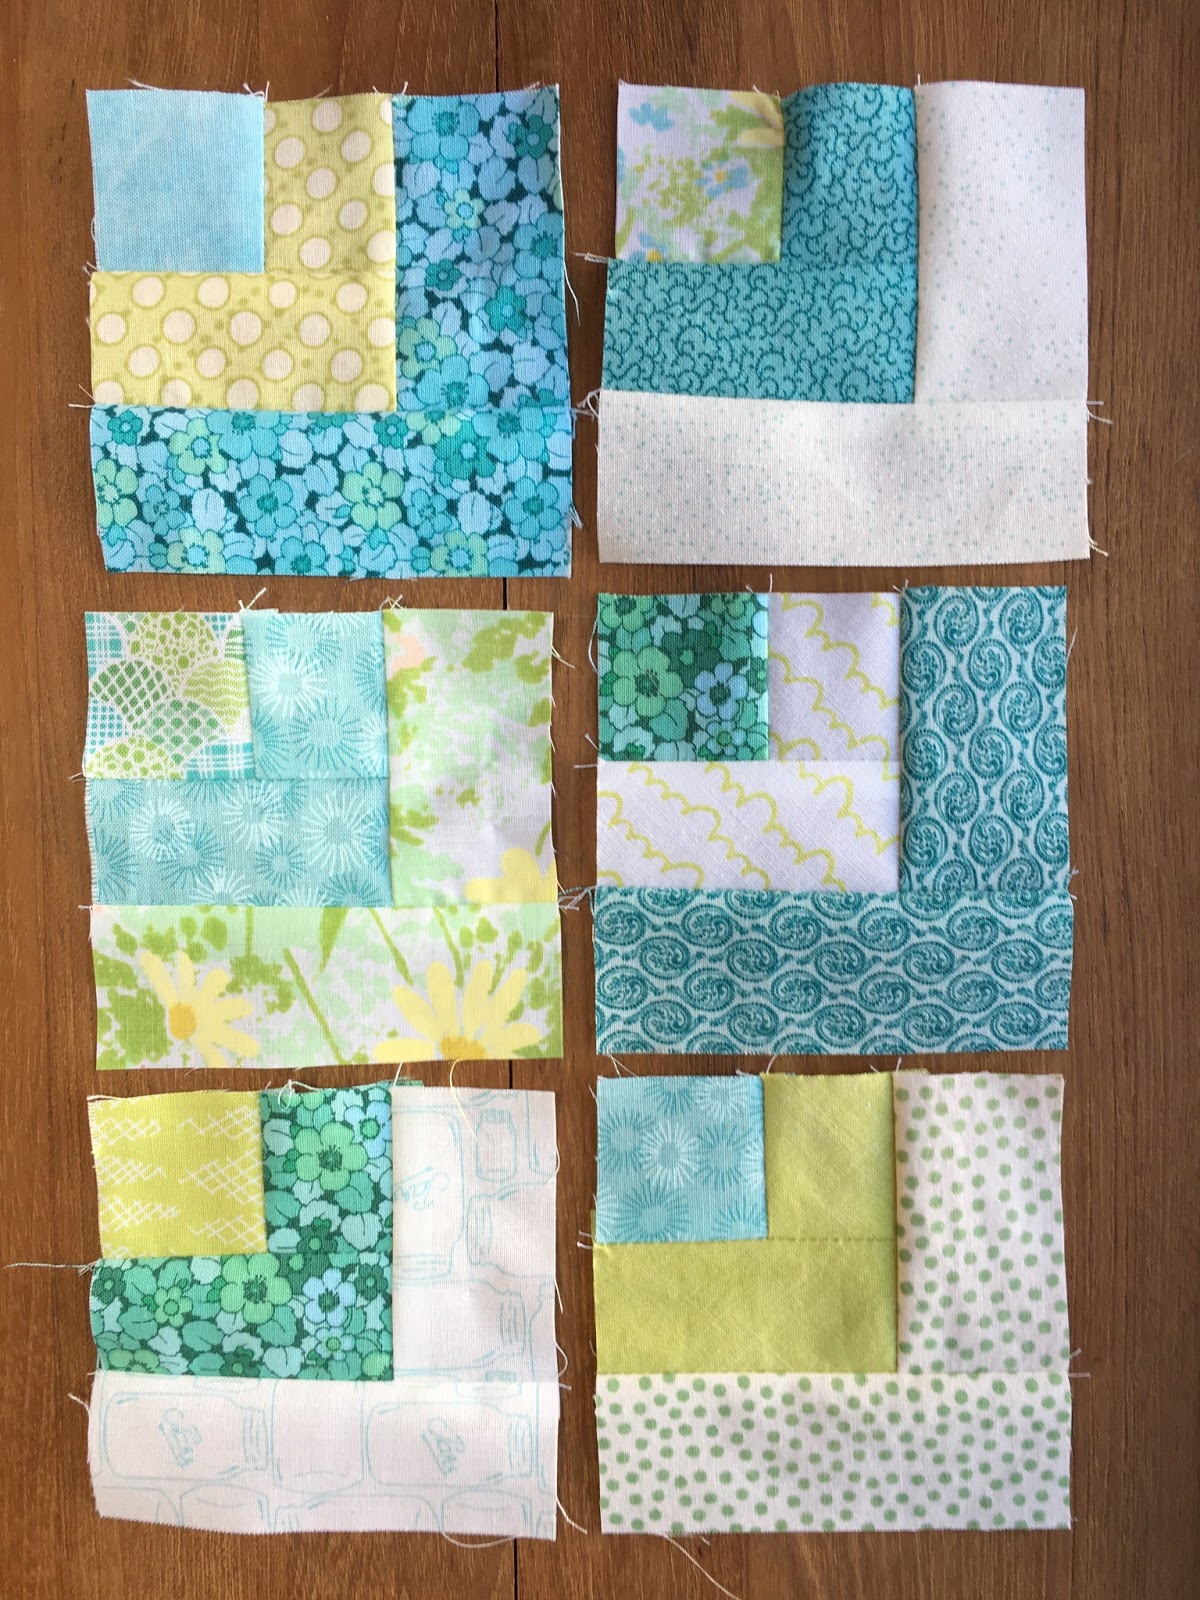
Then I decided I wanted to play around with the sashing. The width of the sashing is set at 3", but I'm going to make it piecemeal and work in several different types of blocks and settings. The fabrics will be the same as in the larger pinwheels so things may start to look too busy, but I can always add more white if need be. For now, I'm playing around with different combinations of 3" blocks with the goal of having enough sashing for the entire quilt. Here are some of the blocks  I've made so far:
Churn dash

Quarter of log cabin block

Arrowhead

Sailboats

Friendship Star

1" squares

Strips of varying widths
There are still quite a few stashing pieces to be made before I can lay out the quilt top and start looking at placement. For now, I am enjoying the freedom to choose any number of different block patterns and I make as many or as few of each as time/my interest allows. My 730 and I are having fun with the creative flow of this project. 
My sewing partner


Tuesday, March 13, 2018

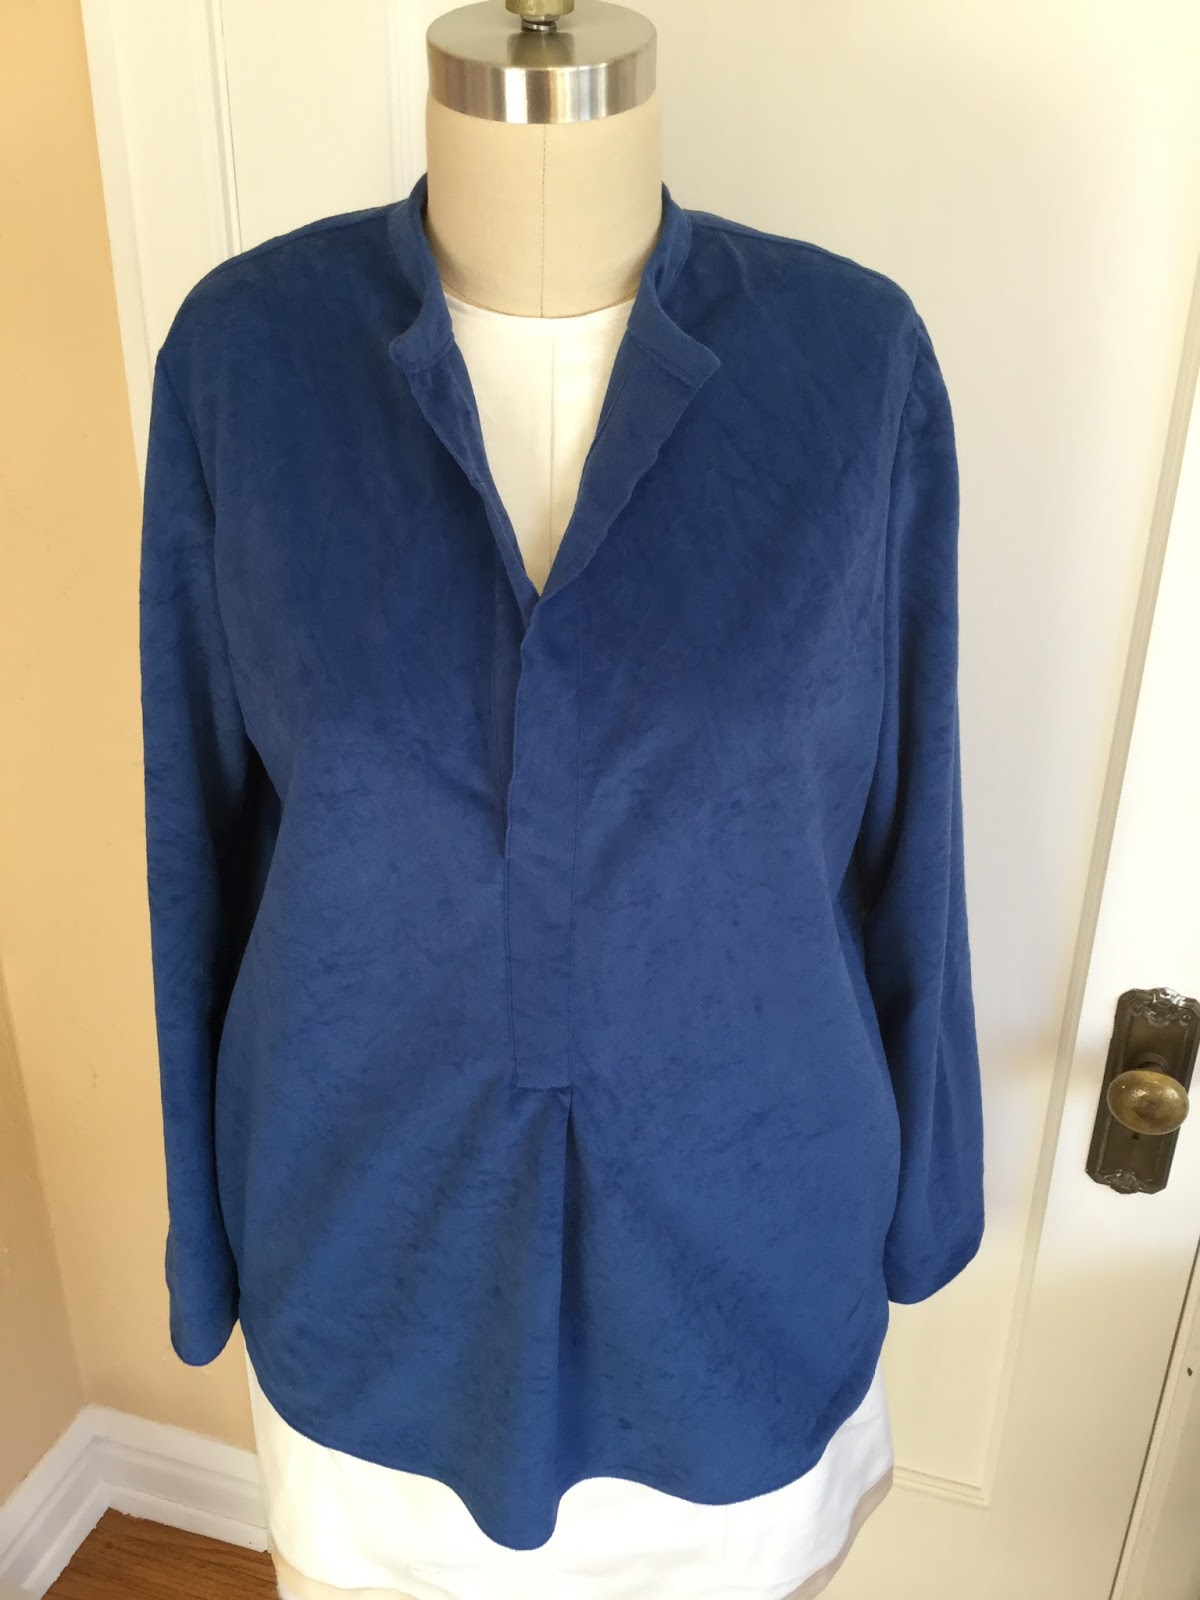
Blue Suede Shirt

 The fabric was from box of remnants I picked up on Craigslist.  The pattern is one I have used several times, Vogue V1509. I did not take any construction notes, so these are just pictures of the final project. This project was sewn on my Bernina 1230.
Front view
Front view, neckline folded over 
Back view
Side view with sleeves rolled up

Small snap on sleeve, tab on inside of sleeve can be left hanging

Sleeve rolled up and tab held by snap
Front view, solid blue
Closeup on neckline
Finished in March, ready to wear


Sunday, March 4, 2018

Pink and Green Girl's Dress for Spring

Girl's dress for spring
This project was started several years ago by my aunt. She was sewing for her grandchildren. Before she finished though, the girls had out grown the dress and she decided not to finish it. When she moved homes, this didn't go with her and I added it to my pile of UFO's. Yesterday, I finally decided to try to finish the dress. The picture below shows what had been done on the dress by the time I got it. The pattern is McCall's M6270 and my best guess is a size 2. The top had already been finished and would only need the button added on the back.  All the pieces for the ruffles and the body of the dress were included and only pattern number 6 needed to be sewn on the sides.
Great start, all the pieces are here and the ruffle hems are finished
My aunt had already meticulously finished the ruffle pieces with wonderful pink trim and the neckline had pink bias tape.
I'd like to learn how to such small serged trim
Neckline is perfect
There are 5 different fabrics, six if you include the bias tape, used in the dress and all are well-coordinated pinks and greens. I didn't have the exact color of pink thread used originally, but I found something relatively close. I used my Bernina 1230 for this project and it worked well. After finishing the bottom ruffles and attaching them to the dress, I used some of the remaining fabric to cut out a lining.

Cutting lining
Lining in dress
For the back button, the choice was between a white and clear button. Final decision was to go clear.
Look how nicely those plaids match up
This was my first button loop. I know that the girl who ends up wearing this dress will not be able to fasten it herself but it should be quick for someone helping her.
Button with button loop
The finished dress. I really don't know if any of my nieces can still fit into this dress, but I'm happy to have it completed and it was fun to work with such bright colors.
Front view
Back view


Saturday, February 24, 2018

Fresh Look for the Front Porch

Shortly after moving in 2008
The porch furniture came with the house. We had asked the seller to leave the set because we weren't bringing any of our own. We have since changed the arrangement, but the chairs, tables, and ottomans are still in good shape today.  I made covers for all of the pillows and cushions in 2009.  
No cover (left) with cover (right)
This past summer, we decided the pillow and seat cushion covers needed to be replaced. They were faded from sun exposure, torn from cat claws, and had several food stains on them. The seat cushions had also lost all support and were not comfortable to sit in for more than 5 minutes. T ordered two new foam cushions for the larger chairs. The fabric for new covers was purchased on sale this summer, but I knew that I wouldn't start working on this project until the short winter days kept me inside. The last weekend in January, I started making the green welting that would go on all the cushions and pillows. Originally, I had planned to use my Singer 201-2, but I don't have a working zipper foot for it. Maybe I'll find one this summer? I tried my Necchi Supernova and that worked great. Once the welting was finished I took apart the old pillow covers and used the pieces as patterns for new covers. I also took the zippers out of the old pillows to reuse them when possible. I ended up only having to install one new zipper. Twice, I underestimated how much welting I would need and after one trip back to the store to buy more, I decided to reuse some from the original pillows to finish up the last pillow.  

I had help attaching the welting
The four seat cushions all got zippers sewn into the backs so that the covers could be removed for cleaning. The four back pillow covers are not removable. Zippers were inserted into the side pieces first and then the tops and bottoms were clipped to the sides with the welting sandwiched in-between.
When I tried to sew through four layers of fabric on the Necchi, it balked three times.  After replacing 3 needles, I moved over to my Pfaff 131 and used the zipper foot on there.  It was a bit difficult to maneuver all the fabric within the limited harp space, but I didn't have any broken needles. It sewed right through the multiple fabric layers and even two layers of welting that overlapped in the back.
Pillow covers without zippers were finished by hand after the pillows were inserted
 After arranging the pillows on the porch and taking a picture, I realized that I would need to redo one of the seat cushions. I had inserted the zipper on the front side of one cushion instead of the back side. Since the cushions are rounded in the back and a bit wider across the front, I could not just turn it around.
The pattern almost camouflages the errant zipper, right?
Today, I picked up my seam ripper and took the top and bottom off the cushion. The pieces were repositioned and then I sewed them back together again using the Pfaff 131.
Hopefully, it goes back together
A new bulb on my machine made visibility noticeably better


And now everything is finished
 Come on over for a little porch sitting any time you're in the neighborhood!