Tuesday, September 8, 2020

A Linden Sweatshirt Before School Started


The weekend before we went back to school I was feeling a bit anxious and my thoughts were racing.    Sewing is a good way to distract myself from work thoughts and to calm my anxiety. I ended up pulling out a pattern I hadn't sewn in a couple of months, but one that comes together pretty quickly. I used the Linden Sweatshirt to make myself a couple shirts that I could wear later in the school year. 

The fabric for the first shirt is a bright floral that came from Ethel. There was enough to make the entire shirt including the neckband and arm bands. There was even enough left at the end to do the hem band, but I decided to just put in a 1/2" hem instead. 

Bright yellow, orange, and green

When laying out the pieces to cut, I was able to center the big yellow flowers on the front.

Pattern pieces

There was a bit of a pucker in the neckband the first time I put it on. I had to take out a couple inches of serging and redo the seam. 

Pucker under green leaf on neckband 
Neckband a bit narrower, but pucker is gone


Finished shirt on dress form

We are now starting the third week of school and the weather has been too warm for a long sleeve polyester shirt. I did take advantage of my blooming sunflowers and a willing camera person to get a few finished shots though.

Bright flowers everywhere

Length is good without added hem band

All the sunflowers are taller than me

This will be a fun addition to my fall wardrobe


Sunday, August 16, 2020

Denim Quilt

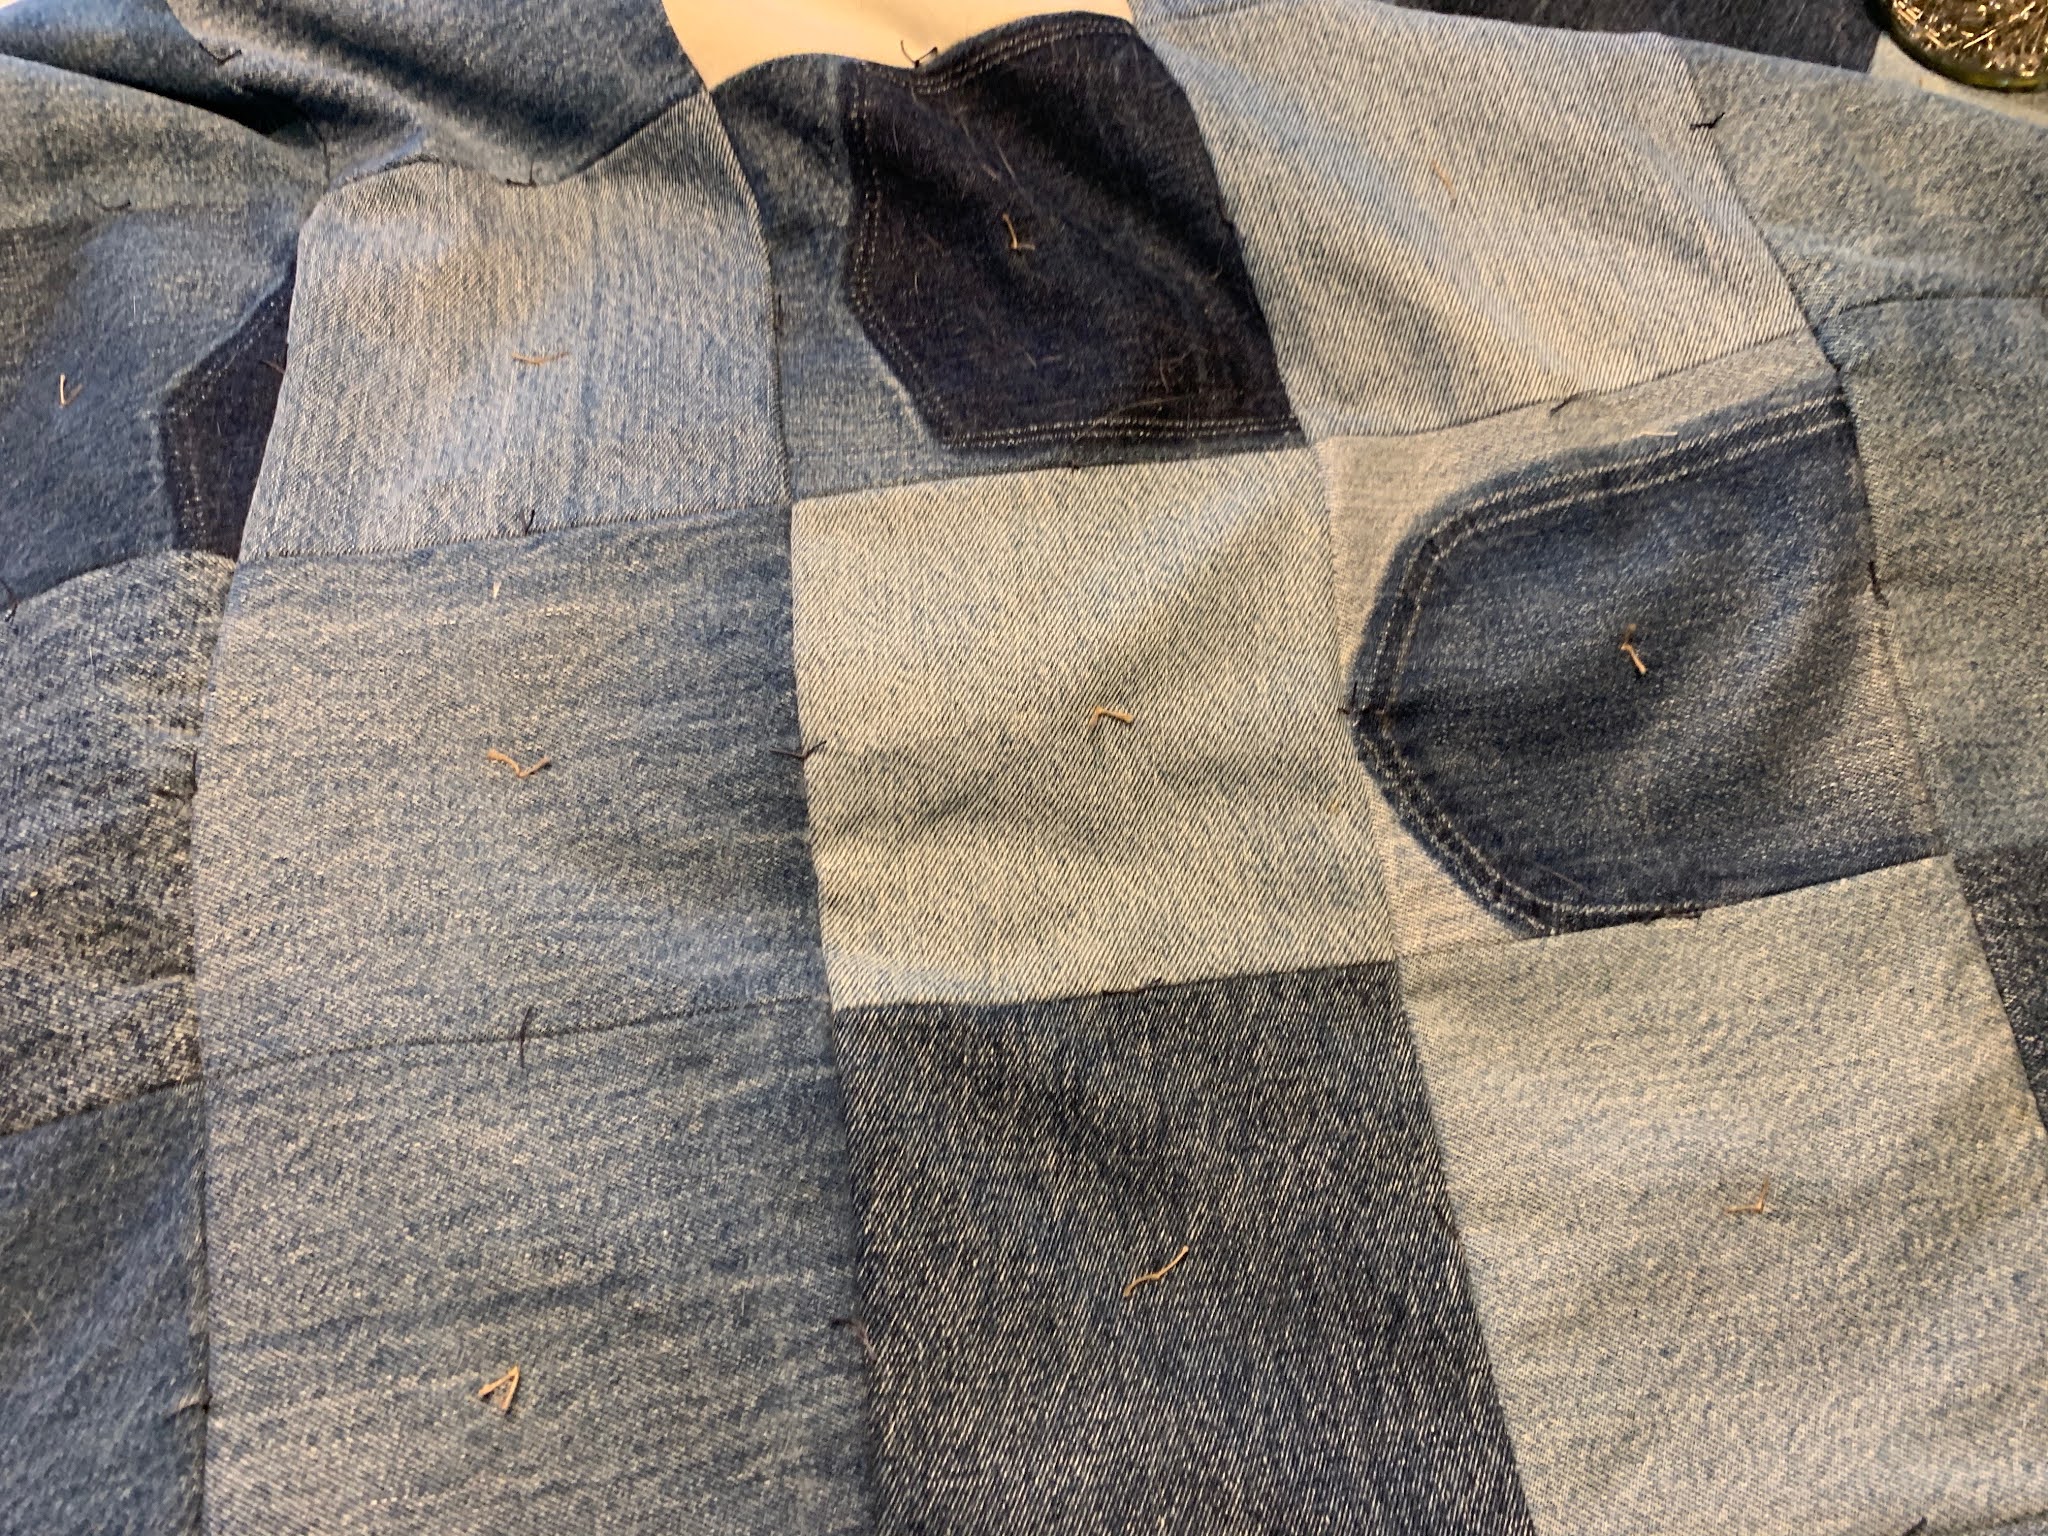
This is the second and final denim quilt that came from Ethel's stash. There were already five columns pieced, each 2 blocks wide and 12 blocks long. Fortunately, there were no missing squares and I did not have to add any new blocks from my denim scraps. I played around with the layout a bit before sewing all the columns together. The blocks are a colorful mix of denim in white, light blues, and dark blues. Some pieces had the shadow of a pocket that had been removed.
Laying out the five columns
The sewing was done on my Bernina 717. It's a flatbed in a table and this gave me a bit more space to maneuver the heavier fabric. 
No issues with the sewing
I measured a few of the previously completed seams and decided to use a 3/8 in" seam to finish the top. Clearly, Ethel had taken her time to press all of her seams open, so I continued in that fashion. 

Seams pressed open
 For the backing, I used another piece from Ethel's collection. After washing it, I cut it in half and put a seam up the middle. That made it large enough to cover the back.
It was a very long piece before washing and cutting
70's colors, I think
Help sewing the center back seam
Early one morning in June, before the heat of the day kicked in, I basted the quilt on the back patio. There is shade back there until about 7 am so I started at about 6 am and finished just as the sun was starting to come over the tree tops.
Backing
For the batting, I searched online for alternatives to cotton or poly batting. The denim top itself is a bit heavy and will be warm, so I was looking for something lighter weight and thinner. One blog writer suggested using a flannel sheet for the middle layer. I didn't have any flannel sheets, but thankfully, mom did.
Flannel sheet instead of batting
Pieced top
Not a bad view while I was pinning
Completed just as sunlight starts to come through the trees

I didn't have a sewing machine with enough harp space to accommodate all this fabric while I was quilting so I watched a tutorial online and tied my first quilt. I used two colors of button and carpet thread and tied each square once on each of its four sides and once in its center. 

Needles and thread for tying quilt


Blue thread on the sides and tan in the block centers

 Good napping quilt even with safety pins in it

Very sharp needle needed to push through the seams
Knots were tied and the ends trimmed short

For the binding on this quilt I used some leftover blue windowpane fabric that a co-worker Martha shared with me this summer. There was just enough to cut 1.5 inch strips for the binding.

Binding sewn on to quilt
After trimming off the extra batting and backing, I finished the binding by hand. 

Binding at the corner
I found out that I cannot use these quilts for Project Linus because they are made from recycled denim, but they will get a good home eventually. For now, I think one or both of the denim quilts will hang in my classroom.

Back side


Saturday, August 8, 2020

Red Stars Quilt

Shining in the sunlight
This quilt was started more than 5 years ago. All of these fabrics are from mom's stash. I started with a few small stars and then headed back to mom's to pick out as many complementary reds, whites, and off-whites as I could find. If I had a plan at the time, for what this quilt would look like, I do not remember it at all. Judging from some of these pictures, most of the piecing was done on my Pfaff 131. 
Making stars without an end goal in mind
Making a large star
Large star filled with other stars and squares
Filling in the large star
Large star is finished
Background of darker squares
Hanging in the dining room
While it was waiting for the next step the pieced top spent time hanging in the dining room, hanging in my classroom for the 2018-19 school year, and sitting folded in a pile. Finally, while we were self-distancing in March of 2020, I got around to making a backing for the quilt. This was a fun backing to make as I had to use only the fabrics that were in the house. Originally, I wanted to use only reds and browns but I had to branch out a bit when I realized I didn't have enough scraps in that range.
Back was pieced over spring break
Looked like it was going to fit
This quilt was basted in April while we were social distancing. Normally, I would have taken the quilt over to mom's so that I could work on carpeted floors, but I had to get creative at my house this time. I ended up taping the backing to my floors with blue painters tape and then sliding my rotary cutting mats around under the layers so that I didn't damage my wood floors with safety pins.
Backing taped to the floor
Layer of batting
Stewie admiring a job well done

Once the quilt was basted, I started hand quilting the star in the middle with concentric circles. I used my PVC lap frame and worked when I was watching movies or during Loose Ends. It took a couple months to finish the circles at that rate.

Finished circles viewed from the back
Finished circles
When the circles were done I decided that I wanted to machine quilt the background. For that I used my Bernina 717. It took the remains of 4 different spools of brown and tan thread, but I don't think you'll be able to see where the thread color changed.
4 empty spools
The seam guide on the walking foot saved me from having to mark every line with chalk
Hand and machine quilting finished
When it came time to do the binding, I had very few fabric pieces of any size left. Most of the extras had gone into the backing. I pulled out any and all scraps I could find and it ended up making a strip that has a seam about every 6-10 inches. I sewed the binding on by machine and then finished tacking it down by hand.
Piecing scraps for the binding
Working on the porch late one evening
Binding done, ready for the wash
All those concentric circles
The patchwork backing is almost as interesting as the front of the quilt
The clothes line needs to be a bit higher up
The last thing to do was sew a sleeve on the back so that I could hang it on a dowel rod. I finished attaching that by hand and then hung the quilt in the dining room.