 |
| My first pair of trousers |
Since I had made the Lander shorts from True Bias Patterns last fall, I thought the Lander pants would be a good introduction to the realm of sewing trousers. Based on my shorts, I cut a size 14 and then added 3 inches to the suggested length to make sure the legs were plenty long. This time I actually made the back pockets from the pattern and I cut lining for the front pockets. I still opted to leave off the belt loops.
The fabric was from the Salvation Army and a little under 3 yards of black denim cost $6. I did prewash and dry the fabric before cutting. When I was constructing the trousers, I had three machines set up so that each step could be done without losing too much transition time. All the stitching was done on my Bernina 1230, the buttonholes on my Singer 201, and the serging on my Bernette 43D. Next time, I would consider setting up another Bernina, one for sewing and one for edgestitching.
 |
| Lining up back pocket corners |
 |
| Front pockets edgestitched and lined |
Outer leg seams were serged.
 |
| Inner leg seam finished |
Crotch seam serged up to fly opening.
 |
| White X is for fly opening |
Right side fly opening serged.
 |
| Right side of fly will be attached to pants to hold buttonholes |
The buttons I chose were a bit thicker and needed a bigger opening. The holes will go up to 1/4" from the edge of the fabric. These are probably the largest size buttons I could have used.
 |
| Three holes on fly opening now and one on waistband later |
I did try on the pants a few times to take in or let out the basted side seams. I needed more room in the hips, thighs, and buttocks areas so those went down to a 1/2" seam allowance, but I kept the 1" allowance below the thighs. The seams were finished with the serger and then I put the buttons on by hand. The buttons were from the old box and I was lucky to find four of a kind. When I tried on the pants with buttons, I was not happy with the tension on the top two buttons and decided to take those out and move them over. I wanted the right fly to lay right on top of the left fly.
 |
| Top two buttons came out for repositioning |
The second time I tried the pants on with buttons they lined up much better, but there was still too much tension on those two buttons.
 |
| Add caption |
It's not called for in the pattern, but I ended up putting in a hook and eye between the top two buttons and this took most of the stress off the buttons.
 |
| There is a little bump above hook and eye, but buttons and both sides of fly line up |
At this point I checked fit all the way around.
 |
| The back pockets look pretty even |
 |
| Front pocket lining isn't visible, edgestitched nicely |
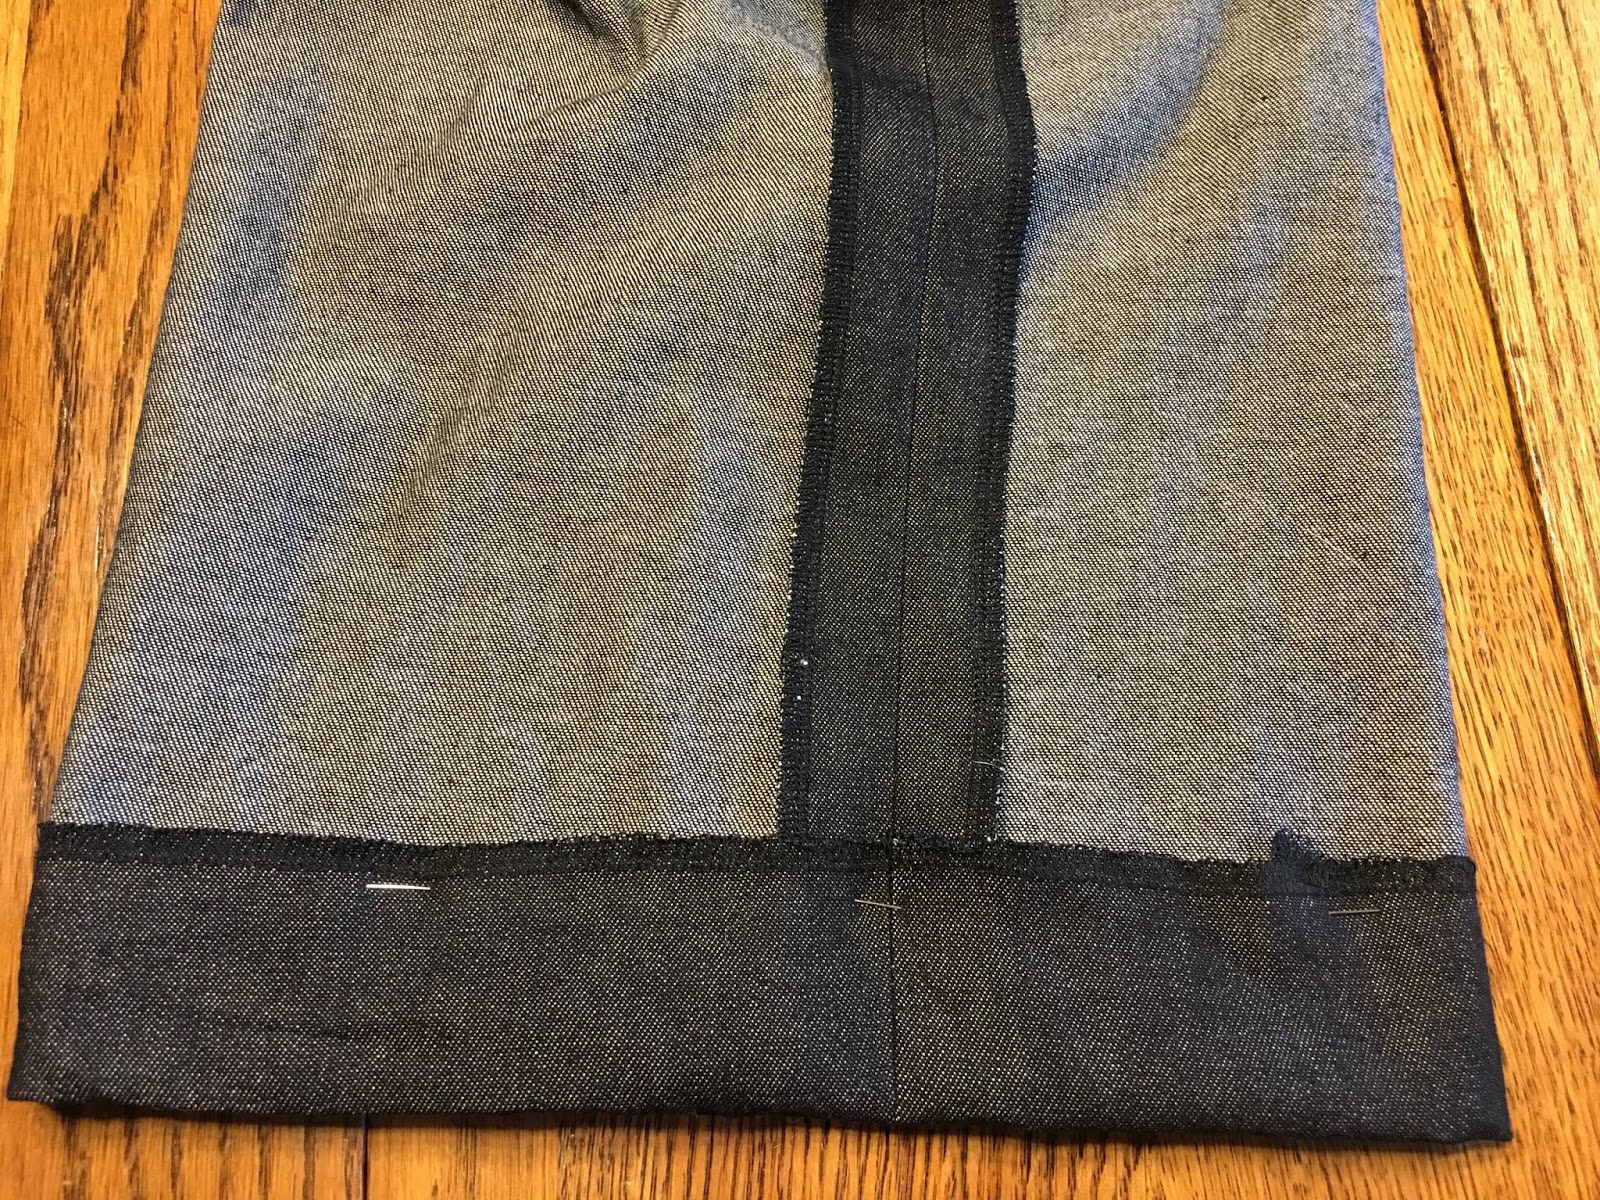
Took off 2" from leg length before pants were hemmed so I can go back later and adjust my pattern. I also serged the bottoms before turning up the hem 2" and sewing it down.
 |
| Turning up hem to finish |
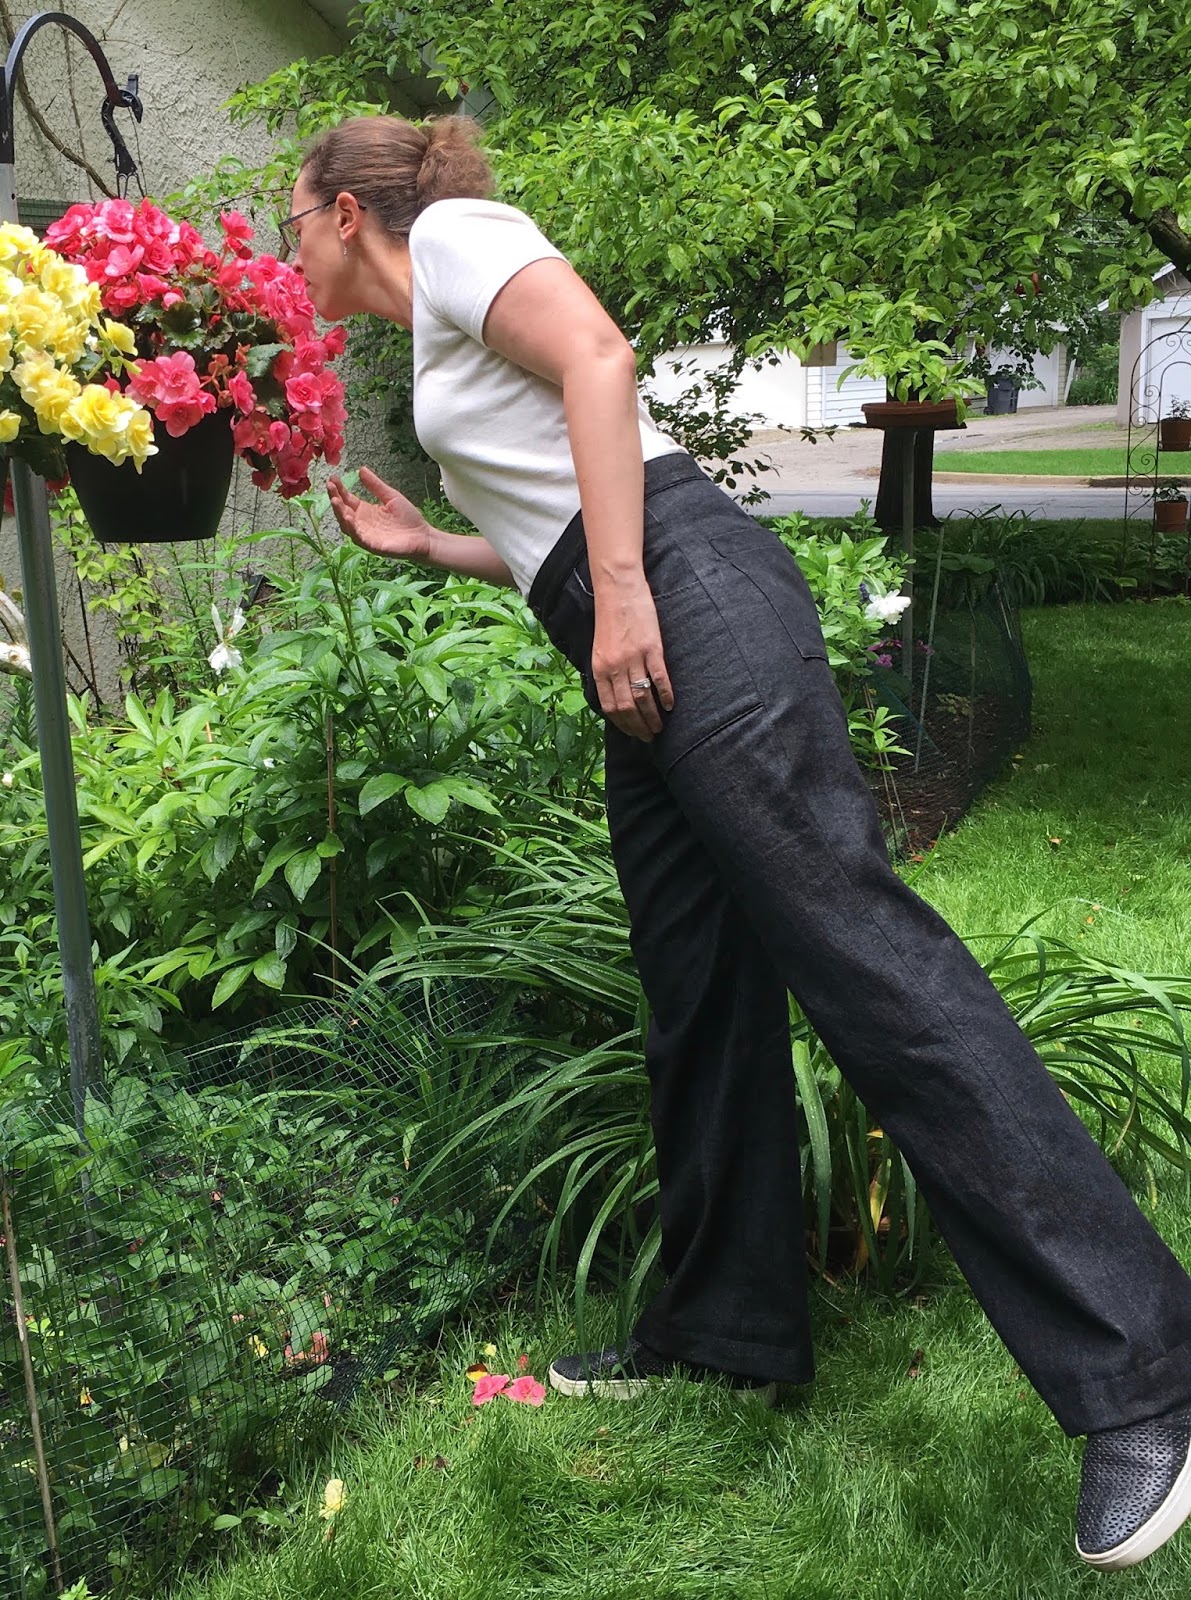
In between rainstorms I was out in Mom's garden and mine to snap a few quick pics.


No comments:
Post a Comment