 |
| The Classic at Bra-makers Supply |
Mom signed us up for a class with the Fairy Bra Mother, Beverly Johnson, back in May. Instead of taking our annual end-of-school vacation to go hiking, we decided to change it up a bit and take a 'working' vacation later in the summer. This time, we headed northeast across the border into Canada. Neither Mom nor I had ever been to Canada and this was the first time we used our new passports. The Beginner Bra-101 class was this past Monday and Tuesday, July 15-16, in Hamilton, Ontario. Mom and I drove up to Hamilton last Friday and had 2 days to be tourists before class started.
On Saturday we went to Toronto. We visited The Workroom for a bit of shopping and then walked around that neighborhood. On our way back to the hotel we stopped and visited the Royal Botanic Gardens.
On Sunday morning we drove down to Niagara Falls. We listened to the roar of the falls, felt the mist, walked along the boardwalk, and then left before it got too crowded. We then headed up to Niagara by the Lake for lunch in the park and a walk around town. On the way back to Hamilton, we stopped at an apiary and picked up some local honey.
 |
| Perfectly sunny morning |
 |
| We're all smiles |
For class on Monday we arrived fifteen minutes early so that we could set up our machines- I brought one from home and mom rented one. There were seven women, including us, taking the class and it was fun to hear what brought everyone to this class. Mom and I were the only students not from Canada. One lady is currently living in China, but she grew up in Canada.
 |
| My Bernina Nova 900 |
After introductions, Denise, our instructor explained how the class would proceed over the next two days. Then, Linda measured each one of us for our first bra.
 |
| Linda's notes after my fitting |
 |
| Denise makes changes to the Classic bra pattern for me |
Then it was time to start sewing. Denise would talk us through a couple steps and give examples, then we had time to sew at our own pace. Included in the bra kit was an instruction booklet and I found myself making notes in the margins based on what Denise modeled or explained during the class. Even though we were all starting with the same Classic pattern, we were all making different adjustments to fit our own bodies and I wanted to make sure I kept track of my particular changes.
 |
| My first bra cups completed, 3/8" center seam was a modification for me |
 |
| Look at that pressing form, perfect for cups |
There were different elastics for the neckline, straps, and rib cage so we had to be particular about which elastic was attached where.
 |
| Adding neckline elastic |
Here's what the bra looked like at the end of the first day. I was pleased.
 |
| It's looking like a bra |
Then I turned it over and started examining my work. Yikes, it was not as impressive on that side. Do you see how the channeling on the right does not mirror the placement of the channeling on the left? The right side was sewn in wrong so that was going to have to come out. On the left channel though, I had some sloppy stitching and the wire was not going to fit so I needed to take that out too. Lastly, when attaching the neckline elastic some of the fabric in the top of the right cup got caught and there was now about a 3/8"dart, therefore less fabric in that cup. Yes, that would need to come out too. I gave myself homework that night.
 |
| Right side channel upside down, left side channel too narrow |
On the way back to the hotel that night we stopped at Ann's Fabric Shop. They had wools, knits, jerseys, linens, and upholstery fabric too, but there was such a vast collection of glitter and sequins that nearly everything was covered in sparkle.
We arrived at class by 9 am on Tuesday and I had a few minutes to resew everything I had spent 40 minutes taking out the night before.
 |
| Let's get those changes made |
Then I was able to move on to finishing the bra straps, back clasps, putting in wires, and adding the bow. Because I had put the bar tack a bit low on the bridge end of the channel, Denise had to get out the bolt cutters and trim about 3/8" from the ends of my wires. Next time, I will raise the bar tack and the wires will fit without cutting. The kit came with a white bow, but Denise and Linda both suggested that I switch it out for lilac to match the thread in the bra. That was a good option.
By 11 am, my bra was finished and I had my second fitting. Linda and Denise made two small changes to the pattern itself, I will need to wear a 3/4" extender for the back clasp, and we decided that I should cut 12" shoulder straps next time. Overall, the fit on this first bra was very good!
 |
| With lilac bow and after second fitting, just need to trim the channel end |
Here are two pictures of the bra on my dress form. The dress form is not exactly my size, so the bra looks a bit loose and the extension for the clasp is not needed.
 |
| Finished bra |
 |
| Back view, still need to add extender to clasp |
After finishing our first bras and before breaking for lunch, mom and I wandered over to the supply store next door and chose the fabric and fittings for our next bra. I wanted to practice the same construction process, so I chose to make the same bra again in a different color. After lunch we started working on the new bras.
 |
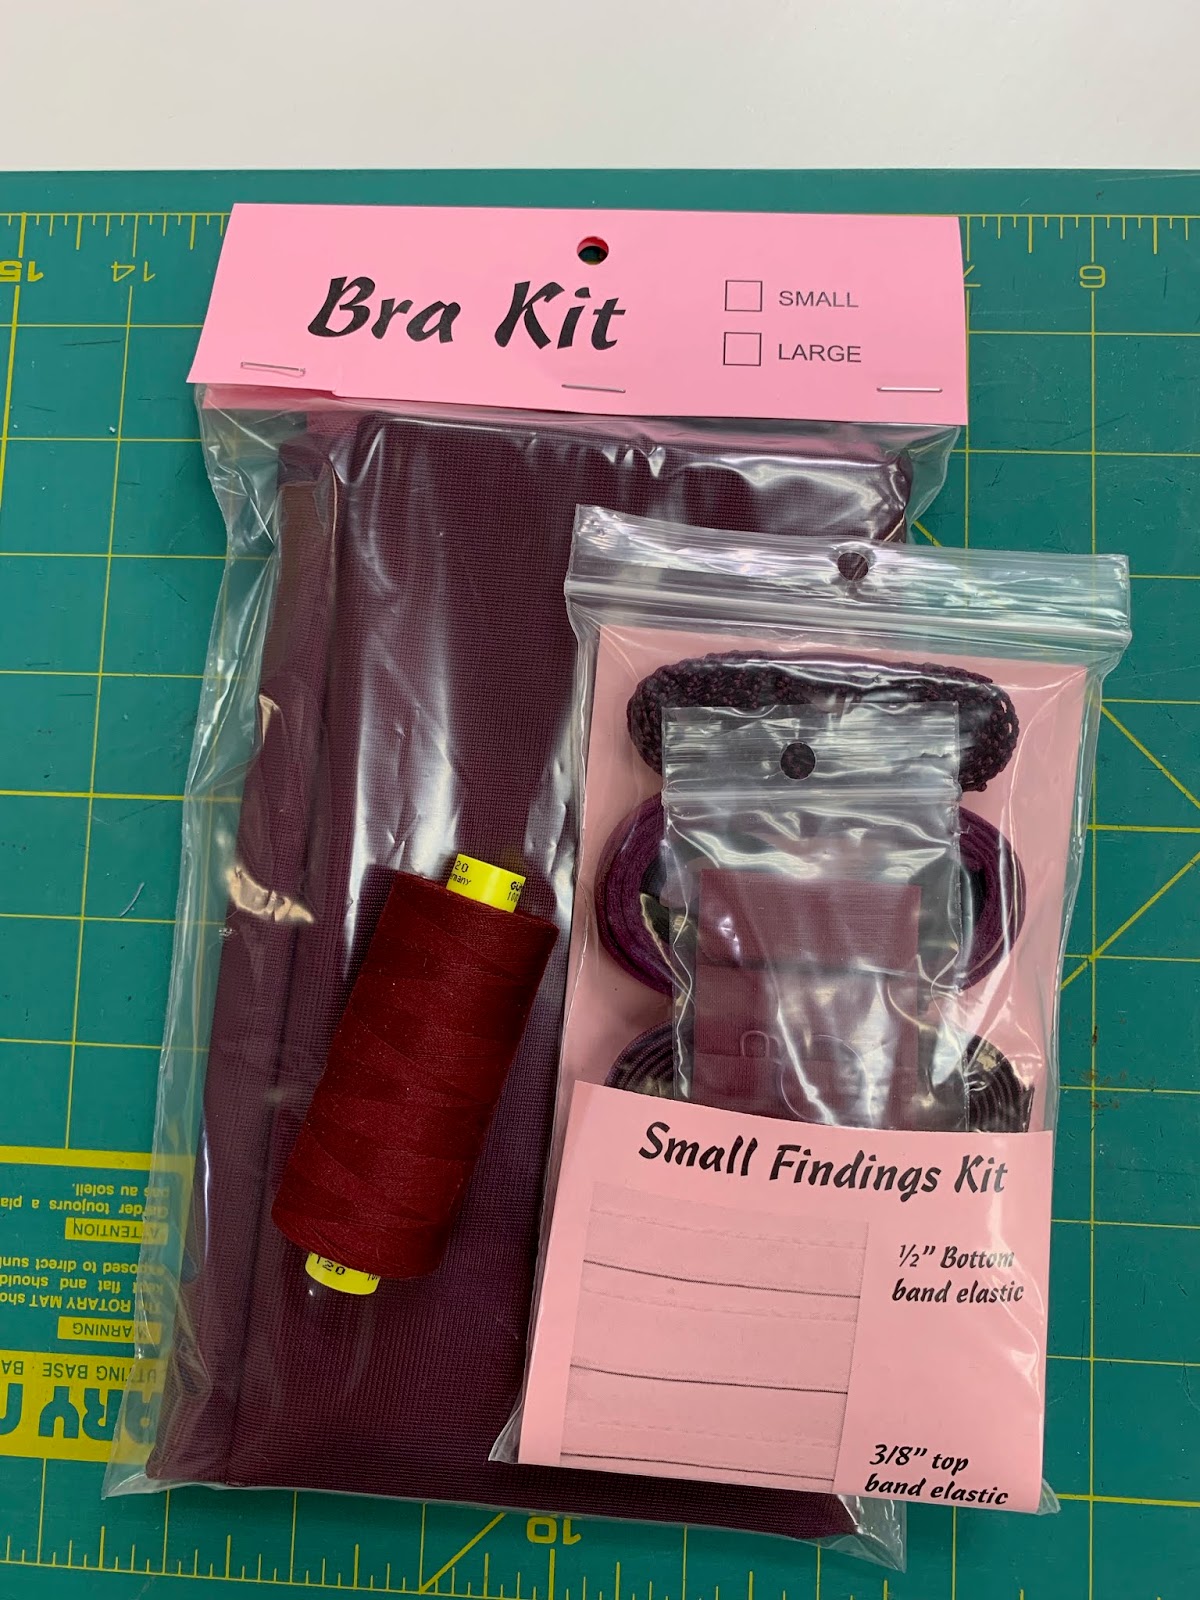
| Second bra will be burgundy |
Before packing up on Tuesday, mom and I visited the store next door again and picked out supplies for 3 more bras each. There were so many colors, findings, and laces from which to choose. It's going to be fun to get creative with future bras.
Denise also altered a Shelley pattern for me so that I could try one with a little push up support. I brought that pattern home to try at a later date.
The burgundy bra was a little over halfway finished by the end of class on Tuesday. I ended up finishing it on Friday morning at home. This time I didn't have to take out any errant stitches and I put the bar tack in the correct place so that the wires would fit without having to be trimmed.
 |
| Burgundy beauty |
 |
| Got to get that clasp extender |
So, now I have two new well-fitting bras and the skills and materials to make several more. I am so pleased that mom and I took this class. We always have a good time on our summer adventures and we both sew throughout the year, but this was the first time we combined the two activities and it was a success. Thanks for being the best travel companion and fellow sewist, Mom. I'm looking forward to many more trips and projects with you.


Great blog post, thank you for doing it so thoroughly. The black cherry bra is just beautiful. I’d already forgotten what we did when on our days at Toronto and Niagara, so it’s good to have a diary. We did neglect to get photos of the wares at those wonderful bakeries!
ReplyDeleteWonderful blog post, thank you for detailing the construction process. This class is something I have wanted to do for a while but have not gotten around to it, especially since I live in the city next door! (I know your mom on Ravelry, I am "lagitana") congratulations on you both making your very own bras, they look fabulous!
ReplyDeleteDeborah
Deborah, thank you for taking the time to comment! I encourage you to take any class from Bra-makers Supply--you'll wonder why you didn't do it sooner.
Delete