Monday, July 8, 2019

Shirtdress B5526


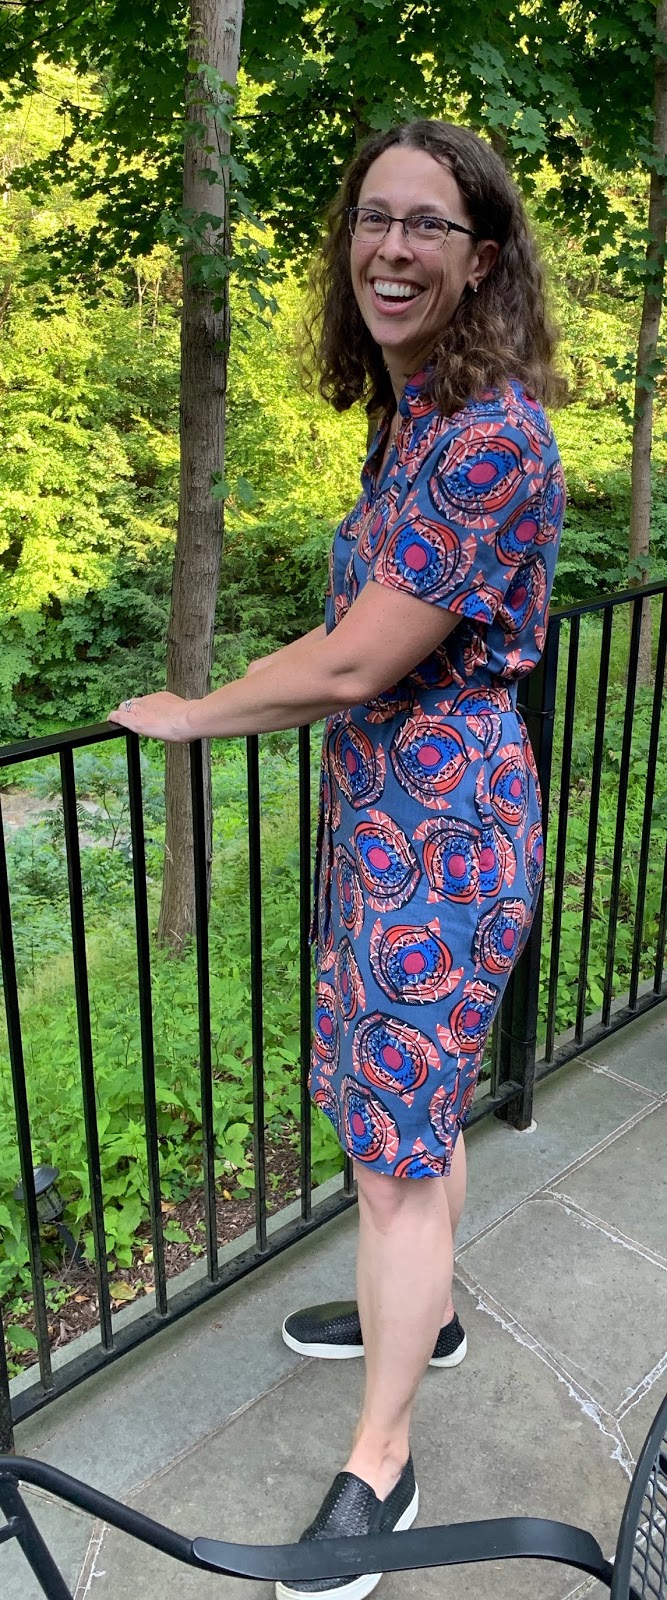
The pattern is B5526 shirt, view A with short sleeves, that I lengthened to a dress. Fabric came from Ginny's in Rochester. I had all my fabric catalogued on my phone, but earlier this summer I was having trouble with my phone staying charged. When I took it in to the Apple store they erased everything on my phone and started clean. One of the things I lost in the process was my online catalogue so I don't know exactly when I bought this fabric or what the content is. I also lost the record of my finished projects, so it's a good thing most of the projects are also somewhere on this blog.
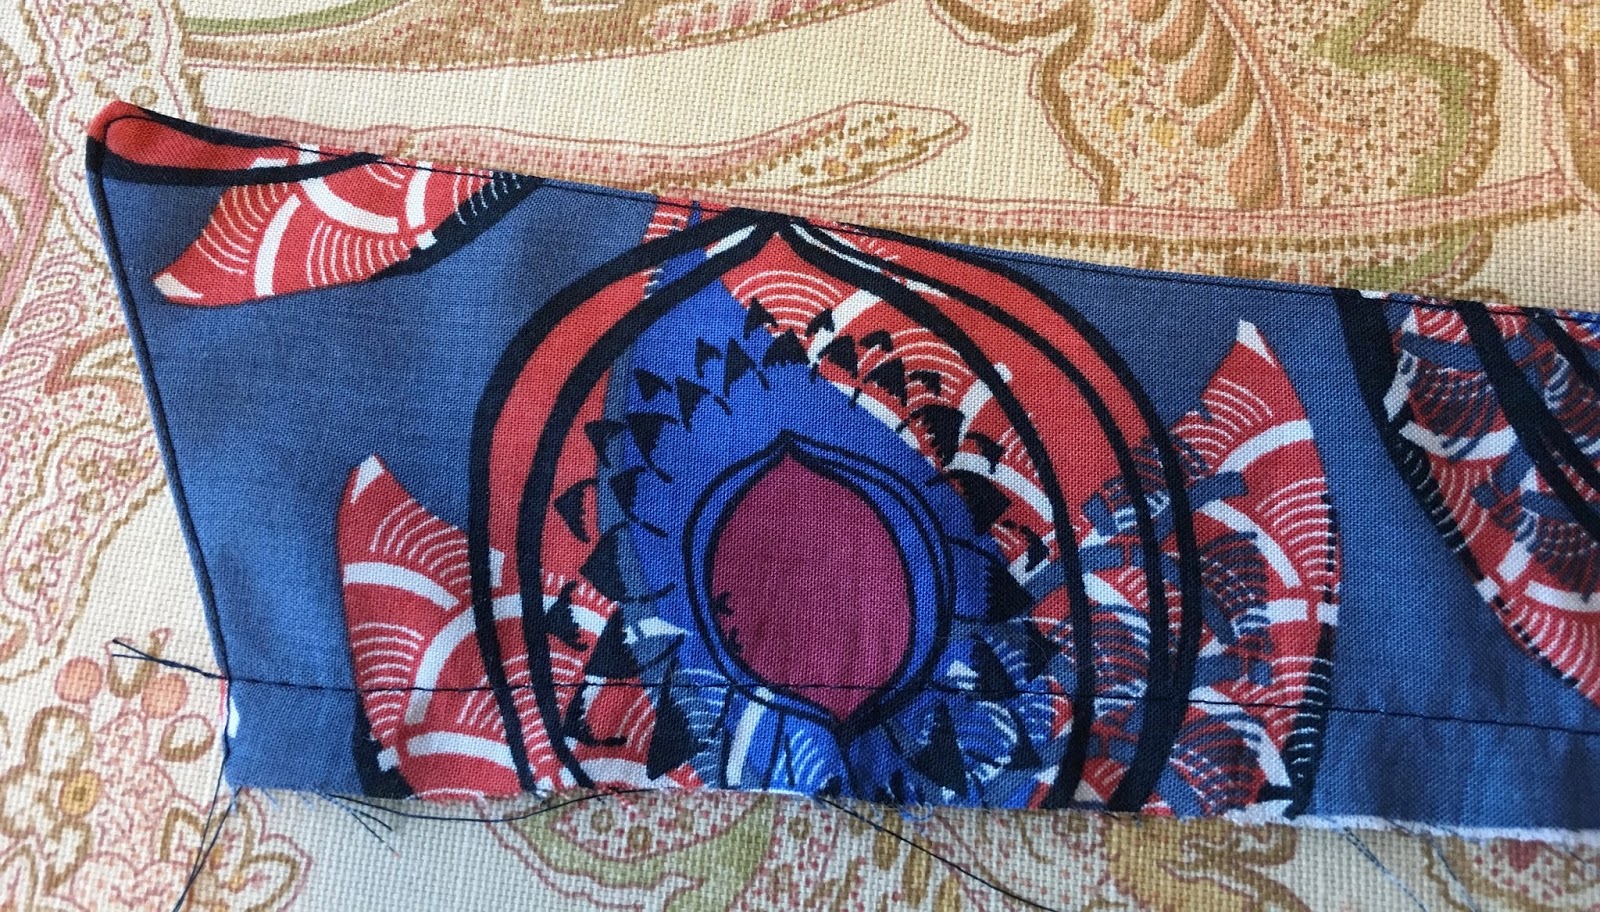
This fabric was somewhat slippery and I chose to use the Bernina 1230 with the walking foot for all seams and hems on the dress.
Finishing hem with walking foot
The collar and collar stand are edge-stitched.
Working on the collar
I decided not to put on the front pockets as the fabric has a bold print already and the pockets would require some serious pattern matching.
The buttons came from Vogue Fabrics. My first choice was a gray blue, but there weren't enough of those buttons in the store so I auditioned options. I decided to embrace some of the bright colors and tried out some red/orange buttons.
Started with buttons to match the gray blue
Again, with color
Buttons are spaced 4 inches apart
As usual, the buttonholes were done with my Singer 201 and its magic buttonhole attachment. There are 12 buttons on the front of the dress and even though my thread broke a couple of times all of the holes finished well.
Buttonholes
Once the dress was finished, I tried it on and decided it needed some sort of belt. I didn't have a pattern for the belt, but cut a 2 1/2 inch band about 48 inches long. 
Since this was a franken-pattern combination, I need to go back and trace the pattern to use in the future. It also needs some pockets in the seams, I need to figure out how to add those next time.
The first outing for this dress was last weekend at the rehearsal dinner for Nikki and John's wedding in Pennsylvania. After being packed in a suitcase for several hours the dress had a few wrinkles, but was perfectly lightweight for the warm evening.
View from the patio
Maybe a bit too much fabric in the skirt
Is the print on the fabric black holes, eyeballs, or donuts?
T and I enjoying dinner


Sunday, June 30, 2019

Lander Pants

My first pair of trousers
Since I had made the Lander shorts from True Bias Patterns last fall, I thought the Lander pants would be a good introduction to the realm of sewing trousers. Based on my shorts, I cut a size 14 and then added 3 inches to the suggested length to make sure the legs were plenty long. This time I actually made the back pockets from the pattern and I cut lining for the front pockets. I still opted to leave off the belt loops.
The fabric was from the Salvation Army and a little under 3 yards of black denim cost $6. I did prewash and dry the fabric before cutting. When I was constructing the trousers, I had three machines set up so that each step could be done without losing too much transition time. All the stitching was done on my Bernina 1230, the buttonholes on my Singer 201, and the serging on my Bernette 43D. Next time, I would consider setting up another Bernina, one for sewing and one for edgestitching.


Lining up back pocket corners
Front pockets edgestitched and lined

Outer leg seams were serged.
Inner leg seam finished
Crotch seam serged up to fly opening.
White X is for fly opening
Right side fly opening serged.
Right side of fly will be attached to pants to hold buttonholes
The buttons I chose were a bit thicker and needed a bigger opening. The holes will go up to 1/4" from the edge of the fabric. These are probably the largest size buttons I could have used.

Three holes on fly opening now and one on waistband later
I did try on the pants a few times to take in or let out the basted side seams. I needed more room in the hips, thighs, and buttocks areas so those went down to a 1/2" seam allowance, but I kept the 1" allowance below the thighs. The seams were finished with the serger and then I put the buttons on by hand. The buttons were from the old box and I was lucky to find four of a kind. When I tried on the pants with buttons, I was not happy with the tension on the top two buttons and decided to take those out and move them over.  I wanted the right fly to lay right on top of the left fly.
Top two buttons came out for repositioning
The second time I tried the pants on with buttons they lined up much better, but there was still too much tension on those two buttons.
Add caption
It's not called for in the pattern, but I ended up putting in a hook and eye between the top two buttons and this took most of the stress off the buttons.

There is a little bump above hook and eye, but buttons and both sides of fly line up
At this point I checked fit all the way around.
The back pockets look pretty even
Front pocket lining isn't visible, edgestitched nicely
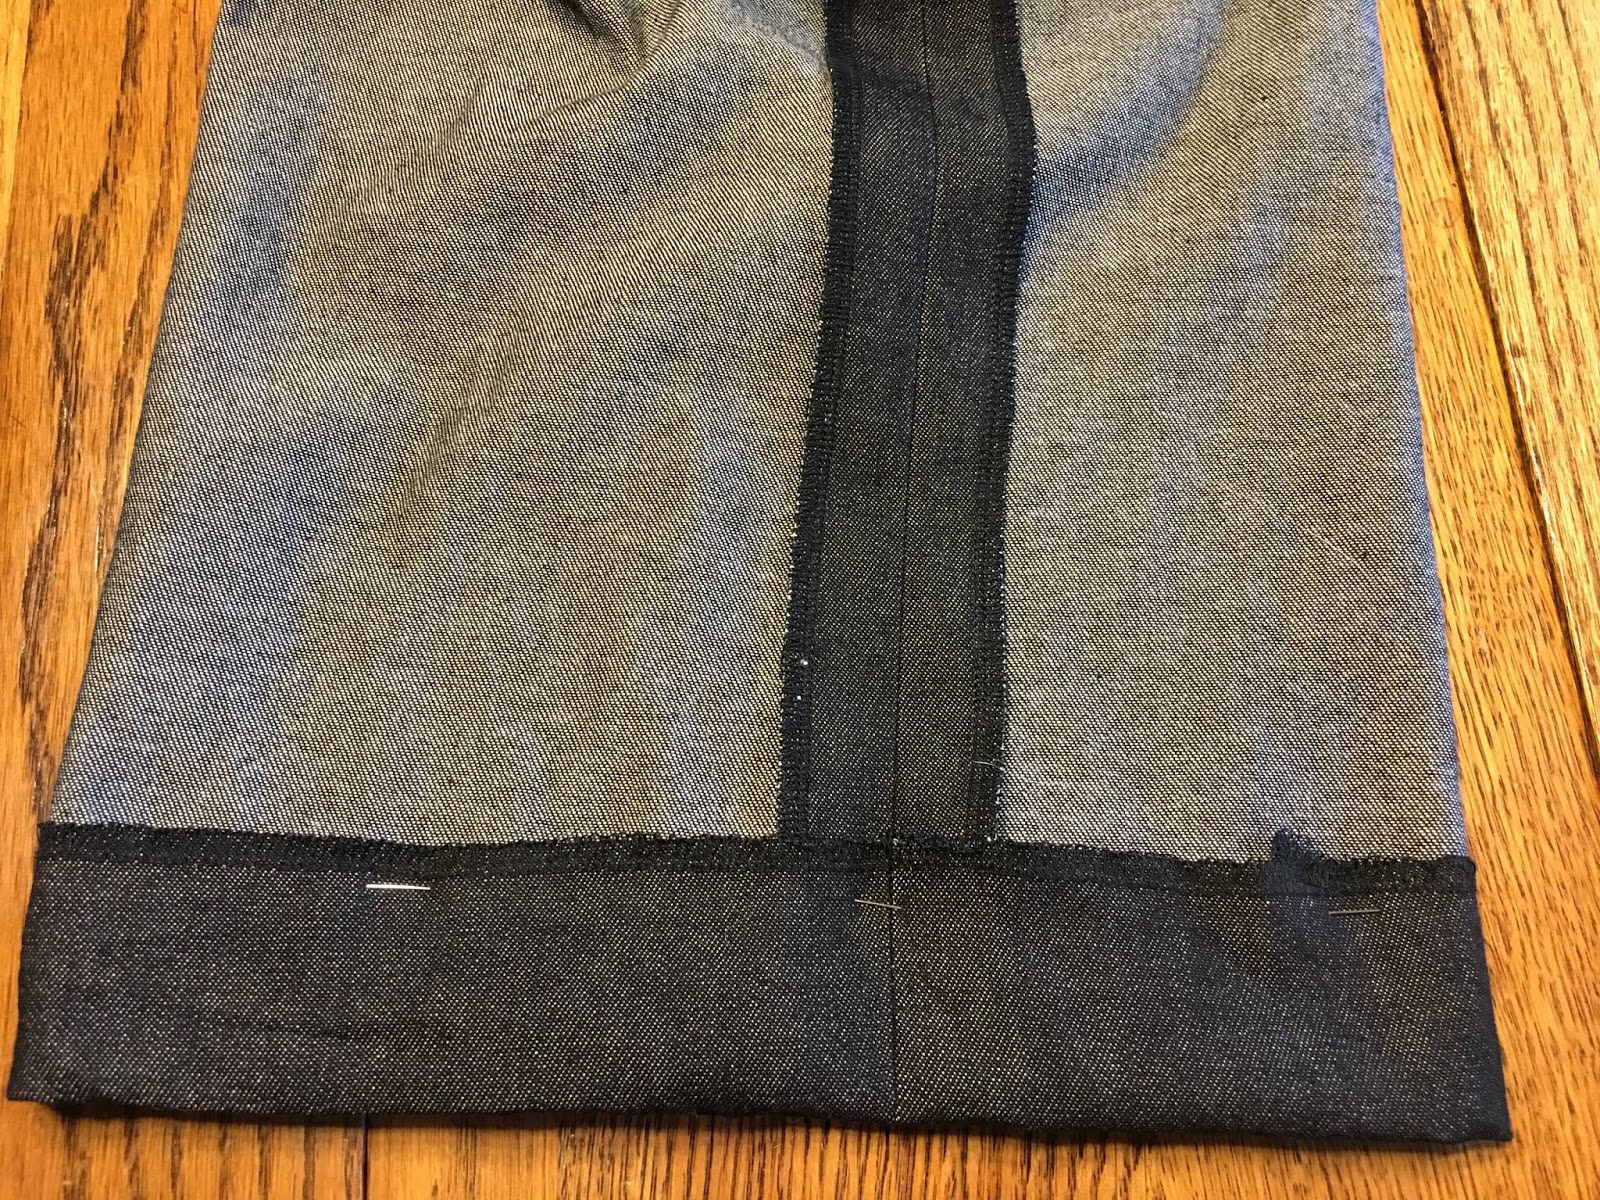
Took off 2" from leg length before pants were hemmed so I can go back later and adjust my pattern. I also serged the bottoms before turning up the hem 2" and sewing it down.
Turning up hem to finish
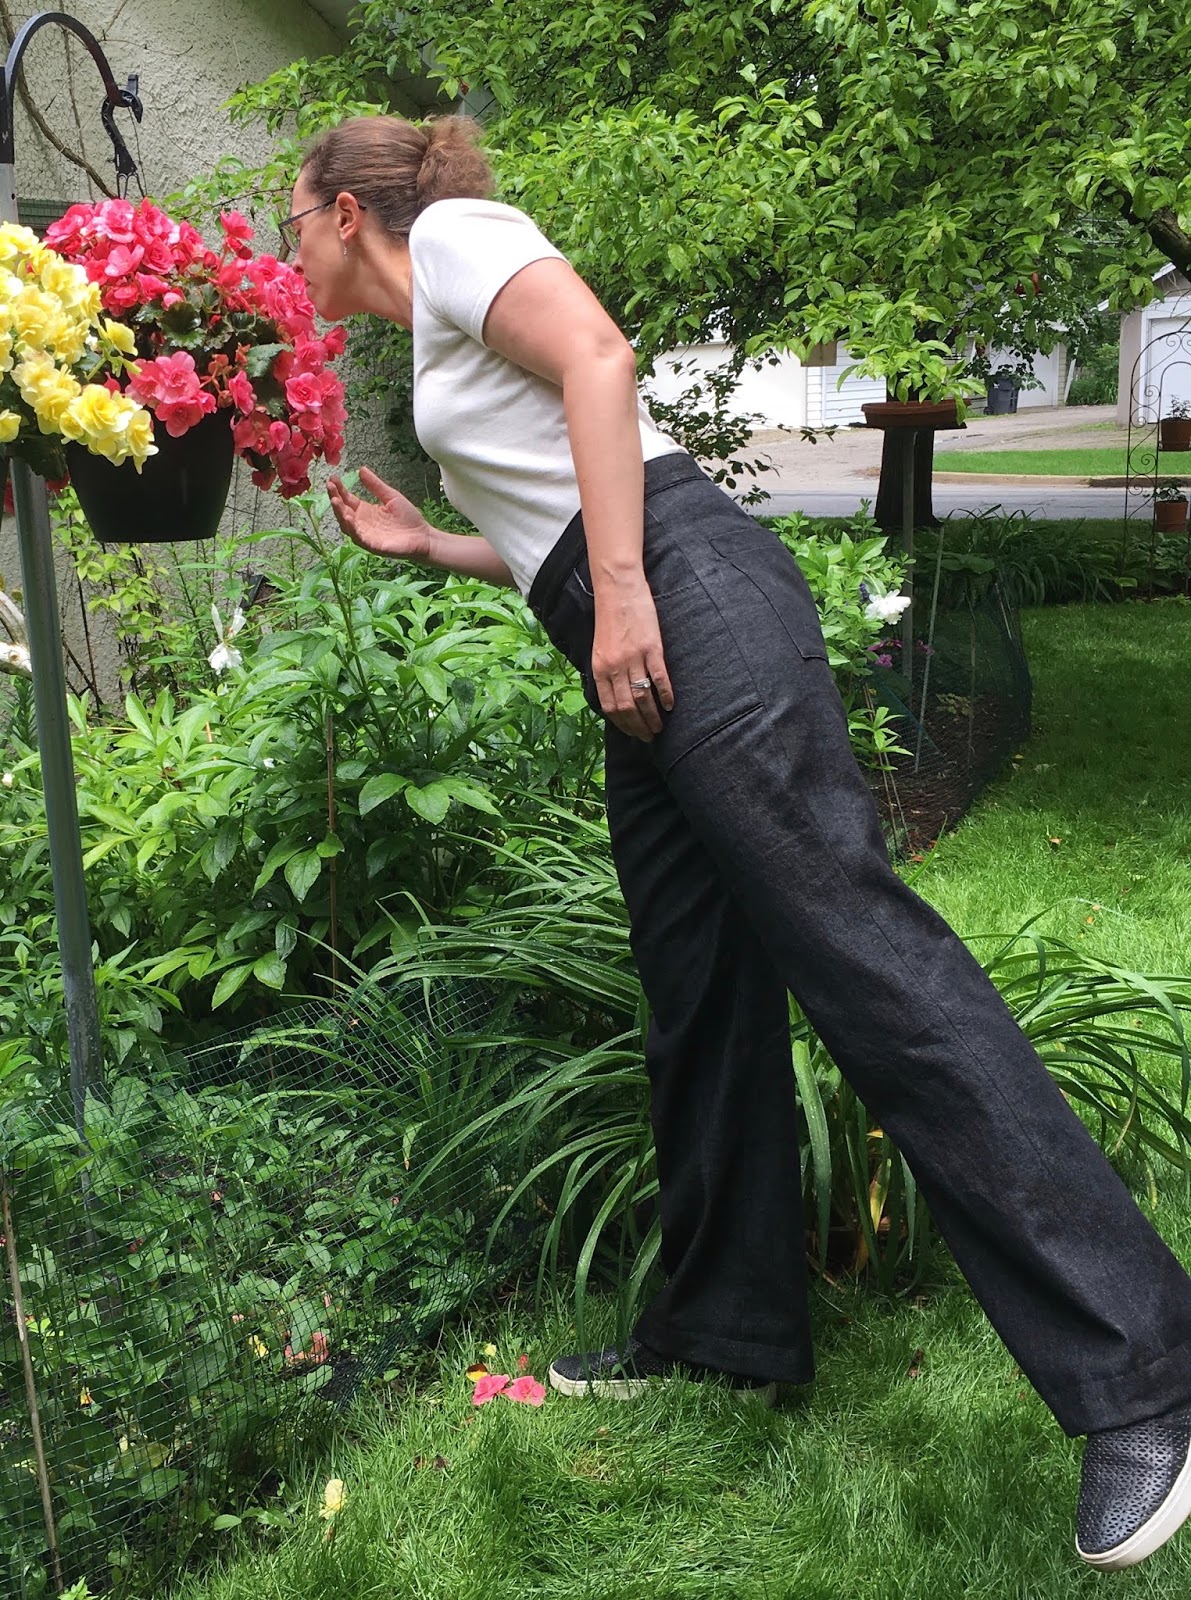
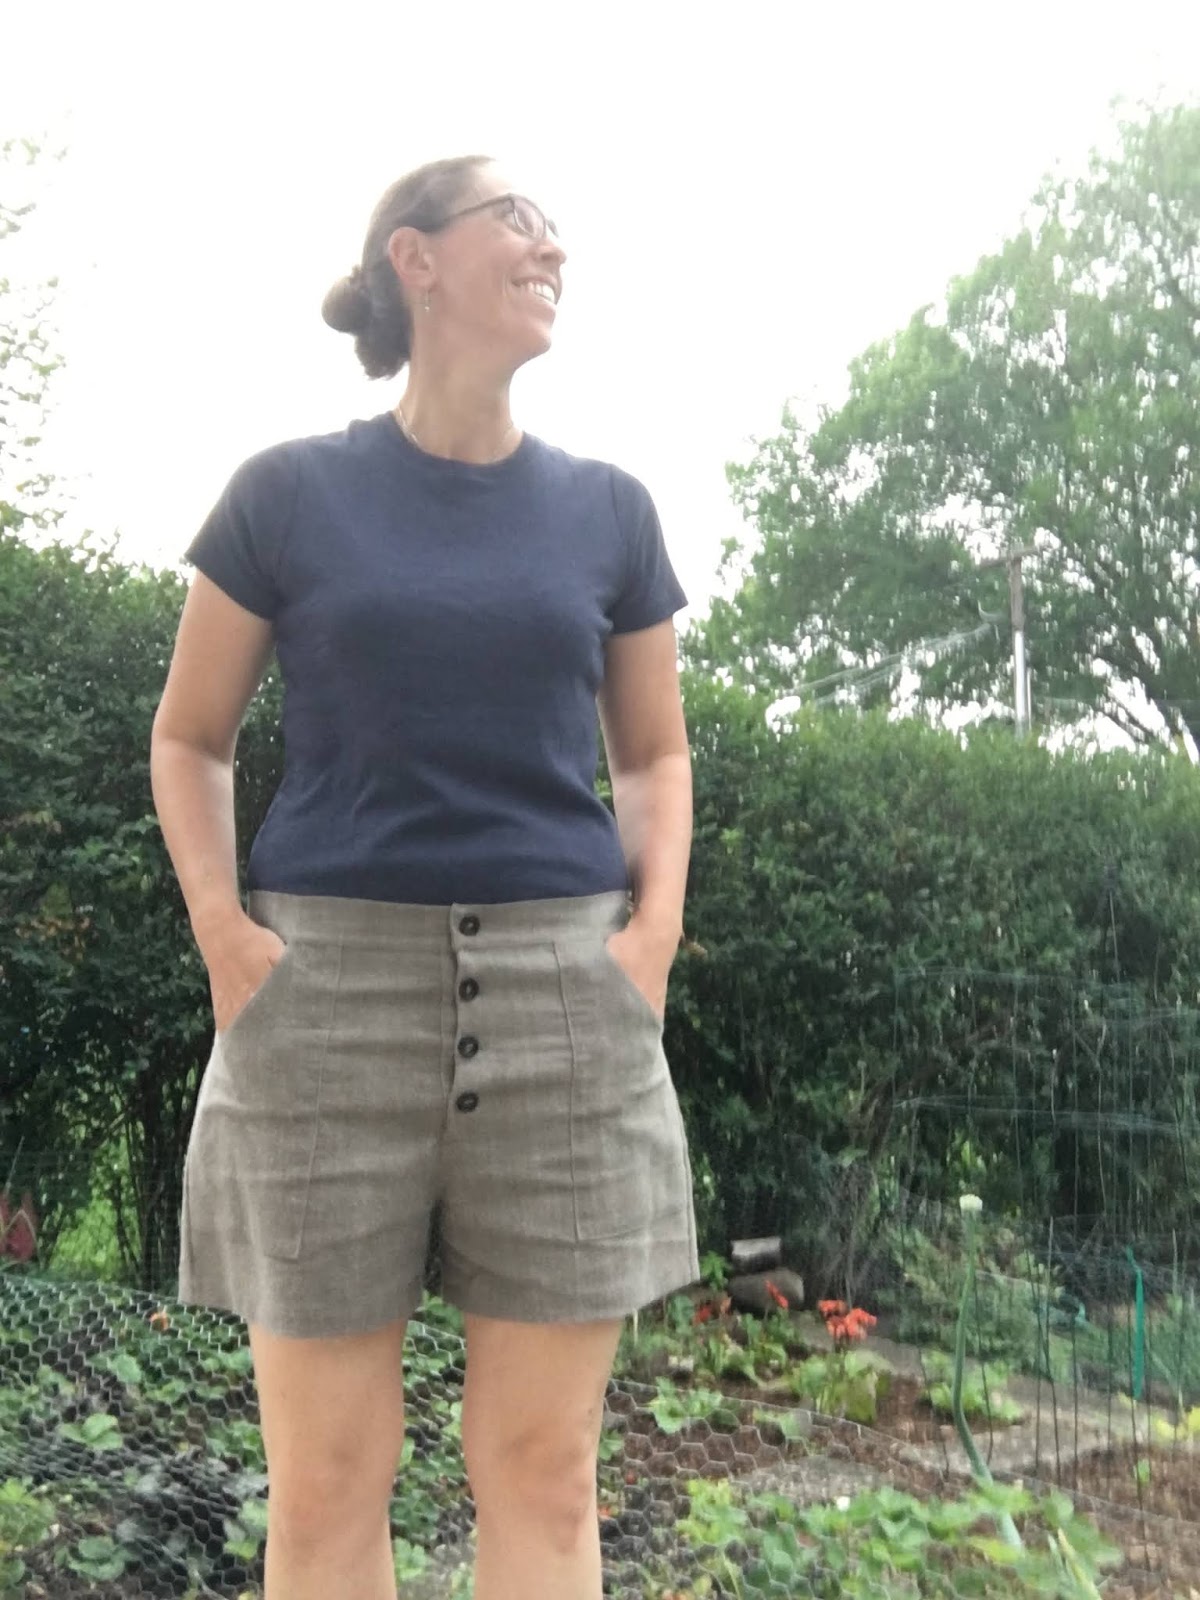
In between rainstorms I was out in Mom's garden and mine to snap a few quick pics.

Looking pleased with my trousers
Nice big pockets
Wide-legged all the way down to the hem
A bit wrinkles, but good fit
Oops, lost my forehead on that one
2 minutes later is was pouring rain again


Monday, June 24, 2019

Lander Shorts

Shorts, for the 5 days we've needed them so far this summer
These started out as a muslin to test fit, but they turned out very wearable and will be a great addition to my summer wardrobe. The fabric came from a fabric remnant bag I picked up off of Craigslist. I'm not sure what the fabric content is, but it's thick and I think it will be very durable. The pattern is the Lander Short from True Bias Patterns. I cut a size 14 and left out the pocket lining since it was planned as a muslin. All sewing was done on my Bernina 1230 and buttonholes were on the Singer 201.

Front pocket, unlined
The back pockets turned out a bit smaller than the pattern called for because I decided to use selvedge for the tops and did not have to fold and finish the top edge.
Setting pocket before edge-stitching
Back pockets finished
Buttonholes done with Singer 201
 Edgestitching gave the waistband and pockets clear definition.
Attaching waistband
Buttons from the collection
Surprisingly, I found four matching brown buttons in the vintage button box and the hook and eye closures were picked up at an estate sale. The three bottom buttons are functional, but the top one on the waistband is decorative. There is a hook and eye underneath that button.

Buttons and hook & eye closures from the stash
Trying out the fit. There are some wrinkles and creases, but that may be due to having just finished sewing them and not pressing.
Looks good in front
Back pockets are even
I finished these shorts last fall, but they had to sit in storage until just this week. Here are a few pics fresh out of the Rubbermaid bin.
A bit wrinkly
I still like the selvedge on the pockets
Doing a little porch sitting with Stewie


Sunday, June 23, 2019

Blue Scraps Quilt

Scrappy Blue
This quilt was made with a baby in mind. I planned to make it completely from scrap fabrics from other projects and to use all sorts of colors and patterns that would be a visual treat for a little one who was just learning to recognize colors and patterns. The actual design of the blocks was guided by the pieces of blue fabric left over from my nephew's quilt. These were the insides to a Drunkard's Path block and I could easily cut off the curves to make triangles. Using the blue triangles and some white square centers, I made a Churndash block. The consistent blue and white gave structure to the block and then I was free to fill in the rest of the block with eight different fabrics. For these, I used scraps from my stash, both my sisters' stashes, and my mom's stash. There are fabrics from numerous projects over the years.
Innards from previously cut Drunkard's Path blocks
I cut the largest triangles I could from the quarter circle pieces and sized the new blocks this way
The piecing went along well until I was about three quarters of the way through. 
Very few repeated fabrics
At this point I decided the quilt was too small, and I needed to put another row of blocks on the top so that there would be 25 white squares total. I had used up all of the blue quarter circle pieces, but there was one piece of uncut blue left over and I planned to just go as far as I could with it.
Too small for a finished size
Last bit of blue fabric
The finished size ended up 29 inches square.
Some repeats in fabrics, but such a variety overall
Pieced, ready to baste
Quilt was small enough to baste on my dining room table
For the quilting I had the Bernina 830 set up on the dining room table and mom helped me decide on a design that would go relatively quickly on the machine. I didn't use the walking foot this time as there were some curved edges. The walking foot and I don't cooperate very well when sewing curves, but I am not yet confident enough to freehand the curves with the darning foot.
Sketching out possible quilting designs
Ah yes, more help
Binding already cut, leftover from another project
Happily, there was a suitable binding waiting in the scrap stash, so the only non-scrap or leftover fabric in the whole quilt is the white cotton used for the 25 squares and for the backing. After the binding was attached and the quilt was washed, I took pictures in my garden.
So many bright fabrics for a baby
Quilting from back
Ready to meet baby