This is the Ariadne Tunic pattern from Tanit-Isis Sews at
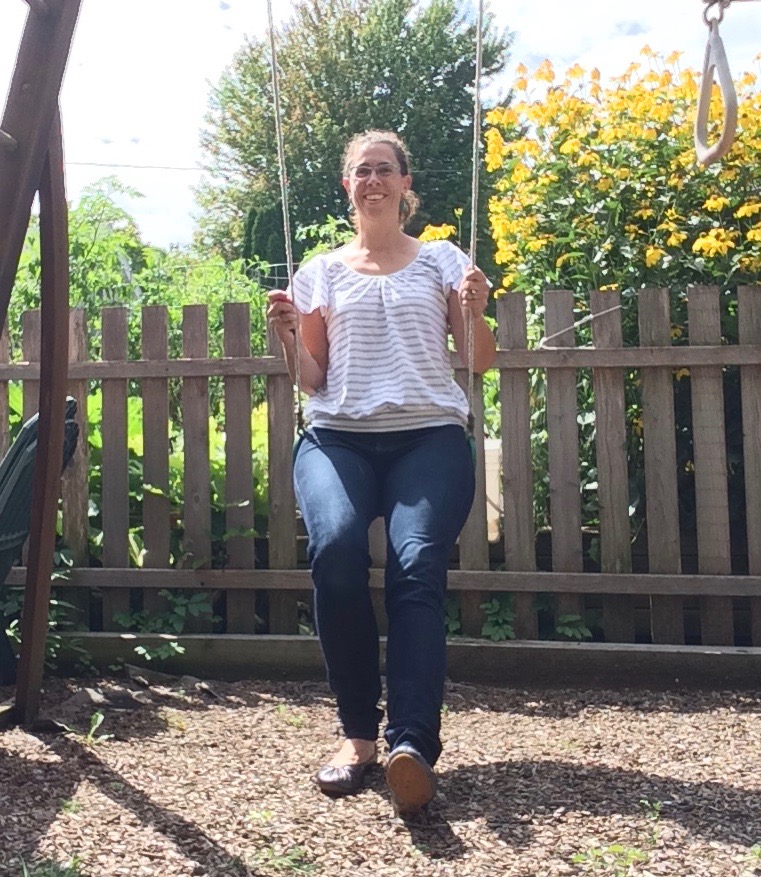
tanitisis.com. It's the first pattern I have made from this site, but it will not be the last. The things that drew me to this pattern were the fluttery sleeves, gathered neckline, and the fitted waistband. I hesitated a bit because the shirt had the potential to make me look pregnant or to be too short in the torso, but the finished pics online didn't show either of these and my finished shirt turned out fault-free. I made a size medium and it fits perfectly.
The fabric is the last of the gray and white knit that I have used before on a long sleeve shirt. I did want to be particular about matching stripes on the side seams, so layout took a fair amount of time before cutting.
 |
| Get those stripes straightened out |
 |
| Accuracy is improving when I'm taping pdf patterns together |
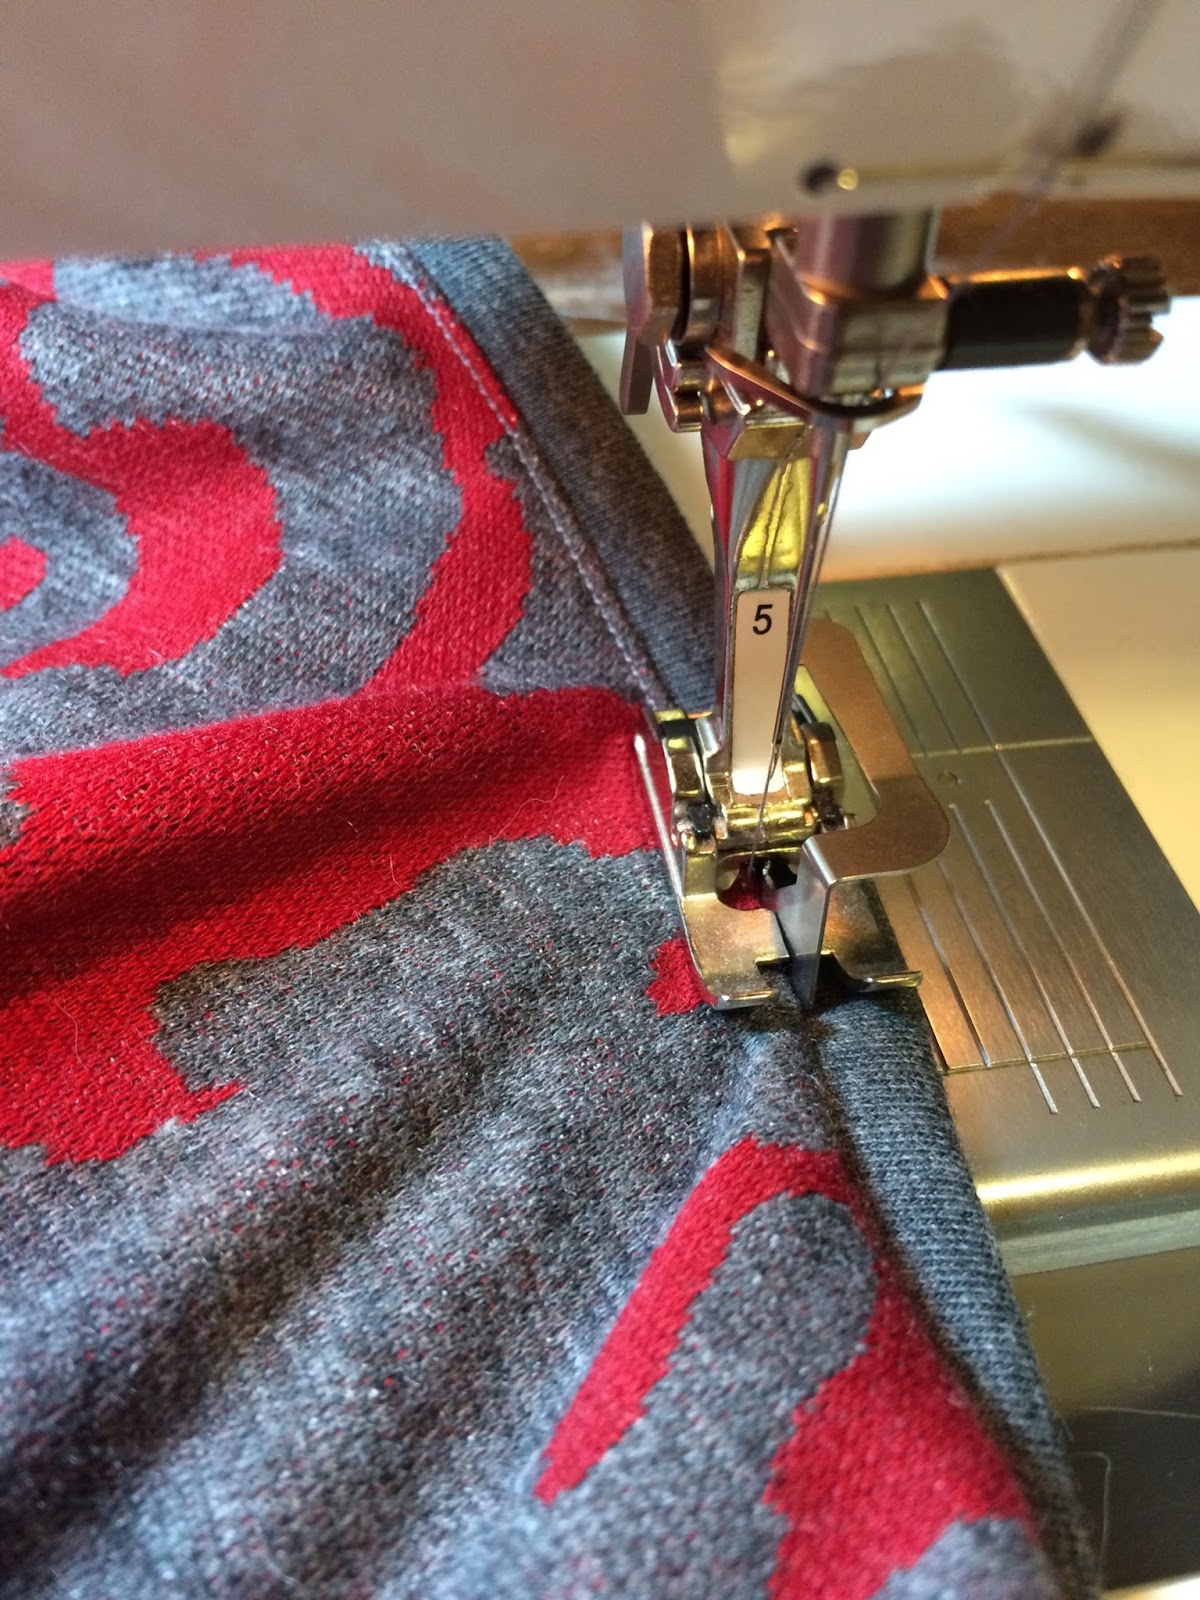
The pattern instructions call for 1/4" seam allowances and I ended up finishing them with the serger.
 |
| Serged seams |
I reinforced the shoulder seam and left part of the seam strip showing as accent on the shoulder.
 |
| Shoulder seam |
 |
| Gathered neckline |
The neckline on this shirt is gathered. It took awhile to accurately pin the gathers for this neckline, but I'm very please with how it turned out.
 |
| Keyhole finished with bias tape and edgestitching |
There is a keyhole opening on the back and it had the option to finish it with a button closure, but I just sewed the opening closed. The last step was to add the bottom band.
 |
| From the gathered neckband at the top to fitted waistband at the bottom, this shirt fits in all the right places |
 |
| Isn't that keyhole on the back fantastic? I finished mine with white bias tape. |
 |
| Fluttery sleeves, I left mine without a hem. And you can't see it, but the stripes line up on the side seams. |
 |
| The scooped neckline doesn't hang loose or expose anything. |
 |
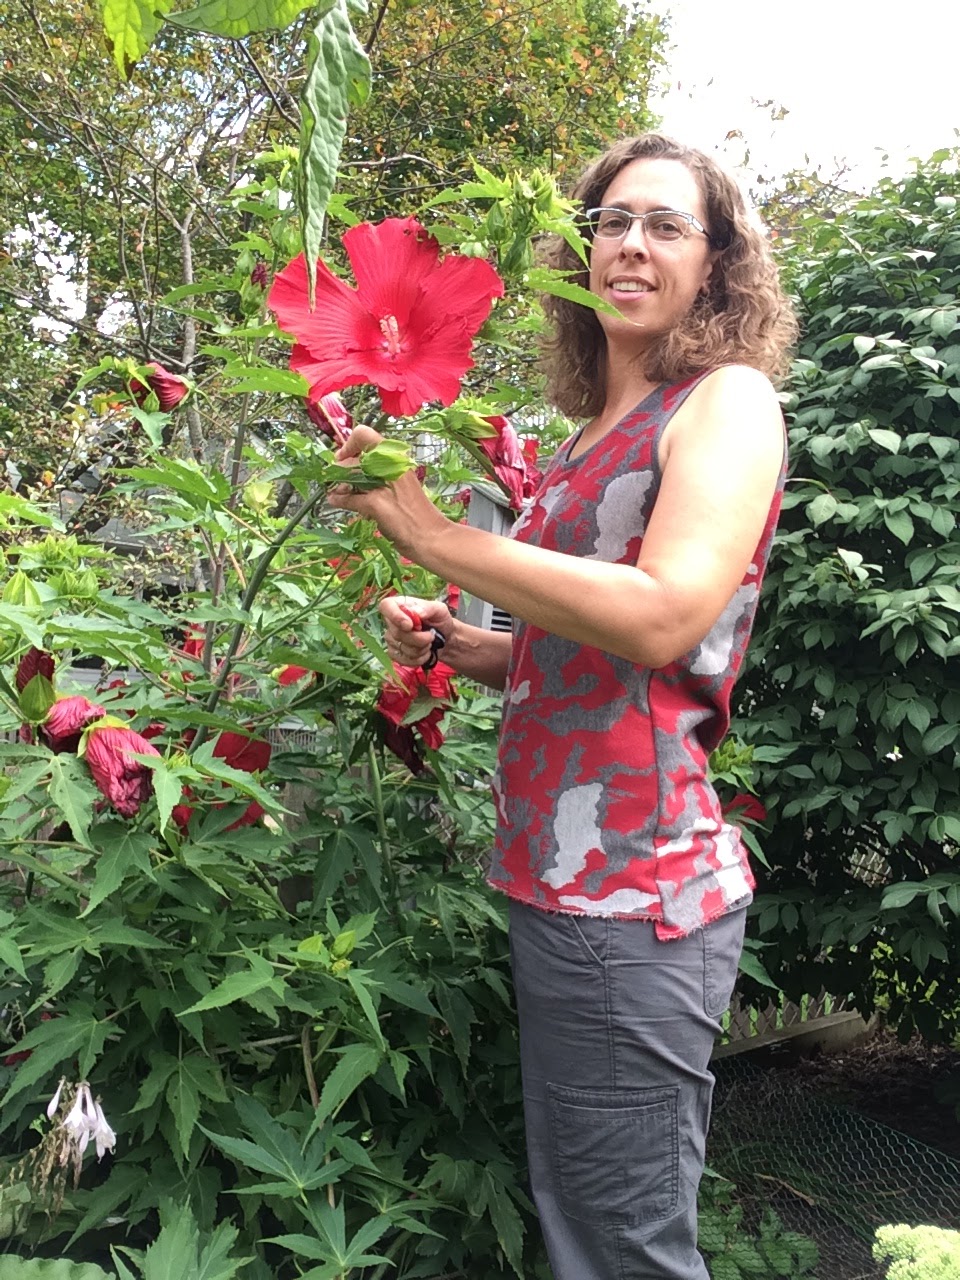
| I think the chickens are admiring my snazzy gardening shirt. |