Tuesday, March 31, 2020

Sasha Trousers, Closet Case Patterns

Last August, I had started fitting a muslin for the Sasha Trousers pattern I picked up when mom and I were in Canada. There were three versions made at the time, but nothing I was ready to try in fashion fabric. In February, I decided to give fitting pants another go. I believe the pattern I cut for this version was a size 14 graded out to 16 through the hips. I added 3/4" to the upper lengthen line and 2" to the lower lengthen line. That 2" could safely be taken back down to 1" in the future.
Maybe not ideal coordinating footwear
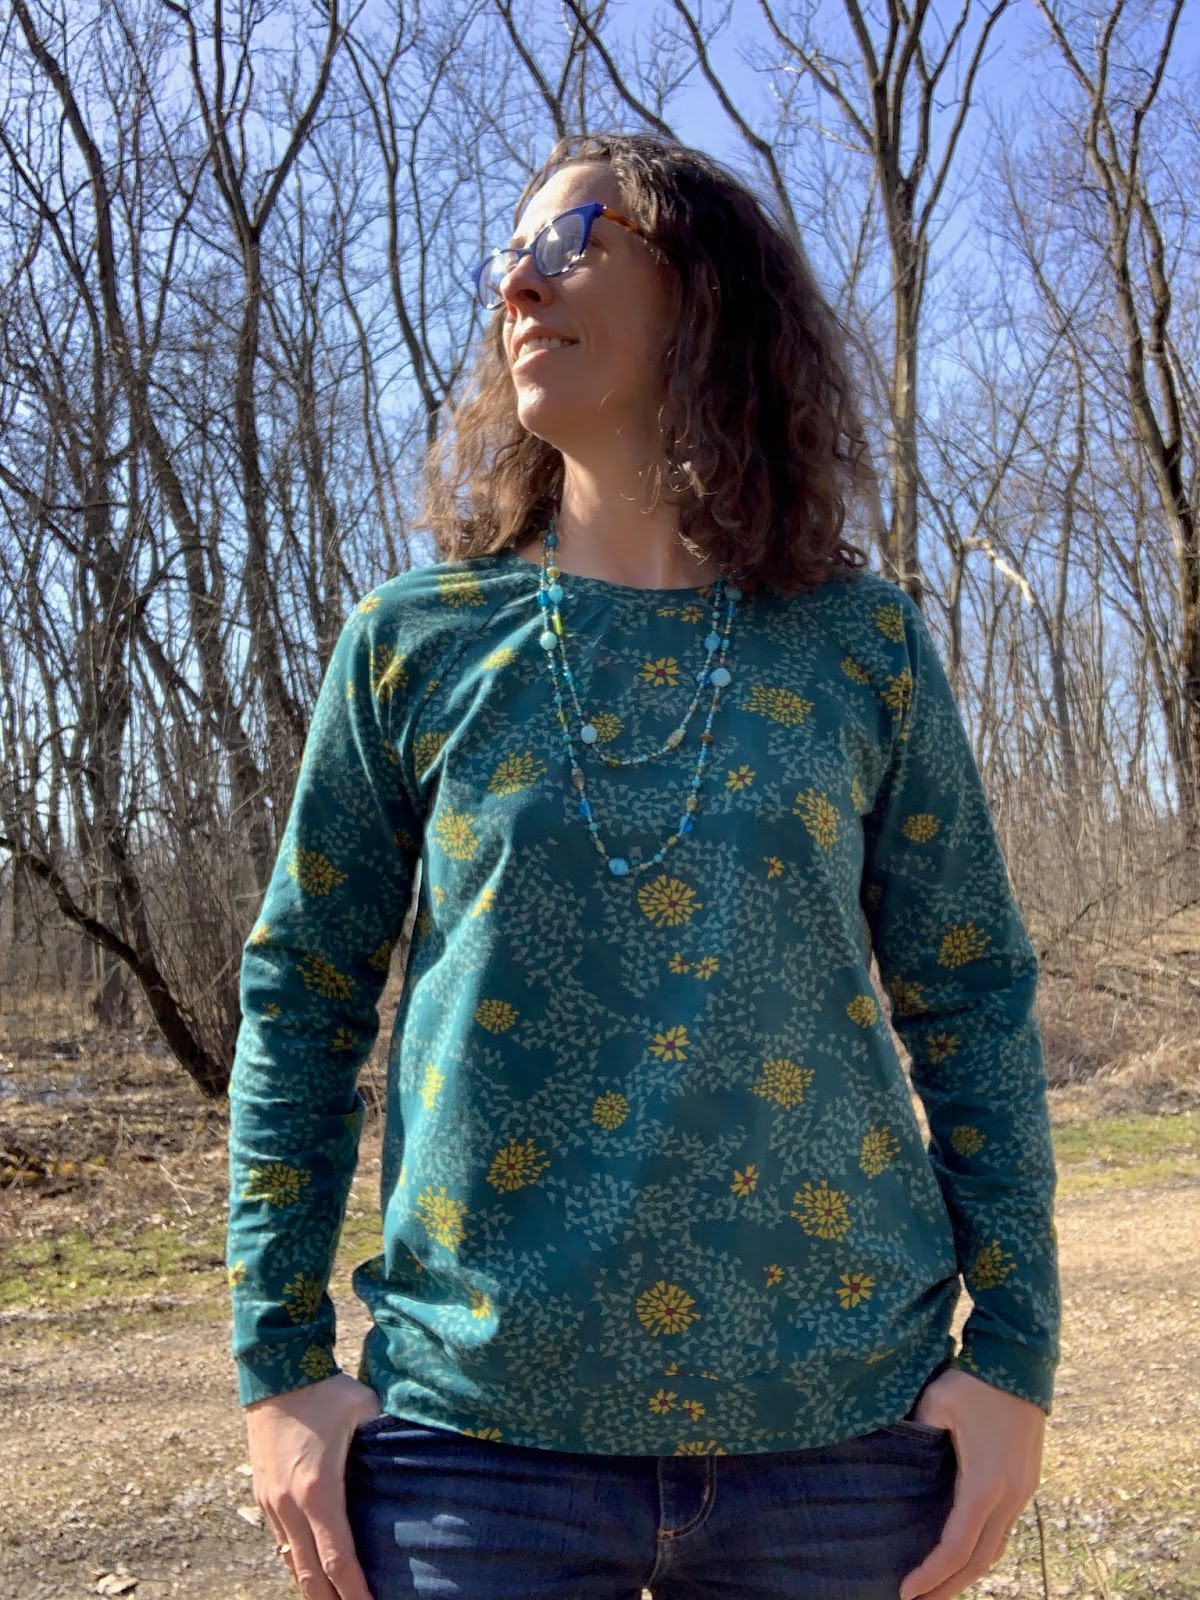
Fabric is a ponte knit from Vogue and it was very easy to cut and sew. It has good stretch and will be comfortable to wear to work all day.

Checks are small enough that I do not need to try to pattern match at seams
For some reason, I didn't take pictures during constructions. Looking back now, I don't remember any significant issues, but maybe pics would have helped to jog my memory.
Pocket lining
Pockets and lining are scraps of quilting cotton. The right and left sides don't match, but no one will see the inside except me. The next set of pics is when I finished sewing the trousers up the first time. I set my camera phone on a timer and took a few shots to assess fit.
Horizontal lines at the crotch and zipper pulls open
Hands out helps, but I 'set' the zipper cover for this picture
Based on these pics, I added top-stitching to the flap over the zipper to help stabilize it and then I decided to wear the pants to work trying not to use the pockets. Shortly after getting to work that first day, I knew I needed to take in the waistband. By the end of first period my waistband was stretched out too much and I had to borrow a safety pin to keep my pants cinched in for the rest of the day.  A week or two later, I finally got around to making more fit adjustments. I took off the waistband in the back and cut out 1.5" before reattaching it. That improved the gaping in the back and ensured that my pants were not in danger of falling down again at work. Adjusting the waistband also helped reduce the crotch lines. The next set of pics was during self-distancing so I was employing the iPhone timer again.
Even with hands in pockets, fewer stretch lines
From the back, you can see the seam where I took in the waistband. The center back seam and the waistband seam do not line up exactly, but I'm definitely not going to lose sleep over that.
The fit on these is much improved

Zipper is still too short for these pants, next time I'll lengthen that too
Side view
Porch sitting
Zipper, snap, and a hook and eye fastener
I do intend to make another pair of these trousers to try out some adjustments to the pattern.  That's on hold for awhile though until I can get back to the fabric store. We just got word today that the stay-at-home order has been extended through April 30, so I'll move on to another sewing project for now.

Tuesday, March 24, 2020

Linden Sweatshirt, Grainline Studio


The pattern came from Sew On Central. It's the Linden Sweatshirt from Grainline Studio. I had seen many variations of this shirt on various blogs and Instagram and it was one that I wanted to try. In exchange for servicing a machine, the owner gifted me two patterns of my choosing and this was the first one I tried. The fabric is from Craigslist and is some sort of knit. It has narrow silver/gray and black stripes that appear shiny from a distance. It was easy to cut out and drapes well. This turned out to be a very wearable muslin.
I traced a size 10 for the sleeves and the top portions of the back and front. The hips are graded out to a size 14. Most of the seams are done with the serger, but my Bernina 1120 did the top-stitching and the hemming. I used a jersey needle for this project.
The weather on the day I finished this project was not favorable, so I was stuck inside taking pictures and the lighting was doing me no favors. These are all timer shots and well, we'll take what we can get. Next time I wear the shirt, I'll have to take better pictures.
Overhead lighting gives lots of shadows
Some fabric pooling above my rear
Sleeves lengthened a bit next time


Monday, March 23, 2020

Pastel Log Cabin Quilt


Here is the first finished project of spring break. I had pieced this awhile ago and the top went together pretty quickly. These are the largest size pieces I have used in awhile. Most of the fabrics are from a jelly roll that I had used earlier and it was finished up with this quilt. There wasn't enough to finished all of the blocks though, so I had to put pieces from a few other projects.

Trying out different block layouts, this one looks the best
Basted and ready for quilting
The diagonal quilting was done with my Bernina 830 on the dining room table. The hearts at the center of the log cabin blocks were hand quilted. I used the same template I used on another recent quilt.
Quilting started on the left side
The binding was a gray I bought to finish another quilt.

Hearts at the center of each block
Flannel backing
Diagonal lines for quilting
The finished quilt size is about 41" x 55.5" Currently, it does not have a sleeve on the back for hanging. It may end up being a crib or baby quilt.


Tuesday, March 17, 2020

Linden Sweatshirt #2, Grainline Studio

Planking in the sun
Today was the first day of eLearning with the students. I started my day early, as usual, and was showered and dressed a half hour before my assignments posted online. I didn't know how busy I would be answering student emails throughout the 9-2 session, so I set up my sewing machine to have something to work on in my down time.
Sewing machine, quilt, computer, tea
During one of my breaks, I went for a walk at the forest preserve and took a few pics of my recent me-made. I finished this shirt last weekend with fabric from mom's stash. It was my second time using the Linden Sweatshirt pattern from Grainline Studio and I don't know how much fabric I started with, but there were only a few scraps when I finished cutting. For this version, I lengthened the torso 2" and the sleeves 1". Both the sleeve and hem bands were narrower than my first version as well. I think maybe I take out 1" from the torso next time, but I'm happy with the new sleeve length.  

Matching necklace
As we are still practicing social distancing, all pics were taken with the timer. The phone got propped up on a variety of logs, stumps, and branches. Sometimes the shadows hide the features of the shirt, but it was worth it to be bathed in sunshine.

Nickband could have been a bit longer


Sleeve length is perfect

Saturday, March 14, 2020

Kendall Knit Top from Style Arc

New pi day shirt
Yesterday was the Friday the 13th and the last day of school for two weeks. This Monday, teachers will be at school for the day preparing for e-learning and then school will be done remotely for the rest of the week. Last Thursday, when we found out that school was closing to minimize the spread of the Corona virus, I stopped off at Mom and Dad's for a quick visit before we started self-quarantining. Even though I will be working from home next week, I should have a bit more free time than usual in my day and I hope to spend a good amount of it sewing. Mom lent me one Style Arc shirt pattern that I wanted to try and she let me to take a few fabric options for possible projects later this week.
Pattern and swatch
Last night, I read over the Kendall Knit Top pattern instructions and a few reviews online. Mom had a size 14 pattern cut and modified a bit, so I decided to start with that. Mom mentioned that on the shirt she had made, the front didn't lay flat and the front hem hiked up a bit. I saw pics online from a woman who lengthened the collar in hopes that the area where it crosses over in the front wouldn't bunch up. I added an inch to both ends of the collar piece mom had made and originally meant to change the hem line, but forgot to do that. In mom's notes she said that she had taken in the side seams 1" and taken out the waist shaping. I added the shaping back in when I cut out my fabric.

Collar piece with additions to the ends
The fabric is from Lillian's remnant bag, I think. It's a blue and white stripe knit with a good weight to it. There is a definite fabric smell that I hope comes out in the wash. Otherwise, I may tear up if I have to wear it for any length of time. The cutting went quickly this morning and I did cut the back neck facing, but did not end up using it. I see where it is supposed to go, but all my seams were serged and the inside of the collar is not visible behind my neck, so I omitted the facing in the final construction.
The staystitching, hem, bodice facings, and sleeve hems were done on my Bernina 1120, but all seams were finished on my Brother 1034D serger. There are not a lot of directions for construction, but everything fit together well and it sewed up smoothly.
Inserting a sleeve
Finished pictures were taken in the backyard. There was a chance of snow today, but no flakes appeared. It's cloudy and cold though, so pics were snapped quickly.

That bird is admiring my shirt
Front hem does not pull up
Back is a good length
Next shirt will have longer sleeves, I don't love the 7/8 length
Very pleased with the final shirt