Thursday, February 14, 2019

Pink Kaleidoscope Quilt


Pink butterflies
Did you know that a group of butterflies is called a kaleidoscope? The pink triangles in the corners of these blocks remind of butterflies taking flight. This quilt started as many of mine do-with the goal of using up scraps. Most of the fabrics were from the scrap bucket I picked up last summer in Missouri. There were many flour sack remnants and other vintage pieces.
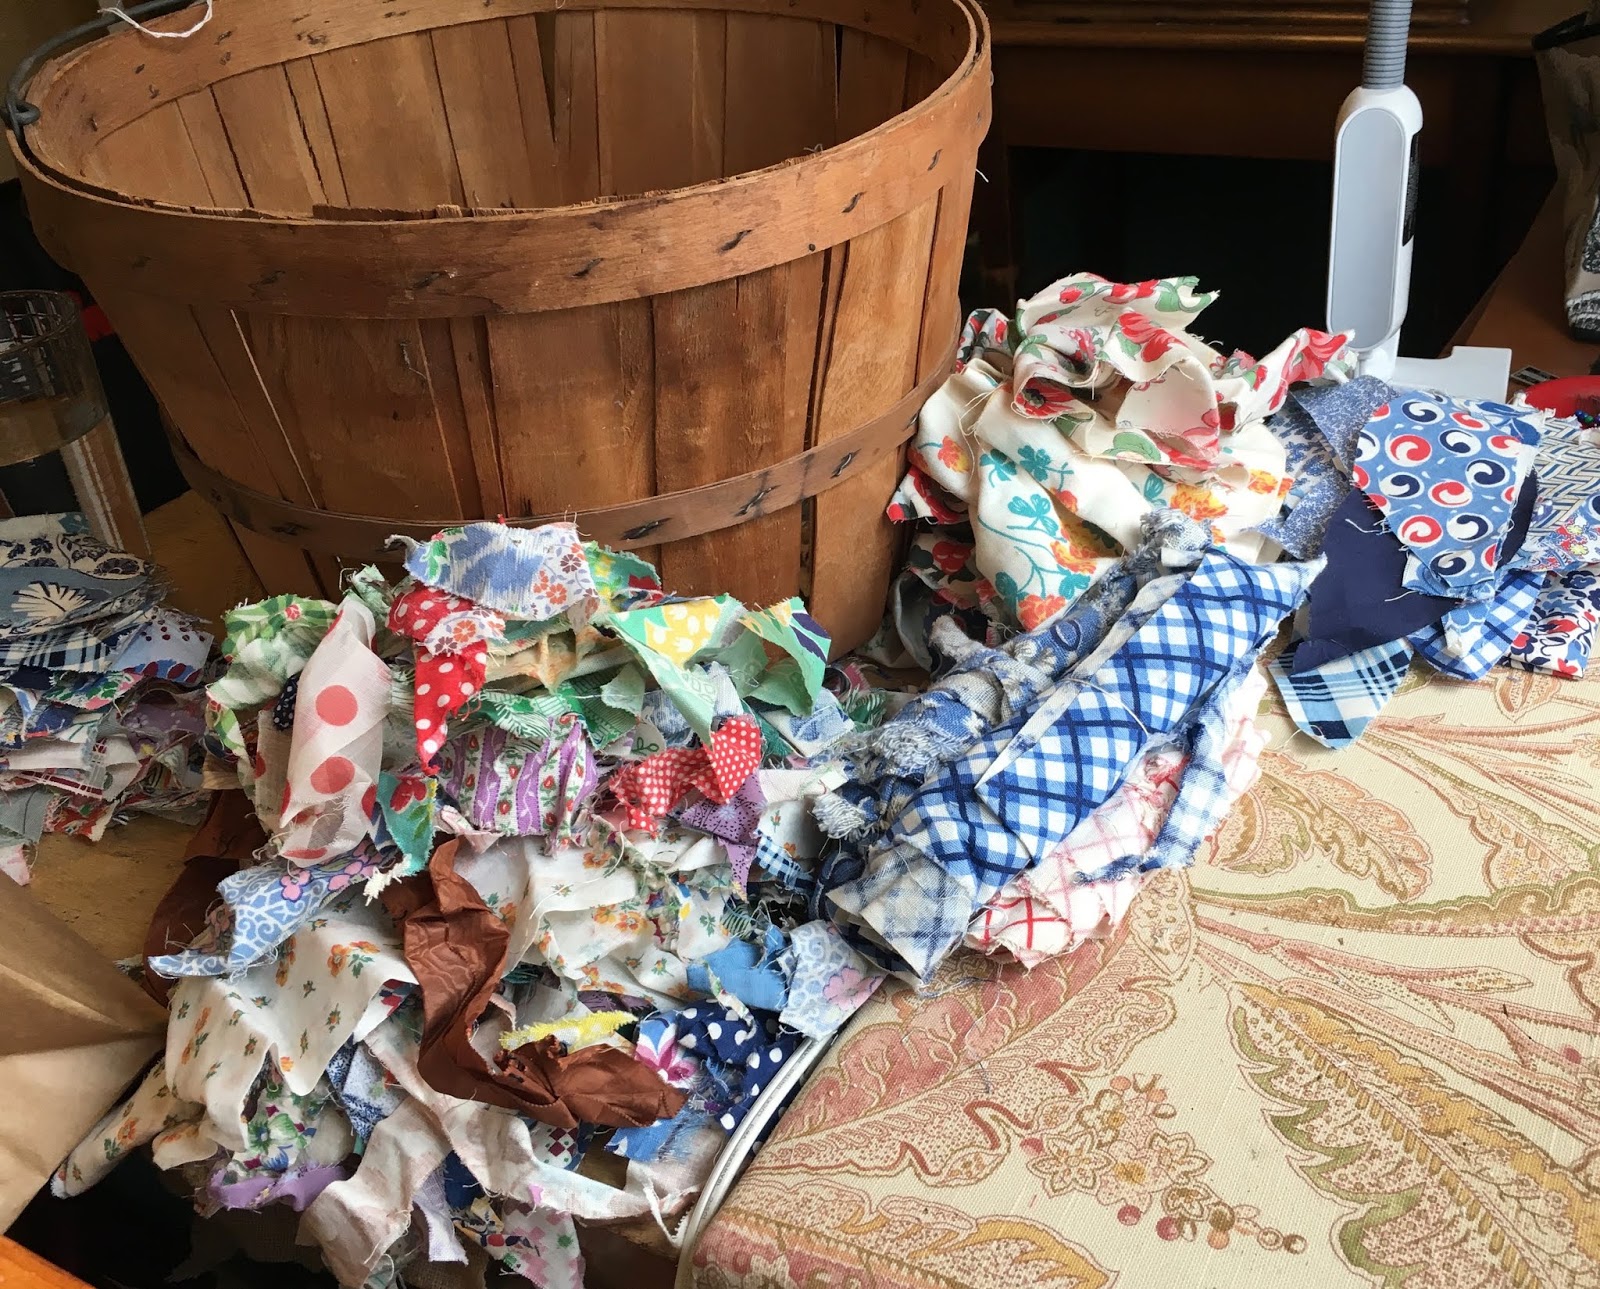
Sorting scraps of all colors
Day six of winter break in 2018 found me piecing a quilt using the pink scraps from this pile and a few from my newer scrap bin. Apparently, I don't usually use pink in my projects so there were only a few newer fabrics to incorporate.
Small, irregular size pieces from the vintage pile
Trying to keep the intersections clean
Triangles of varying sizes and orientations were cut to maximize fabric use rather than fussy cut around features in the print. I tried to minimize the waste pieces that were cut off as they would be too small to use for any future project. A couple pieces were cut around holes in the fabric and one has a faded/worn section left in. All piecing was then done on my Bernina 730 Record.
Too small, decided to add two more columns and one more row
The basting was done on my living room floor and of course, I had help.
Basting finished size
Thinking about quilting options
 I opted to hand quilt using my square lap Q-snap frame.
Hand quilting, outlining the pink triangles

With the quilting finished I started looking for binding. Usually I piece together a binding from scraps, but I had used up most of my scraps and I wanted this binding to be from all one fabric. In mom's stash we found a suitable option. It's a flour sack that combines pink with several other colors. There was plenty of material and it didn't take long to cut and apply the binding.


During the February meeting of Loose Ends I finished sewing down the binding by hand and after a trip through the washing machine, the quilt was finished.

Hanging on the front porch

Triangles crinkles up nicely in the wash

Pink binding fabric blends in beautifully
All those pinks will be perfect for February 14th.  Happy Valentine's Day!


Sunday, February 10, 2019

Grandmother's Pansy Quilt


This quilt was made around 1931 by my paternal grandmother. Olive Schroder made it when she was engaged to my grandfather Alvin Kluss. The pattern is a bouquet of appliqued and embroidered pansies and all of the quilting was done by hand.

The flowers are appliqued

The embroidered stems and leaves are in a couple shades of green
I never saw this quilt on my grandparent's bed when Olive was alive, but after she passed Alvin used it until he decided it wasn't up to the daily stress. He passed the quilt along to my mother and then I got it from her collection. I did not intend to use the quilt on a bed and I opted to put a sleeve on the back so that I could hang it for display.

Ironing the sleeve
There is a bit of discoloring under the sleeve at top of quilt from years of use

Sleeve sewn on by hand so it would not show from the front side
The yellow and purple flowers promise that spring is coming


Saturday, February 9, 2019

Singer 457 Vertical Top Gear Replacement Extras

All fixed up and ready to sew
A customer brought a Singer 457 that mother-in-law had given to her daughter. The granddaughter was starting out in sewing and this was a gift to help encourage her. The machine had not been used for quite some time and while it was in great shape overall, it did have a crumbling vertical top  gear and it would not sew. The customer wanted to have the gear replaced and then an overall cleaning and tuneup.  
After ordering a replacement gear, I looked for a service manual online. There were several references to the 457, but I think the two most helpful things I found were the schematic drawing on  tandtrepair.com and a step-by-step tutorial on www.singersewinginfo.co.uk.  The process did take me longer than the 15-30 minutes suggested, but that's probably because I'm still new to the process. The tutorial was very helpful and I would definitely recommend it. There were a few times that I took a picture while I was working through the replacement though. There were just a couple of things that were referenced in the tutorial that I wish had had accompanying pictures. These were for my own records, but I thought they may be helpful to someone else who was following the same tutorial. You can read the tutorial linked above and then supplement with any of the pictures here.

Broken gear on left with tooth missing at top, new gear on right
Control panel screws that get removed. I put a piece of tape behind the one on the far left to keep the screw retainer on the back from falling into the machine. The tape also let me hold the retainer in place for reassembly.

Set screw for vertical top gear as seen through aperture
Vertical top gear with missing teeth, they had crumbled and settled at the bottom of the machine
Tensioning cam removed and belt loose

Manual includes oiling points and these are readily accessible when machine is apart for gear replacement