Showing posts with label Bernina 730 Record. Show all posts

Sunday, August 18, 2019

Tamarack Jacket Wearable Muslin

Tamarack Jacket in August
This jacket was made last November, but I haven't posted about it. Here's what I remember about the construction.
The cream exterior fabric is from a bag of scraps picked up from Freecycle. I don't know what the fabric content is, but it feels like something you would use for curtains or curtain lining. It has a bit of a waffle texture and seems to hold its shape pretty well. The lining is a piece of drapery fabric that Emily gave me at work.
Stewie approves cream fabric
This was my first attempt at making any sort of jacket or coat. The pattern is the Tamarack Jacket from Grainline Studio. I traced a size 16 except where I narrowed to a size 14 under the armscye down to the waist. The torso and sleeves were both lengthened 2 inches.
Floral lining for the sleeves
Cutting batting for back
For quilting the layers together, I used the walking foot on my Bernina 730 Record and evenly spaced horizontal rows. I could see where there are endless possibilities for quilting here, but I kept it basic for this first jacket.
Basted in reference lines for quilting
Quilting a sleeve
The seams in this muslin are not finished and I will definitely want to finish them on the next coat. There is fraying fabric and batting that I will not put up with next time.

Welt pockets were new for me and I watched a couple videos online, consulted a few sewing reference books, and followed the Tamarack Jacket sew-along instructions that Graineline Studio provided. I think they turned out well as viewed from the front, but the pocket lining is unfinished and I think it needs to be anchored to the inside of the jacket.
Floral pocket lining
At one point I really thought I had inserted the pocket flap upside down. I was sure that the flap should be hanging down from the top over the pocket opening. Since it was a muslin, I wasn't planning to go back and change that, but I did spend time rereading the directions and consulting the Grainline Studio sew-along to see what I would need to change for next time. It was in the sew-along that I realized the pocket wasn't constructed incorrectly, it just wasn't finished yet. The loose flap needed to be hand-stitched on the ends and secured to the front of the coat
I thought I had erred in my pocket construction, still need to attach flap
For the bias binding I used denim. The neckline and front opening of the jacket are selvedge and the jacket hem and sleeves are pieced denim strips.
Raw selvedge look adds great texture
Bias binding on front and bottom hem, one sleeve attached
Hook and eye fasteners were used for the front. I don't like how there are distinct gaps and spaces between the fasteners and I probably won't use those for the next jacket. I did see a tutorial for a zipper front somewhere in my research, I think I'd like to try that next time.
Denim pops against white 
I like the different lengths in front and back
Pocket linings inside out
The finished jacket looks pretty good from the outside, but is a bit messy inside. It's also a bit big across the shoulders. The light color exterior quilted in rows gives it a distinct Michelin Tire Man look. Before I make my first fashion fabric coat, I'll trace a smaller, size 14.
Increased sleeve length is good
Maybe make pockets a bit deeper


Still don't like gaps between hook and eyes on front
Good length in back

Sunday, March 25, 2018

Bernina 730 Record

Bernina 730 Record
This machine was listed on Craigslist near me and the buyer asked for reasonable offers. I submitted my best offer and the seller informed me that he was going to see if he got any better offers and would get back to me. Since the machine came with accessories, original case, foot control, and extension table I knew that there would be other interested buyers. A week later, I emailed to see if the machine was still available and the seller agreed that I could buy it for my original offer. I drove down to pick up the machine a couple days later. The machine had belonged to a family friend of the seller. She was fondly referred to as Aunt and the family was cleaning out her estate.
When I first saw the machine, I was impressed with its condition. There were a couple minor scratches to the paint, but overall it looked like it had been used maybe 2 or 3 times. The seller had it set up so that I could try it before purchasing. I turned the hand wheel and could tell that the machine was dry, but everything else looked good. The seller had the original case so I happily packed up the machine and drove home, smiling all the way.
Case with key and plenty of goodies
At home, I unpacked the entire case so that I could take inventory of its contents. Neatly packed along with the machine was the foot control and power cord, extension tray, knee lift, instruction manual, record of purchase in 1969, the guarantee card not filled out, advertisements, a parts list, extra purchases from the store in 1979 and the green accessories tray.
Instruction manual
Take note, this Bernina was originally purchased by J. Singer
We have exceeded the 30 guarantee term
On back of picture: "The BERNINA is a mountain of overwhelming beauty, and the dream of Alpinists all over the world to ascend to its summit, Piz BERNINA.  BERNINA is also the name of the queen of Swiss sewing machines and thus the dream of innumerable women all over the world."
Parts list for new 730 Record
Bernina bag with a few tears in its side

Two receipts, one for the needles pictured and the other for the bobbins pictured
Tray fits snuggly on the back of the machine

Drawers filled with goodies
I first contacted Neal at NIT, Inc. in February of 2017 looking for a replacement motor. My machine would sew for about 10-15 seconds at a time and then slow and stop. Neal is one of the Bernina specialists at NIT, Inc. All of the specialists there were specifically trained by Fritz Gegauf AG in the early 1970's and know how to handle these now vintage machines. I had tried different power cords, changed the belts, and cleaned the motor brushes, but nothing fixed the problem. Neal had a couple suggestions for me to try as well, but ultimately I decided to ship my EPL motor to him so he could fix the bad field winding. In under two weeks, Neal emailed to say that the motor was fixed. He explained what he had done and let me know what changes in operations I could expect with the new motor.

The rebuilt motor function will now be as follows:

Max speed is normal with the motor switch on MAX.
Min switching now provides an off/on condition, something that this machine needed in the first place. 

In March, after trying out my new motor, I emailed Neal again to say that I was still experiencing problems. He was so thorough in trying to diagnose the problem and had me send multiple photos so that he could see key parts of my machine. We both saw a crack in the vertical shaft gear. Originally, I said that I would like to try to tackle replacing this gear myself and Neal sent the link to one of his videos. After watching the video though, I decided that repair was beyond my skills and I boxed up my machine to send to Neal so that he could work on it. In June, I sent the machine packed in one box and the power cord and foot control in another box. Along with vertical shaft gear replacement, Neal said that he would be repairing the needle position piston detent, replacing the bobbin winder, and checking the foot control power. 
While he was working on the machine Neal was nice enough to give me updates through his Facebook website. He sent me this link so I could check on his progress. I loved being able to see my machine and if you have time I suggest you check out the NIT, Inc website. It has a wealth of information and some great pictures on there.
Newly unwrapped machine upon its return from Utah
When Neal was done with my machine he shipped it back to me and it arrived in nearly pristine condition. I was so excited to see my machine, it was BEAUTIFUL. I have only used the machine on a couple projects so far, but it has performed very well. There was a bit of an adjustment period for me as to the level of noise the machine makes. It is noticeably louder than my Necchi Supernova or my Pfaff 131, but it is a constant and comforting sound. It reminds me that my machine is powerful and could work very hard if need be but is, for the most part, content to tackle the quilt piecing I have provided thus far.  
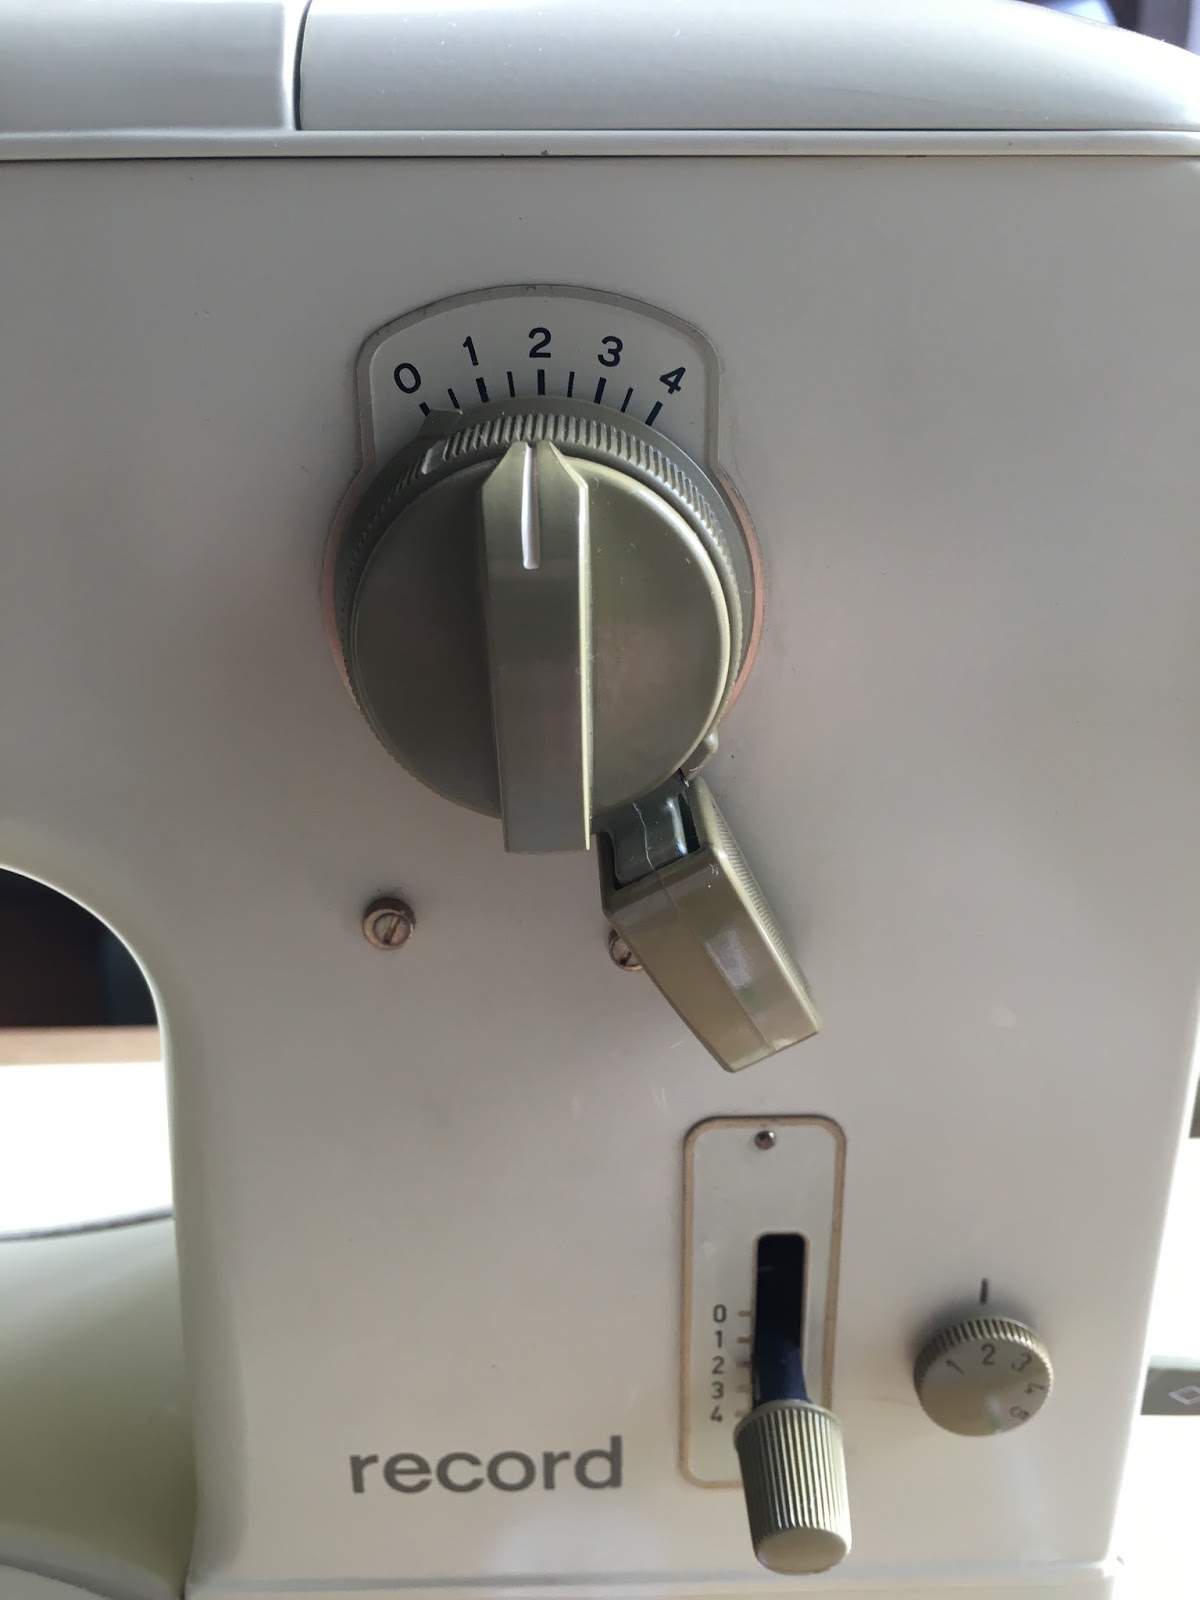
The foot control is still the original and I intend to use that as long as possible.  The max/min speed control is non-selective now and the motor is always set to max speed. This is not as fast as some of my other machines, but well-suited to almost anything I would be working on.
Foot control
The new bobbin winder works well and a repair on the needle piston detent now allows me to move my needle right-left-center to varying degrees.


Bobbin winder

R-L-C needle position any time I want to now
Here are a few final pictures of the machine set up and ready to go. I'm so glad this machine joined my collection, she and I will have many sewing adventures in the coming years.
The tray has minimal wear

Beautiful coming and going

Sunday, March 18, 2018

New Quilt, Renewed Machine


Bernina 730 that Neal Iund serviced
This machine came to me a couple years ago through a Craigslist posting.  At some point I will do a post on it's story and why I am so grateful to Neal Iund for the repair work he did on this fantastic machine. I have had this machine for a few months now since Neal sent it back in nearly new condition, but I was waiting for a good project to work on so that I could put her through her paces.  Currently, I'm working on a quilt for spring and this machine has been performing like a dream.

The quilt has come together without a clear idea of what the finished project will look like. I know where I want to hang the quilt though so I have a good estimate for finished size, and I know what colors I want to use so I've kept within that palette. The quilt started a few weeks ago with 10" pinwheel blocks and I have 16 of those completed. 
Pinwheel block #1

Pinwheel block #2

Pinwheel block #3
Then I decided I wanted to play around with the sashing. The width of the sashing is set at 3", but I'm going to make it piecemeal and work in several different types of blocks and settings. The fabrics will be the same as in the larger pinwheels so things may start to look too busy, but I can always add more white if need be. For now, I'm playing around with different combinations of 3" blocks with the goal of having enough sashing for the entire quilt. Here are some of the blocks  I've made so far:
Churn dash

Quarter of log cabin block

Arrowhead

Sailboats

Friendship Star

1" squares

Strips of varying widths
There are still quite a few stashing pieces to be made before I can lay out the quilt top and start looking at placement. For now, I am enjoying the freedom to choose any number of different block patterns and I make as many or as few of each as time/my interest allows. My 730 and I are having fun with the creative flow of this project. 
My sewing partner


Saturday, January 28, 2017

How-To: Install New Belts on the Bernina 730 Record

Today I replaced the upper and lower drive belts on a Bernina 730 Record.  I took some pictures along the way so you could see the process.
Start by unplugging the power supply. Take off the side panel under the hand wheel.  There are two screws, one on each side of the panel.
Screws for end panel
The panel then slides out an down to get from under the hand wheel.
Take the screw out of the hand wheel and remove the end cap and the washer.
Turn the machine on its side and remove the two screws holding the motor cover panel.  The panel with then slide/lift off, just be careful to navigate around the motor switch panel.
Screws for motor cover panel located underneath the machine
Now you should have a clear view of the belts and access to the end of the machine and the motor pulley.
End panel and motor cover panel removed

The screw to release the tension on the belt wheels is below the bottom wheel and you will need an allen wrench to loosen it up.  You don't need to take the screw out, just back it out a quarter turn or so until pulley behind the wheel is loose.  This will give the wheel some play horizontally and vertically.
Loosen screw below the wheel, do not take screw out
Remove the lower belt from the motor and wheel first and then slide the wheel up slightly to remove the upper belt.
Lower belt comes off first
The upper belt is nestled behind the lower wheel and stretches up over the hand wheel. Slide the hand wheel off and the belt should come with it.
Both belts and the hand wheel have been removed
Now start putting the new belts back into the machine.  Start with the upper belt and remember it tucks in behind the lower wheel.  You can slide belt over the hand wheel and put it back on the shaft.
Upper belt goes behind wheel and up over hand wheel
Hand wheel back in place and upper belt tucked in behind it
The bottom belt goes over the wheel and connects to the motor pulley.
New lower belt in place
You will need to adjust wheel position so that the belts are not too tight and putting strain on the motor or too loose and not engaging the wheel or hand wheel.  When you think you have the correct tension, tighten the screw back up with the allen wrench.  At this point you can plug in the power supply and try running the machine with the foot controller.  Make sure the belts turn smoothly and make adjustments if necessary.  Remember, the adjustment screw only needs a small turn to loosen or tighten.  Here is a quick video of the machine running with new belts.

Once you are confident with the placement of the belts, you can unplug the power supply and reassemble the machine.  Put the washer back on the hand wheel with the little raised tabs pointing out away from the machine.
Tabs stick out away from machine
Put the cap back on the hand wheel and replace the screw.
Hand wheel reassembled
Slide the motor cover panel back into place and put the screws back into the bottom of the machine. Reposition the side panel and tighten screws.You are now ready to plug the power supply back in and begin sewing.

This is my first how-to segment and I welcome any feedback you have that would help improve future segments. Thank you.