Showing posts with label Coat. Show all posts

Sunday, December 27, 2020

Red Tamarack Jacket


Tamarack Jacket

The fabric was purchased from Ginny's Fine Fabric in Rochester, MN a few years go. Originally, I had planned for a tunic type shirt, but now I'm glad I waited for this pattern. I had made the Tamarack Jacket from Grainline Studio a couple times already, and I started by tracing out a smaller size 12 than my last size 14. I kept the added length and curved hem at the sides seams. There were three layers to cut out for each piece. The outer layer (red and white for me), the middle layer of cotton batting, and the inside layer which was a light color cotton remnant from Pam's mom. 

Front side of jacket

After cutting each outside layer, I laid it out with the batting and backing and then hand-basted the layers together before trimming the bottom two layers.

Sleeve with layers

The outer fabric did not have a clear distinction between the front and back of the cloth. As you can see I had pin-basted two of the same jacket fronts. but caught the error before finishing basting. 
Fabric looked very similar on front at back

Once I had the pieces quilted, I started looking for a coordinating bias tape.  The tape was to be used for the neckline, front opening, hem, and sleeves. I searched through both my stash and mom's stash for a suitable red, but ended up going out to Joann's to find a good red match. I cut strips of fabric and made my own bias tape.
Strips for bias tape

Adding bias tape

These fabrics are complementary

For the pockets on the front, I opted to create some patch pockets that would be large enough to fit my hands and phone. The pockets were quilted with horizontal lines to match the jacket front.
Front pockets

Inside of pockets

Front pockets attached

Here is the finished jacket before washing
I used blue chalk to mark the quilting lines on this jacket and it needed two runs through the wash with cold water to get the chalk washed out.  All the quilting was done on my Bernina 830 Record using the walking foot. The machine handled all three layers beautifully.
Blue chalk still visible

The finished pictures were taken at school during remote learning. For the three weeks between Thanksgiving and Winter break I taught from my classroom while my students were remote. 


No front closure


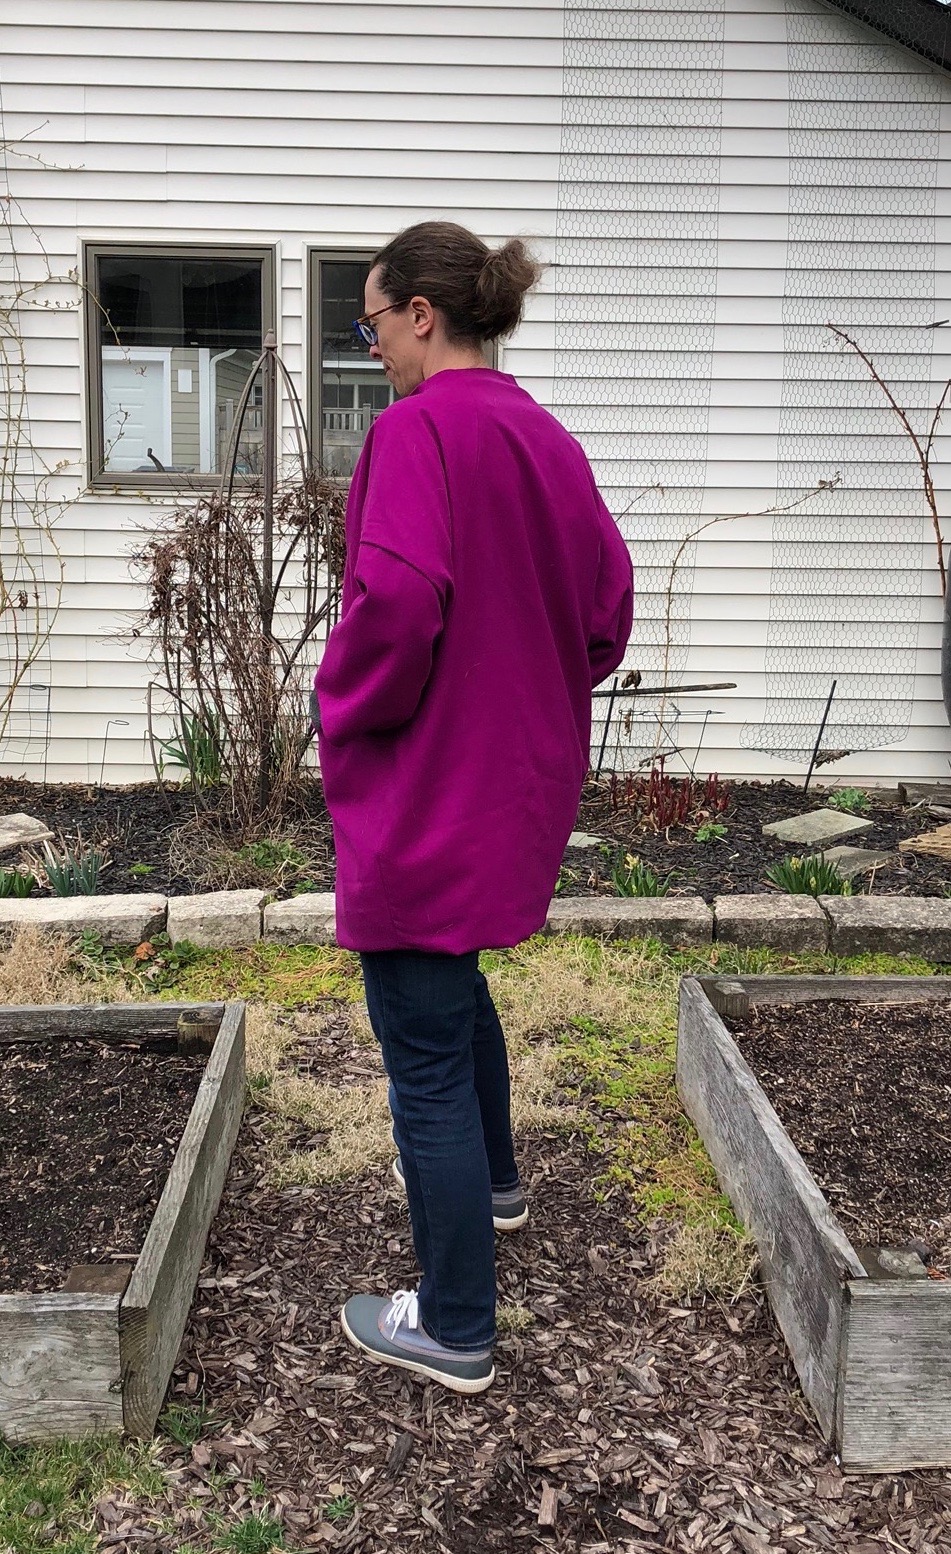
Both the front and back were lengthened a couple inches


Seams finished on my serger

Quilting visible on inside


Grade for this project


Saturday, April 4, 2020

Pink Sapporo Coat, Papercut Patterns


This fantastic pink wool is from the Salvation Army a few years ago. The pattern called for 3 yards and I'm guessing I had 3.5 or 4 yds. The fabric had been sitting in the cupboard and had fold lines in it. I brought the ironing board up to the dining room, pushed the table off to the side for more room,  turned on some music, and pressed out wrinkles.
This is my second time making this pattern and I traced out the S/M size instead of the L/XL size I used last time.The cutting and construction was fairly straightforward and I sewed everything together on my Bernina 830.
Finished shell
The lining for this coat is a cotton with butterflies. My mom's neighbor Kare shared it with me a year or two ago and I was waiting for the perfect project in which to incorporate it. It seemed like quite a complement to this brightly colored coat. When I laid out the fabric to cut, I noticed that when the butterflies looked right-side up from a couple feet away, they were actually upside down. You have to get in close to see which direction their bodies are facing. I thought the wider parts of the wings should be on top, but that's the opposite of this pattern design.
If you look closely, you'll see that all the butterflies are upside down
Since most people will not get close enough to see those details in my coat lining though, I purposely cut the fabric upside down. Now when my coat swings open, I think the butterfly wings look right side up.
Mom stopped by for a visit in the backyard last week and I had her take a few quick pictures on her phone.
Not a sunny day
Pink is still cheery
Still cocoon style, but more fitted than my last version
Finished neckline


Thursday, November 28, 2019

Blue Wool Sapporo Coat


This is my first Sapporo coat from Papercut Patterns. I bought the pattern while mom and I were in Toronto, Canada this summer. The Tamarack jacket by Grainline Studio is the only other jacket/coat I have made, so this was a bit of a challenge to myself. After reading several reviews of the pattern, I cut a size large to start. The blue wool is from Freecycle and the lining is from Joann's.
Blue wool
The wool was pre-washed, but the lining was not. All the cutting was done on the dining room table over the course of two evenings.
Only 2.5 yds of fabric
As I was sewing this coat together I referred to a couple sew-alongs and blog posts by people who had sewn the pattern earlier. There were hints and tips for most of the steps in the construction process. At one point it was very helpful to see up close how to put the lining inside the bottom front corner of the coat. Another person suggested that one stop sewing 3/8" from the edge and to fold edges in at a 45 degree angle to get a great finished corner. Most sewing was done on my Bernina 1230, but there were also some seams finished with the serger. This was my first time working with wool, and I worked slowly as I tried to get the feel for a new type of fabric. I've heard that pressing is key when working with wool, so I tried to be patient during that process.
Coat on dress form before lining is added
Lining pattern has great movement
So many pins were employed to hold the lining in place for sewing. It really did feel like I was trying to sew water on to wool as the lining was incredibly slippery. Most of the lining is sewn in by machine, but after the coat is turned right side out, the last few inches are sewn in by hand.
Pins all around the front opening
The coat was finished this summer. Because of the heat outdoors, pics were snapped quickly indoors to minimize sweating and avoid overheating.
Finished when it was 90+ degrees outside
I'm still on fence about the full cocoon sleeves and body, but those pockets are great
Love the pop of color in the lining
Reflecting on my first coat, there are a few things I'm thinking about as I plan my next Sapporo. 
  • A couple blog posts I came across when reading about this pattern were written about adding a front closure to the coat. That's something I want to incorporate on the next coat--maybe even a full length zipper? 
  • I will keep the length, but I may try cutting out a size M instead of L. I also want to narrow the sleeves and probably lengthen them.
  • I'm not sure what fabric I will use next time, but a quick Instagram search yielded about 40 different versions of this coat that I'd like to sew up.
  • A few people suggested lengthening the pockets, but I think I'm fine with this size for now.
Let's see what I come up with for my second Sapporo coat.

A couple months later, on Thanksgiving, I finally took pictures outside.
36 degrees outside instead of 90
I appreciate the wool even more now,  it really is a beautiful color
I still need to find a good front closure option.
Collar folds nicely to the sides
You can never have too much color or sparkle
Inside out

If I can't figure out a front closure my first Sapporo coat may not be ideal for winter, but maybe I can wear it as a layer indoors?