|
| Heading into fall |
This chambray dress is one of the most comfortable dresses I own. It's a shirt lengthened into a dress and the only complaint I have is that I didn't add pockets. It started as Butterick 5526 shirt, view A. The shoulders were cut 3/4" narrower and I added several inches to the length. The fabric is a light blue chambray from Victoria's mom. Lillian. There were some pink polka-dot stains in a few places on this piece and I could not cut around them, so I just kept them in the pattern. I don't think anyone will notice other than me and I don't think to look for them anymore.
 |
| Fabric |
The cutting was done on my dining room table and I overlapped the shirt pattern with a dress pattern I had to get the skirt shape I wanted.
 |
| Shirt pattern on top of dress pattern |
After cutting, I decided the length was too short so I added a 3" band and used the selvedge for the hem. The selvedge will probably fray and will need to be patched at some point, but think it will add to the worn/lived in look of this dress.
 |
| 3/4" taken off shoulder |
When I narrowed the shoulders I just drew the revision on my pattern. I will go back and trim the pattern if I'm happy with the final fitting, but for now the change is not permanent.
 |
| Measuring grainline off of selvedge |
I was going to try the tab sleeves, but then decided I could roll them up loosely if needed. I had already lengthened the sleeves and used the pattern on another shirt, so I was pretty confident that would work for me.
 |
| I'll hold this for you |
All sewing was done on my Bernina 1230. I do want to get this machine into the shop sometime soon. It's got a couple issues that need to get sorted out. First, the bobbin winder, it moves dreadfully slow. I'm not sure if this is the winder itself or the foot control, but it needs attention. Second, when I'm using the zipper foot, I cannot move the needlebar all the way to the left. Is that something faulty in the circuit board or just a machine in need of a good cleaning? Third, there is a squeaking noise in the nose of the machine. Needs lubricant? I bought this machine from a woman in Cedar Rapids, IA and I really do enjoy sewing on it, but the records show it was last serviced in 1994! Yikes, get thee to a certified Bernina technician, post haste.
The shoulders are French seams and the sides were finished with the serger. This fabric does not have any stretch to it, so I had to minimize the seam allowance at the widest part of my thighs. Otherwise, I would have split the seams the first time I sat down.
 |
| Edgestitching front button panel |
 |
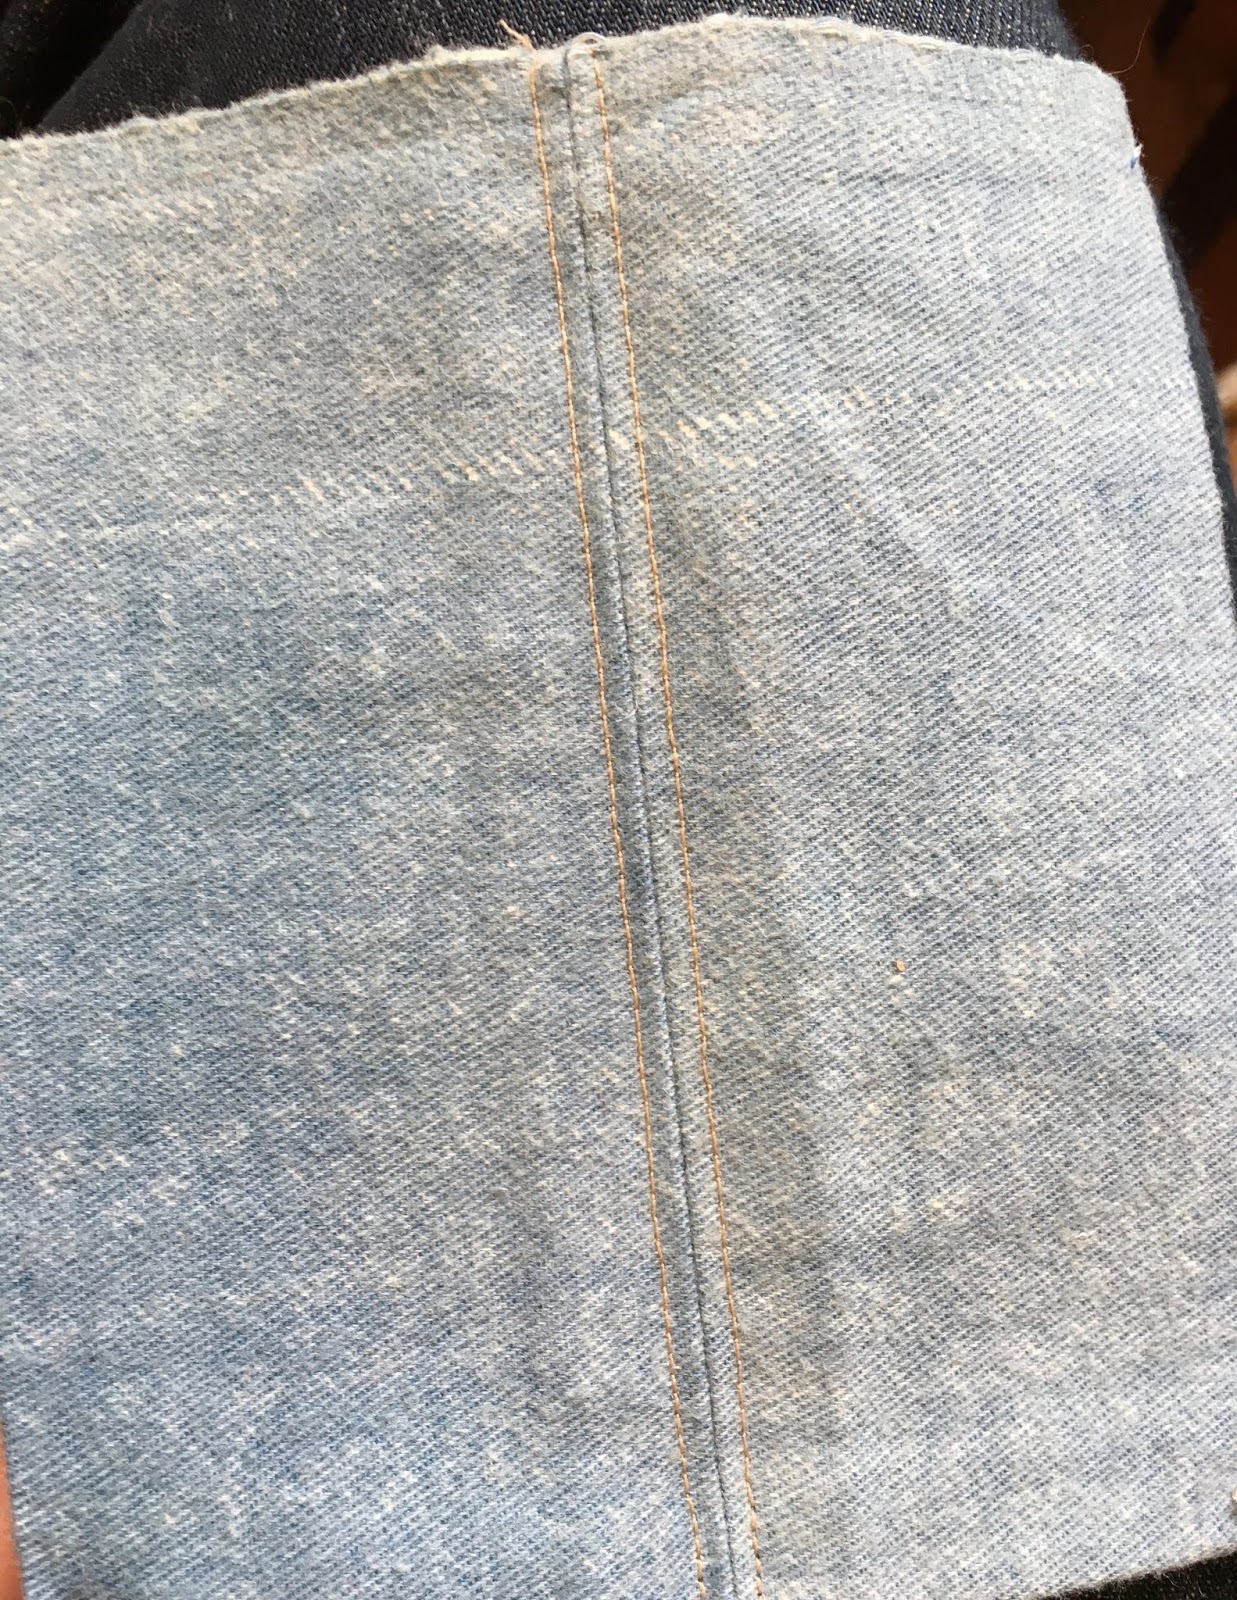
| Underside of front panel |
Seams were done with light blue thread and top-stitching was a light gold/yellow. When cutting the two front pockets, I used the selvedge for the upper edge. Again, it is in keeping with the well-worn look.
 |
| Topstitching |
 |
| Top of pocket is selvedge |
 |
| Time to place pockets |
I basted in the sleeves by hand to check fit and then sewed them with the machine and finished with a serger. The side seam in the sleeve is a French seam.
 |
| Sewing in sleeves |
With the collar, cuffs, and pockets on, it was time to find buttons.
 |
| I was very please with how this was coming together |
I knew I didn't have enough of any one type of buttons, so I made a trip down to Vogue. The final choice was blue buttons that matched the fabric, but also had flecks of color. They were $.75 each. I did purchase enough to put a button on each pocket too, but changed my mind and kept those flat.
 |
| Selecting buttons |
My assistant helped decide on spacing for the buttons.
For the buttonhole thread, I used the closest color spool I had. It handled the 12 buttons on the front fine, but when I went to make the two buttonholes on the cuffs I had only a partial spool left and I hoped that would be enough. I thought about making the cuff buttonholes a different color as a plan B, if needed.
 |
| Spool before cuff buttonholes |
 |
| Plenty of thread left after buttonholes, nothing to worry about |
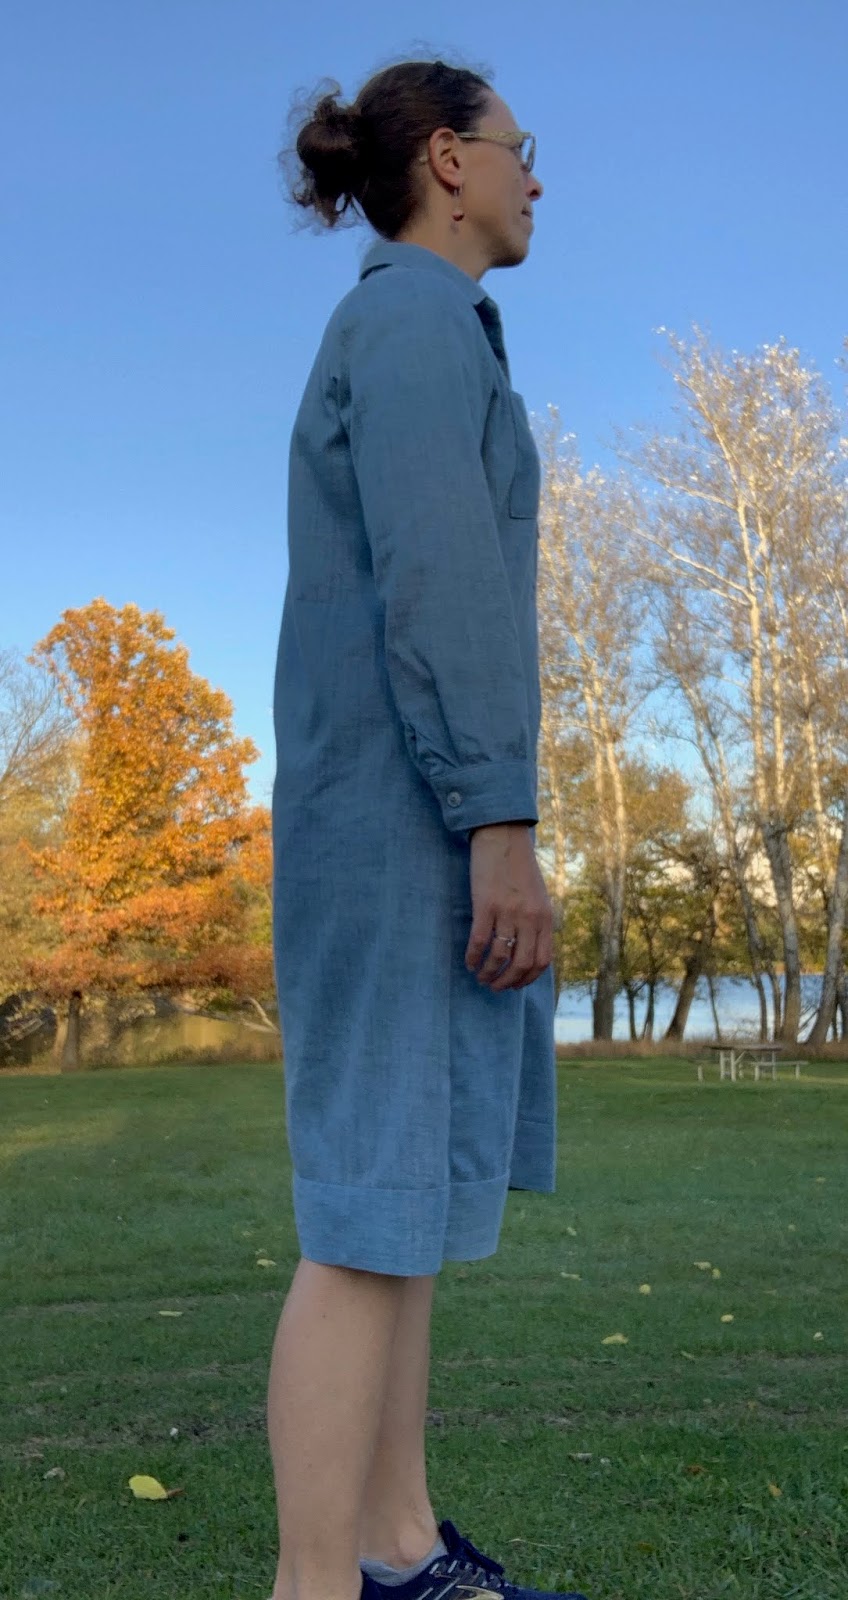
It was a few weeks after making this dress that I actually remembered to photograph it. Even then, I had already worn it once and then these pics were taken after a full day of work. I had stopped for a walk in the forest preserve on my way home and remembered that I needed to get pics of this project. The pictures were taken with the timer on my phone as the sun was setting. The light isn't great and my choice of footwear indicates that I wasn't planning to take pics, but sometimes you have to seize the moment.
 |
| Rolled sleeves is how I wore it to work |
 |
| Very practical water pumping dress |
 |
| Side pockets would have made this perfect |