Saturday, November 30, 2019

Another Tamarack Jacket

Tamarack Jacket
I'm fairly certain this gray and black geometric pattern fabric came from Ginny's Fine Fabrics a few years ago. Since then though, I lost my online fabric stash record so I can't check the details. The other possibility is that it came from Treadle Yard Goods. Either way, I had about 3 1/2 yards and that was enough to try making a longer version of the Tamarack Jacket from Grainline Studio. For the lining, I used a paisley that came from Joann sale rack. It was one of the few slippery fabrics I had enough of to use for a lining.
Cutting out the gray fabric was easy, but the paisley took quite a bit of time. It was so very slippery and it frayed as soon as it was cut.
You can see the 3 inches I added to the length of the coat
Once the jacket and the lining pieces were cut, I sandwiched cotton batting in between the layers. All the layers were hand-basted together to minimize slippage during quilting.
Basting jacket back to the batting
Trimming around basted layers
Next, the back, front sides, and sleeves all got quilted. The pattern was drawn on with a chalk pencil and the Bernina 1230 with its walking foot did all the stitching.

Top half of coat front has vertical lines, the rest has diagonal lines
Quilting on back
Tops of sleeves also have vertical lines
Lining crinkles noticeable with quilting
After quilting, the front and back were sewn together, sides seams were finished, and sleeves were inserted. Most seams were finished with the serger in the hopes of forcing the fraying lining into submission. Serging helped, but there were parts where the lining had slipped so much during quilting that it no longer fit into the seam allowance. There are a couple places that didn't get caught by the serger and I went back and tacked the lining in those areas down by hand. Once it was sewn together, the jacket hung on the dress form for a few days while I considered binding options. I wanted solid black and was planning to drive out to the quilt store in Arlington Hts for some black Kona cotton, but then remembered that I had some leftover cotton twill that I had been using for trouser muslins this summer. I cut that into 2" strips and used that for binding.

Making binding on the Bernina 1230
The binding goes all the way around the front opening, neckline, hem, and sleeve openings of the coat.
Basting still holds layers together until binding is done
Mitered corners for the binding
Binding finished by hand even around tricky curves
The front welt pockets were intentionally left out. Since I intend to wear this jacket with jeans or dress pants I will already have access to pockets.
Awaiting sleeve binding
The jacket pattern does not include a front closure and I debated whether I wanted to add one. Looking through my stash, I stumbled upon a frog closure. I don't know how or when this joined my stash, but it was a perfect fit for this project. 
Single frog closure
After settling on placement, I attached the frog closure by hand.
Frog closure
Before wearing and photographing the finished jacket, it was machine washed in cold water to erase the chalk quilting lines.

The following pictures, and the first one in this post, were all taken by my sister-in-law, Victoria. She graciously agreed to photograph a couple of my finished projects recently and she has single-handedly upgraded the photo quality on this blog. Heretofore I was taking selfies or mis-managing the timer and settling for some crazy shots. It was a relief this time to not have to worry about accidentally cutting parts of me out of the shot, wardrobe malfunctions, photo-bombers, or blurry pics. Victoria also edited her photos to showcase the details of the finished coat. This will encourage me to up my sewing/finishing skills so future finished projects are indeed camera worthy. Thank you, Victoria.

Black trim sets off fabric nicely
Added sleeve and coat length are appreciated
Fantastic pop of color on the inside
Side seam serged to help control fraying in the lining
The curves in the hem make this coat a bit dressier
Pleased with my coat and the pictures

Thursday, November 28, 2019

Blue Wool Sapporo Coat


This is my first Sapporo coat from Papercut Patterns. I bought the pattern while mom and I were in Toronto, Canada this summer. The Tamarack jacket by Grainline Studio is the only other jacket/coat I have made, so this was a bit of a challenge to myself. After reading several reviews of the pattern, I cut a size large to start. The blue wool is from Freecycle and the lining is from Joann's.
Blue wool
The wool was pre-washed, but the lining was not. All the cutting was done on the dining room table over the course of two evenings.
Only 2.5 yds of fabric
As I was sewing this coat together I referred to a couple sew-alongs and blog posts by people who had sewn the pattern earlier. There were hints and tips for most of the steps in the construction process. At one point it was very helpful to see up close how to put the lining inside the bottom front corner of the coat. Another person suggested that one stop sewing 3/8" from the edge and to fold edges in at a 45 degree angle to get a great finished corner. Most sewing was done on my Bernina 1230, but there were also some seams finished with the serger. This was my first time working with wool, and I worked slowly as I tried to get the feel for a new type of fabric. I've heard that pressing is key when working with wool, so I tried to be patient during that process.
Coat on dress form before lining is added
Lining pattern has great movement
So many pins were employed to hold the lining in place for sewing. It really did feel like I was trying to sew water on to wool as the lining was incredibly slippery. Most of the lining is sewn in by machine, but after the coat is turned right side out, the last few inches are sewn in by hand.
Pins all around the front opening
The coat was finished this summer. Because of the heat outdoors, pics were snapped quickly indoors to minimize sweating and avoid overheating.
Finished when it was 90+ degrees outside
I'm still on fence about the full cocoon sleeves and body, but those pockets are great
Love the pop of color in the lining
Reflecting on my first coat, there are a few things I'm thinking about as I plan my next Sapporo. 
  • A couple blog posts I came across when reading about this pattern were written about adding a front closure to the coat. That's something I want to incorporate on the next coat--maybe even a full length zipper? 
  • I will keep the length, but I may try cutting out a size M instead of L. I also want to narrow the sleeves and probably lengthen them.
  • I'm not sure what fabric I will use next time, but a quick Instagram search yielded about 40 different versions of this coat that I'd like to sew up.
  • A few people suggested lengthening the pockets, but I think I'm fine with this size for now.
Let's see what I come up with for my second Sapporo coat.

A couple months later, on Thanksgiving, I finally took pictures outside.
36 degrees outside instead of 90
I appreciate the wool even more now,  it really is a beautiful color
I still need to find a good front closure option.
Collar folds nicely to the sides
You can never have too much color or sparkle
Inside out

If I can't figure out a front closure my first Sapporo coat may not be ideal for winter, but maybe I can wear it as a layer indoors? 


Sunday, November 3, 2019

Mending Me-Mades

Whether your wardrobe consists of RTW clothing or me-mades, maintaining those items ensures that they will last more than one season. Mending, updating, re-fitting, refashioning, changing out buttons and zippers, etc. all help keep items of clothing wearable and in rotation. As I am still fairly new to garment sewing, there are definitely things that I have made that aren't yet ready to stand the test of time. My knowledge in the areas of fabric choice, types of seams, fitting, etc. are continuing to develop, but I still make mistakes or poor fabric choices at times. No worries, I learn a lot from sewing mistakes and, if possible, from fixing them. Here are a few pieces that I have had to mend or change recently to keep them wearable.

Lander Pants--split seat seam
I did not get a picture of the actual split seam, but it was about 3" long on the seat seam.  Yes, this happened at work. Fortunately, it was at the end of the day and I was wearing dark underwear and a long shirt, so I'm hoping no one noticed.  Although, if they did, they probably had a good chuckle.
Close inspection of the seam revealed that I had never actually sewn and serged it. It was only basted with a long stitch to check fitting and I forgot to go back and finish it. After sewing and finishing the seam, these pants were good-to-go.
Resewn and serged on the inside
View from back after mending
Chambray Dress--patched side seam
At the end of the day, after wearing this dress to work, I noticed a tear in the side seam. Fortunately, it was near the hem and not very revealing. This seam had been serged, but the fabric itself tore outside of the seam. I really like the soft, worn look and feel of this dress so I had no qualms about visibly mending with patches.

I used a light blue thread and a zig-zag stitch to sew a patch onto the back of the seam. This fabric is old and it will probably tear/fray in other areas, so I'm ready to add more patches as needed. I also added a small preemptive patch on the hem. It's not completely torn yet, but you can see where the seam is stressed.
Two small patches
I have worn this dress a few times since it was patched and, as of yet, have had no more problems.

Tamarack Jacket --gets a zipper
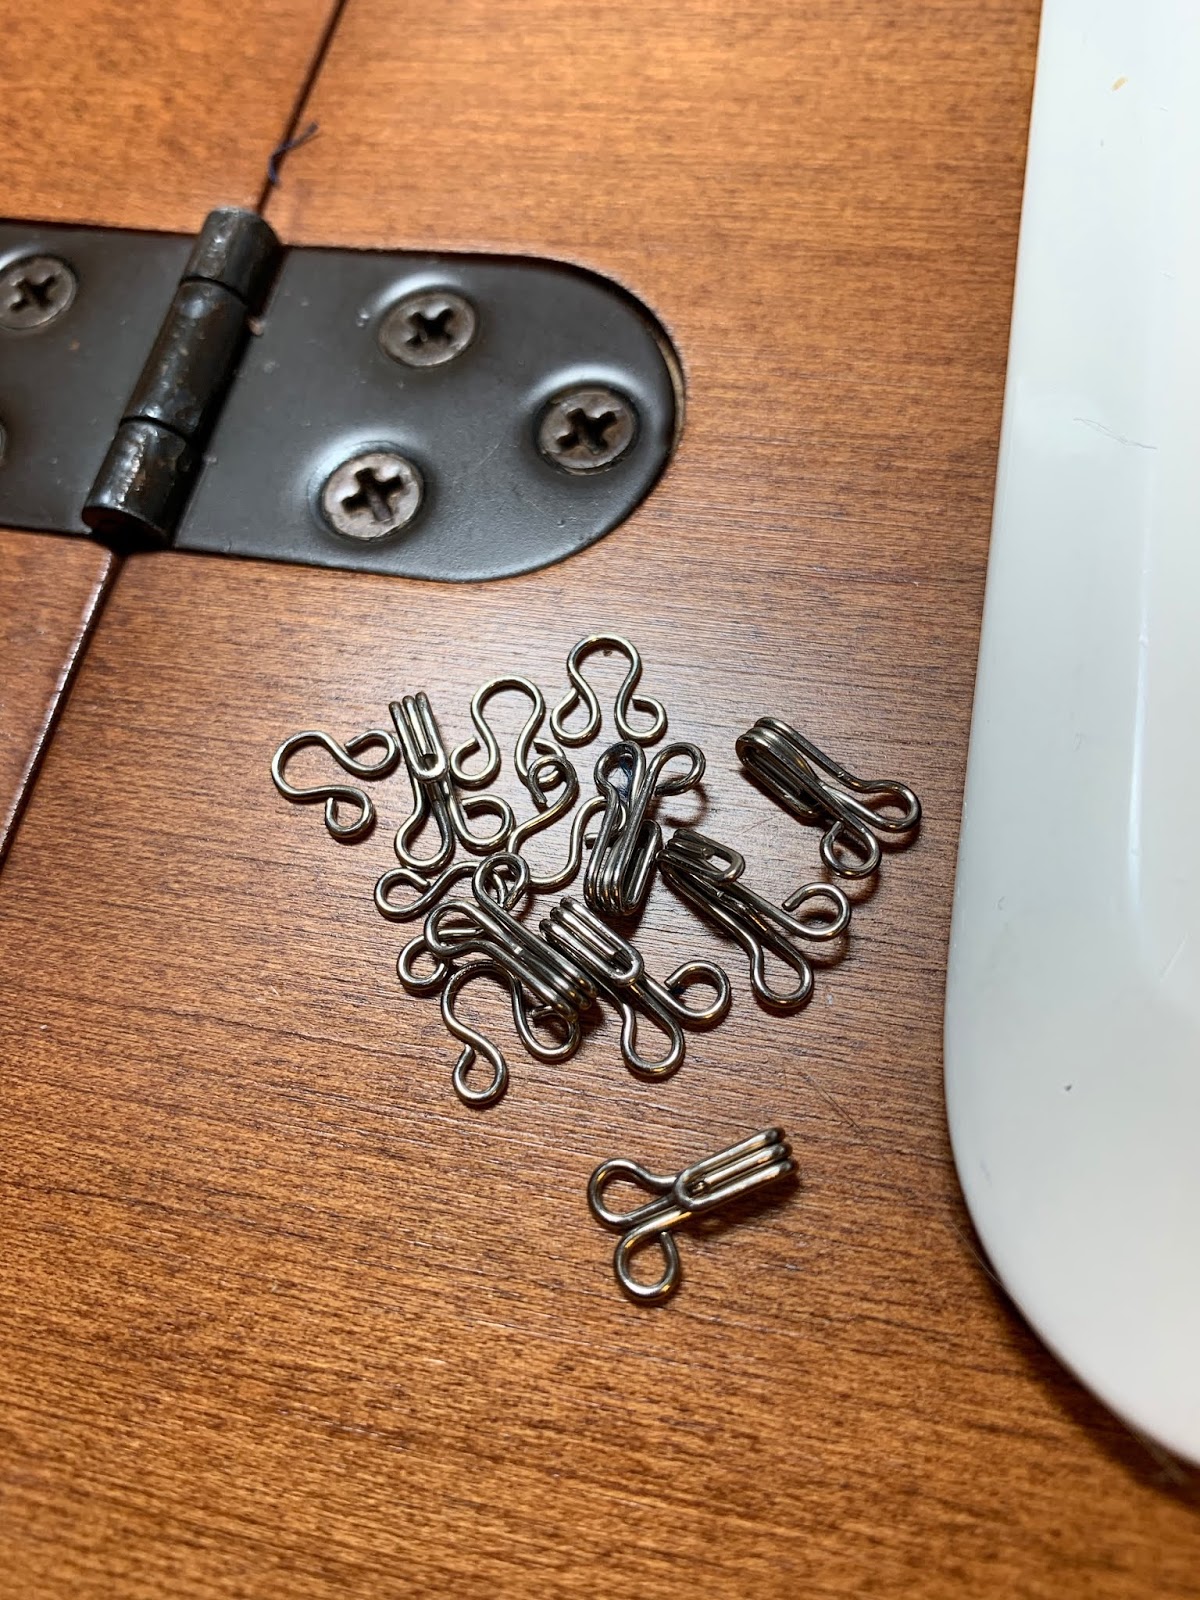
This is a wearable muslin. Originally, I put in hook and eye closures because I didn't have a fitting zipper and the opening didn't lend itself to buttons. As long as there was no breeze, the coat worked well. Since the hook and eyes didn't actually hold the coat closed though, a breeze went right through the 1/2" to 1" wide gap between the front panels. I had been wearing this jacket in the mornings when my coworkers and I walked before school. The quilt batting layer keeps this coat warm, but I was tired of holding the front closed as I walked.
Hook and eye closures
 All of the hook and eyes came off and will be saved for a future project.
All but one set can be reused
Trying out zipper possibilities
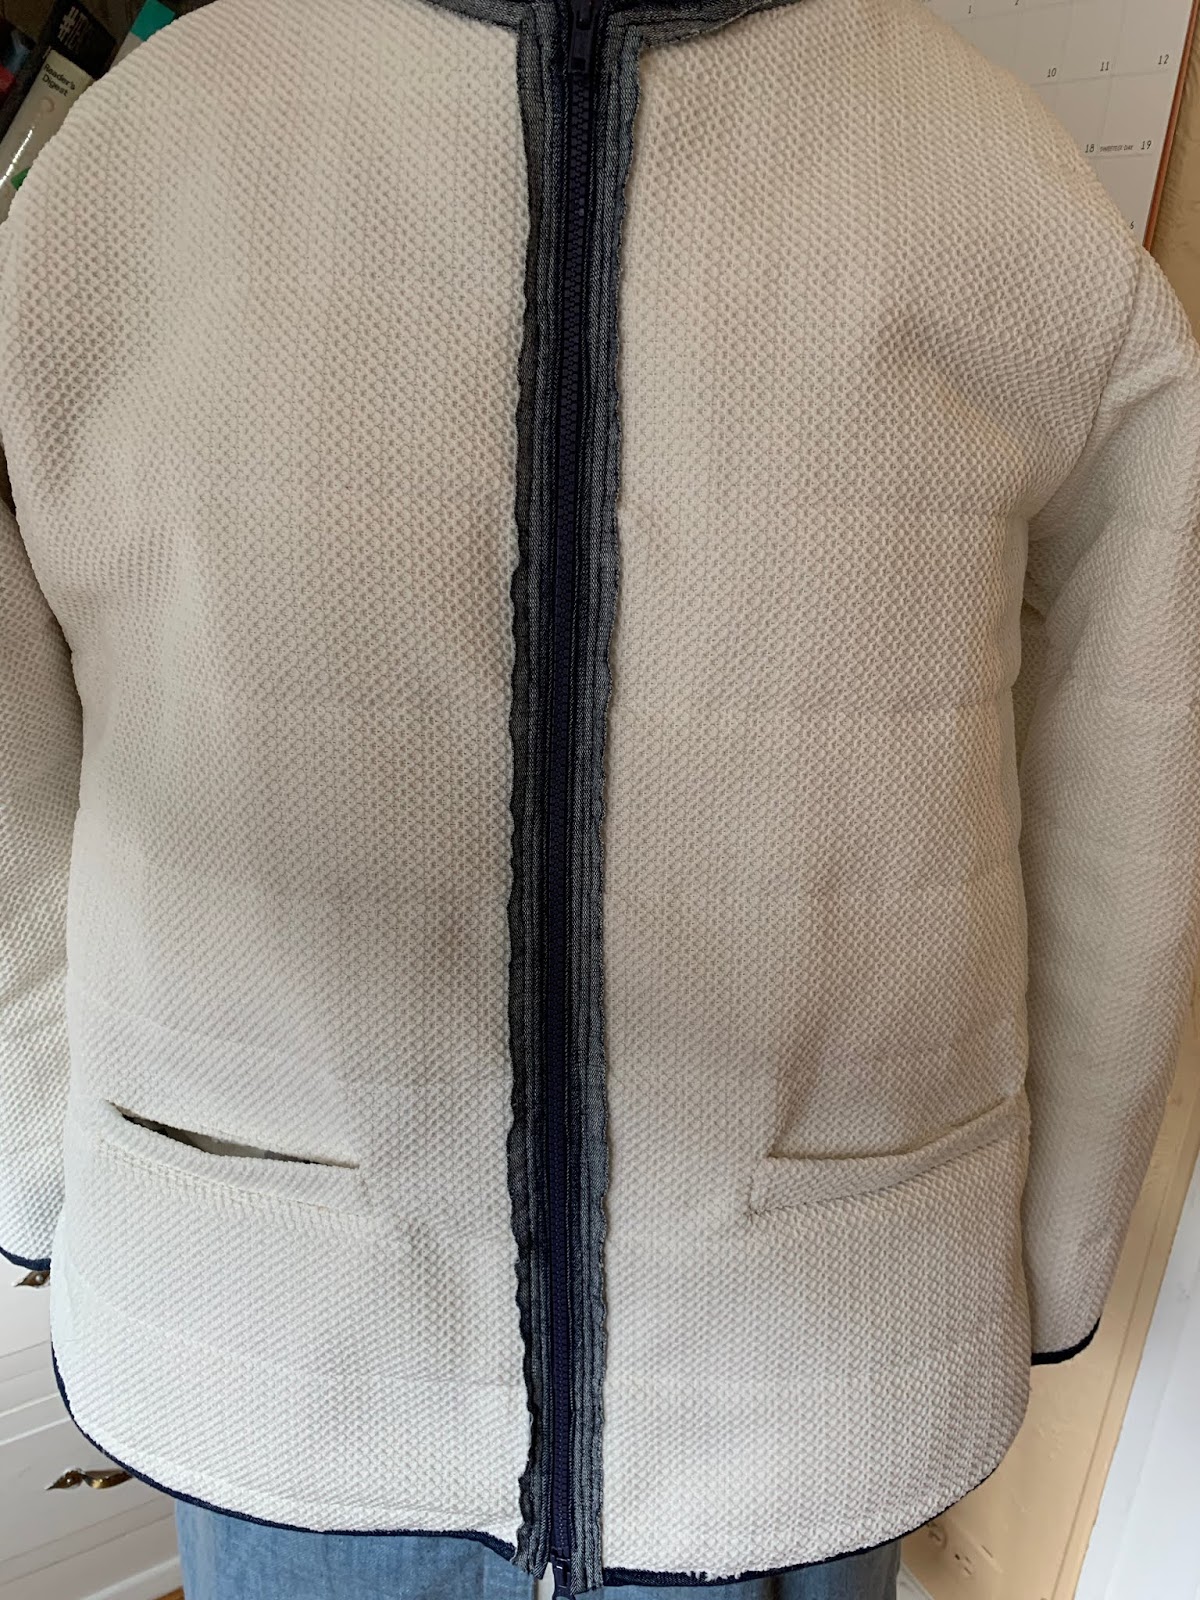
This white zipper was the only one I found in my collection that was long enough, so I basted it in. When I went to try on the coat I realized it was not a coil-separating zipper and I'd have to step into my jacket to get it on and off. So, that zipper came out and I went to Joann's to find a separating zipper. This time I had a better color selection and decided that the navy blue would be a better match.
I prefer the blue color and only had to trim 1 1/2" off the top of the zipper
Zipper goes all the way up 
Pocket binding progress is impeded
While I was making zipper improvements, I also decided to put binding on the pocket seams.  They were fraying and even though the rest of the inside isn't particularly impressive and I wouldn't be showing it off, I didn't want to have threads hanging off my pockets. I just used a package of white pre-made binding for both pockets.
Jacket with new zipper and non-visible finished pocket seams
All three of these items are now back in the closet ready for their next outing. I'm caught up on my mending, so I can go back to planning new projects.