Showing posts with label True Bias. Show all posts

Thursday, July 8, 2021

Green Lander Pants


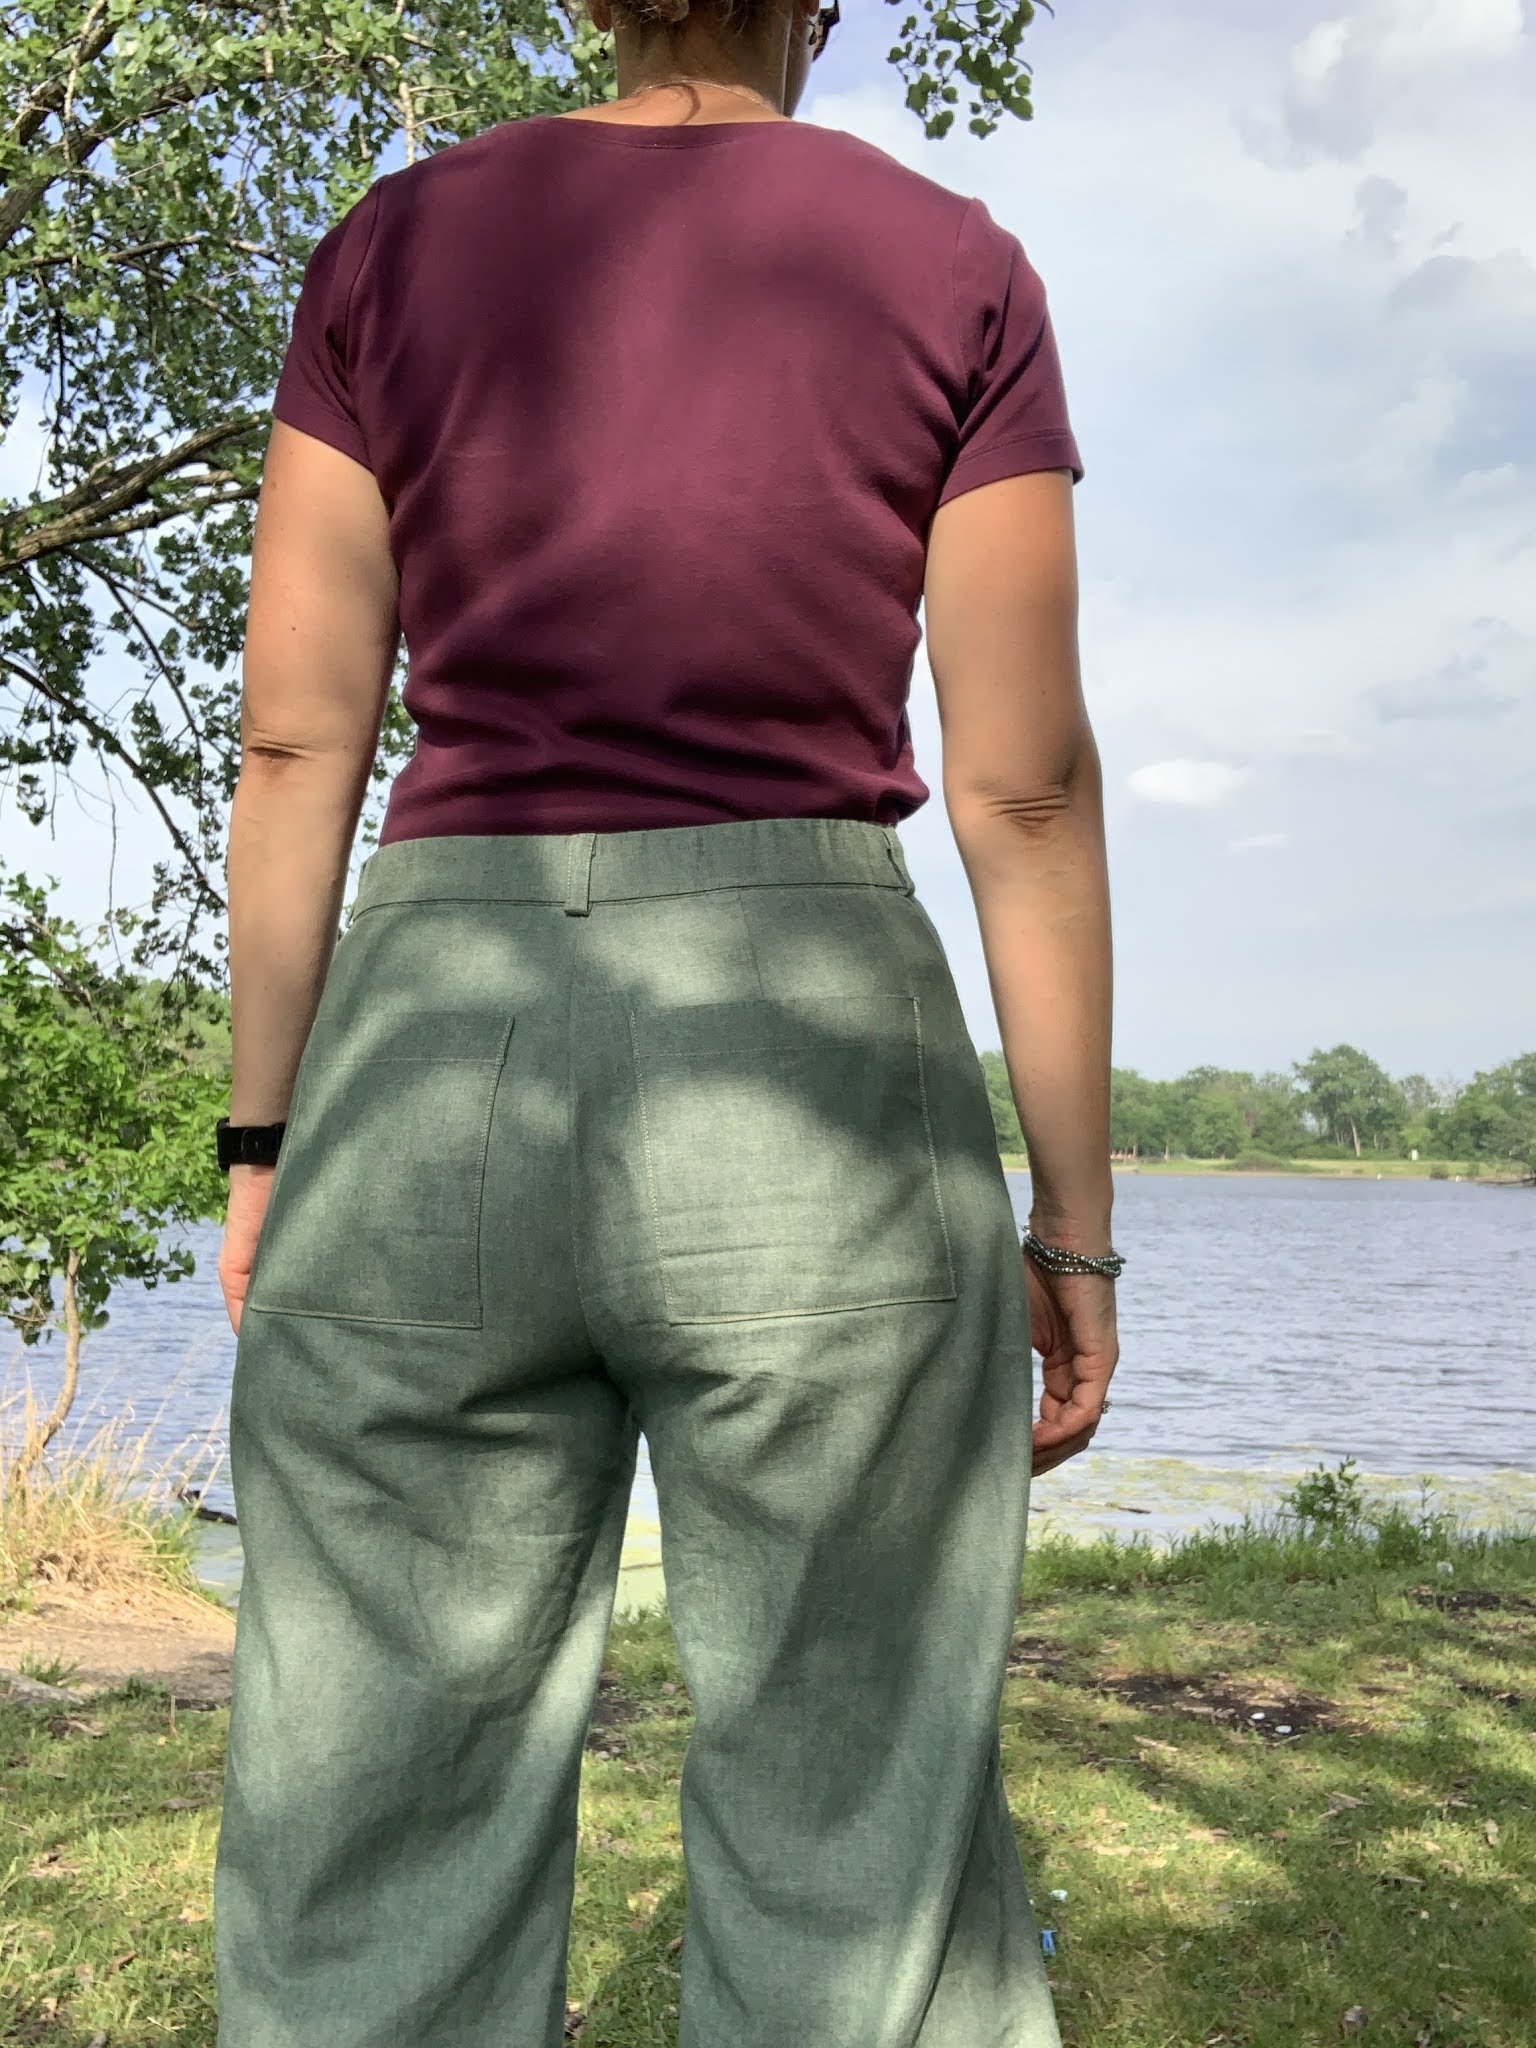
These pants were finished near the end of the school year in May. I used my TNT Lander Pant, size 12, from True Bias Patterns. The fabric was donated and there was not enough for full length trousers, so I hemmed them at a capri lenth. I think the fabric is a lightweight denim with no stretch, but it should hold up very well over the years. The buttons, which somehow matched perfectly, were also donated but not from the same source. I was delighted to find that they coordinated so well coming from different collections. The thread for seams was also donated, but did not match the fabric and button color and then top-stitching thread is a bit lighter so it doesn't disappear into the fabric. 

I photographed these pants during the course of one day in May. There are pics from school, from my walk at the forest preserve after work, and at a baseball game.

Love having those big front pockets

Elastic in back waistband
Another hack I made to the pants was to put some elastic in the back of the waistband. I used the tutorial from Lladybird as guidance for how to complete that modification.


Shadows from the trees 

Could have been twins. When I stopped at my nephew's baseball game after work, my brother and I realized we were both sporting the purple/green outfits. 


Thursday, July 23, 2020

Green Denim Twill Lander Pants


Lander Pants and a Blaire Shirt
Here is another Lander Pant pattern, version number 50 or so. This is definitely a TNT pattern for me now and I am really happy with how it fits overall. The fabric is from a woman in Northbrook who was de-stashing and generously offered to let me try anything that looked interesting. It is a green denim twill and I thought it was a perfect weight with which to try the Lander Pant pattern again. I had been working on perfecting the fit of the shorts and I wanted to try the pants, but hadn't had any suitable fabric. Since social distancing started, I have only shopped online once, choosing instead to use fabric and supplies I already have at home. I am pleased to be able to say that these pants were constructed entirely of notions that were already in my collection.

The front pocket lining is a quilting cotton from Nancy K's stash, the buttons were in a sewing cabinet that came from a garage sale, and the thread came from Cedar Rapids, IA.

I don't have any construction photos of these pants because I have sewn this pattern many times and often forget to pause and take pics. I had my Bernina 717 set up for seams and the 1120 set up for top-stitching. I also used my serger for finishing seams and the hem. My Singer 201 did the buttonholes.

There are finished photos though, taken while I waited outside the urgent care clinic. My neighbor was inside getting a COVID test and no one is allowed to wait in the lobby so when it stopped raining I starting walking laps up and down the block. At some point I realized I was wearing my recently finished pants and a Style Arc Blaire Top so I decided to do an impromptu photo shoot. The lighting alternated between a bit too dark and a bit too light and the focus was sometimes off, but it was not bad for just propping my phone on various ledges and setting the timer. Also, if this had been planned I probably wouldn't have modeled while wearing my garden boots.
At least I'm in comfy clothes if this ends up being a long wait
Back pockets were cut with the selvedge as the top
I can squat and not worry about revealing anything with these high-waisted pants
I made the mask, shirt, and pants
Camera angle makes me look like I'm slouching
Nice big pockets for my phone
There were only 5 of these buttons and that worked out perfectly
Range of motion is great
Didn't get my head in this shot

Thursday, June 11, 2020

Lander Shorts for the Garden

Lander shorts for the garden
Here is another pair of Lander Pant shorts. This time I omitted the belt loops and incorporated the button fly instead of the zipper. The fabric is an upholstery fabric for outdoor patio cushions. It's a remnant I picked up on Freecycle a couple years ago. It has so many colors from my garden and the fabric should be sturdy enough to last for quite some time. The pocket lining came from a neighbor who was downsizing her stash.
Short fabric and pocket lining
The floral pattern on the shorts does not seem to have a specific up or down direction so cutting didn't take very long at all. I was not trying to match the pattern on any seams and purposely cut the back pockets from different sections of the print.
Back pieces with darts
Pockets with lining
These shorts were sewn on my Bernina 1120 with a little serging help done on my Brother 1034D.
Having sewn this pattern up a few times now, I don't have to check the directions at every step, but I still had to read closely when it came to putting in the button fly. 
Alternate, smaller buttons
These are not the buttons that I had originally picked for the shorts. I used my Singer 201 to make the buttonholes and I did do a test run, but apparently I did not check that sample close enough and after I had finished 3 buttonholes I realized that the openings were too small for the buttons. Fortunately, I was able to find another set in my stash that worked well with the fabric. The buttonholes are done in a light green thread and then that same thread is used for the hem because I ran out of the yellow I had been using for the rest of the construction.

Hem was serged then folded under 3/4"
Photos were taken in the garden yesterday between rain showers. The lighting wasn't great and it was still sprinkling in some pictures. 
The big pockets in this pattern are a plus
Button spacing turned out well
Side view 
Back pockets don't match
Comfortable for weeding 
No gaping in the back waistband
Sitting on the front stoop
Fabric colors complement the garden

Thursday, May 28, 2020

Yellow Corduroy Lander Shorts


These shorts were so fun to make and I'm thrilled with how they turned out. I have used this pattern before, but this time I wanted to concentrate on fitting the waistband. My earlier attempts were mostly too loose and there was gaping in the back. I had also never actually put in the belt loops so I planned to give those a try.
Other than the pattern which I purchased  ago, I was able to pull all the pieces I needed for these shorts from my stash. The fabric is from Lillian, the pocket lining is from a lady in Wilmette who had me service her machine so that she could give it to mask makers, matching thread is from Cedar Rapids when I bought my Bernina 1230, the zipper and snap came from school as they are discontinuing the sewing classes, and the button is from my Aunt Janyce's collection. This was a fantastic example of making do with what you've got.
Fabric has faded areas and a couple stains
Pocket front top, pocket lining bottom
Shorts construction started with the pockets. For the back pockets I used the decorative flower stitch for a little whimsy. For the front pockets, no changes were made.
Matching pockets to lining 
Sewing pockets to lining
Topstitched pocket openings
Pockets attached to short fronts
Next, I worked on the invisible zipper. I tried to follow Kenneth King's tutorial on invisible zippers and while I'm happy with how it turned out, the zipper is definitely not invisible. I didn't have a yellow zipper and ended up using a tan one.
I liked King's process for inserting this zipper
For the belt loops, I accidentally cut twice as much fabric as it called for but this turned out to be a very good thing. It was so difficult to turn the loops right side out after they were sewn and I ended up having to sew up extra loops get enough useable ones.
Belt loops
For the waistband I used some iron-on interfacing that was designed specifically for waistbands. This interfacing was a bit stiffer than what I had before and it held a good shape.
Belt loops and waistband ready to be basted
To help minimize the gap between my lower back and the waistband, I put in a fish eye dart.
Fish eye dart
This fabric frayed non-stop. Every time I got up for sewing I was covered in yellow threads and fuzz. When I was hemming the shorts I decided to serge the edges first to minimize the unraveling. Then the hem was turned up 3/4" and secured with a zig-zag stitch. The button is decorative and there is a large snap underneath it. Both the snap and the button were sewn on by hand.
One-of-a-kind button
Back pockets a bit faded, but have small flower detail in stitching
Pictures were taken in the back yard on a very sunny day. I had been sitting for several hours already in the shorts as I wrapped up school work for the year. There are wrinkles and shadows in the pics, but that's a glimpse as to how the shorts wear in the 'wild.'
Let's see that button
From the back

Side view
Zipper is not invisible, but it works perfectly fine
I did take a couple action shots to show how the shorts move or sit as I'm moving.
No gaping when I sit down
I can bend over in the garden and not show my cheeks
Spring yellow complements the Clematis and the Lilac bush