Monday, September 25, 2017

Trouser Drafting with Kenneth D King

Trouser Drafting with Kenneth D King

This past weekend mom and I drove up to Minneapolis, Minnesota for our first sewing class ever. On Wednesday, we loaded up the car with suitcases, sewing machines, and our sewing tools and I left school early that afternoon so we could drive up and spend the night at my sister's house.  The first two days we hung out with my sisters and my nieces and then the second two days we spent 7-8 hours a day in class.
The class was hosted by the Minneapolis Textile Center and they had a great space to accommodate all fourteen students.  Mom and I showed up a bit early on Saturday, eager to get our space set up and to meet the guest speaker.
There was no sewing the first day, so we ended up not setting up our machines, but we were able to unpack tools for taking and recording measurements and then drafting the pattern.
After introductions by Kenneth himself, who has some of the best stories and one-liners to emphasize his noteworthy skills and resume, we did class introductions and it was so interesting to hear where people were in their sewing journey. There were beginners like me who had sewn few items- none of them were trousers- and there were experienced sewers who were still looking to broaden, improve, or refine their skill set. There were design students, hobbyists, people who sew on a daily basis, and others who are getting back into it after a few years hiatus.
Pattern drafting started with the essential step of taking measurements. For this, Kenneth listed what measurements were needed and modeled how to take them accurately.

Measuring crotch depth, that's a new one for me

Identifying waist and full hip placement

Then we paired off and measured our partner.  Remember, it's just a bunch of numbers, it's not a judgement on your worth as a person.

Kenneth's book, which you can purchase whether you take the class or not, has the drafting process laid out so clearly in pictures and text. He also does a remarkable job of breaking down the process in person, in this case with the aid of a large dry erase board, so that even the math phobic or the "it's been awhile since I've had to do math" among us barely hesitated during the process.
Mom drafting her pattern
Kenneth adjusting individual patterns

That first day seemed to fly by and when we left at 5 pm, everyone had a custom paper pattern for trousers.

Sunday we started a bit earlier than 9 am because Kenneth wanted to get us all sewing as soon as possible. He guided us in tracing our patterns and cutting out the muslin and then we had work time while each one of us put together our first muslin.
Muslin number one
When it came to creating the muslin, things could have gone more smoothly.  First, my sewing machine was not making a strong stitch.  The bobbin tension seemed be off, but after about 10 minutes of fiddling with it I finally moved over to share mom's Featherweight.  There wasn't time later in class that day to fix my machine, so I'll be following up on that sometime this week when I get home. Then, I sewed the first muslin pieces together incorrectly--made a leg from the front pieces sewn together and a leg from the back pieces sewn together. I started ripping out seams to fix that and one of my pieces of fabric tore. I cut another pair of front pieces and then found that the back pieces had stretched after having seams removed and ironed so they no longer lined up with the fronts. A very generous classmate gave me some extra muslin and I cut out a whole new muslin. By this time, most people had completed their first fitting with Kenneth and were having lunch. No lunch for me, had to keep sewing and install the front zipper. Mom, who had helped me redo everything-Thank you!-- and I had our first fitting after lunch.
They started out fitting like loose pajamas, but Kenneth fixed that.
Kenneth made adjustments to the muslin and transferred the changes to our pattern and then we were back to make our second muslin. I felt a bit rushed at the end of class, but Kenneth is a professional and didn't appear the least bit flustered.
Wouldn't you like a peek into Kenneth's brain to see how he organizes all the info and skills he has in there?
It really is fascinating to watch him simultaneously carry on a conversation and flawlessly fit and edit pattern after pattern for hours on end. You learn so much in this class, and yet, you know it's just a fraction of what you could learn from him if time permitted.
As we packed up our things at the end of class on Sunday, we were all leaving with a pattern for our third, and probably, final muslin. Maybe next weekend I will be able to get some more muslin and try out the final fit.  I'm thrilled to think that I'll actually be able to make pants that fit me correctly. I thoroughly enjoyed taking this class and I would love to take another class with Kenneth or participate in one of his sit and sews. This class opened up so many sewing possibilities and it got me excited about tackling those future projects.


Tuesday, September 12, 2017

Red Skirt Refashion


It started out as size XL skirt from Coldwater Creek that I got for $.70 at the Salvation Army.  Both the skirt and the lining were 100% polyester and there was plenty of fabric.
Started as a skirt
I never tried wearing this as a skirt as there was just too much fabric swishing about.  I liked the border pattern on the bottom though and hoped to keep that in the new design.
Stewie is pressing the fabric and pondering refashion options
My first step was to cut off the waistband and to take out the zipper in the back.  Then I took out the pleats that were about every 4" around the lining below the waistband. This was a tedious process, but it did yield quite a bit of useable fabric when the pleats were removed.
I had recently made the Eve pleated blouse from so-sew-easy.com in a size M and it was a bit too tight across the back of the shoulders so I reprinted the pattern to try out a size XL here. With a bit of finagling in the layout process, I was able to keep the border pattern from the skirt as the hem of the shirt. I chose to leave out the keyhole on the back this time only because this fabric was like cutting water and I wanted to make as few cuts as possible. I was able to get the border pattern to line up nicely on the side seams.
The pleats in the front neckline took several repinings.  Again, it felt like I was trying to fold water and pin it into place.  Not an easy task, but I really do like the look of the finished pleats. Sides and shoulders were finished with french seams and the sleeves were finished with a basic turn under hem. The neckline has white bias tape and the shirt hem is the original skirt hem.

Finished shirt on dress form
Here is how the shirt fits on me.  I don't know if I just need to go down a size in shirt or if the fabric was too flowy, but the neckline is too low and too loose for me this time.  I knew I'd have to wear a tanktop under the shirt because it is see-through, but I'd rather showcase the neckline without a tanktop strap or neckline peeking through.
Good finished shirt length

Border print lines up well at the side seams
Back seam blends in to fabric pattern

The front pleats do let this shirt hang nicely
I don't think I'm done working with the Eve pattern. Next time, I'll try the size L.


Monday, August 14, 2017

Ariadne Tunic

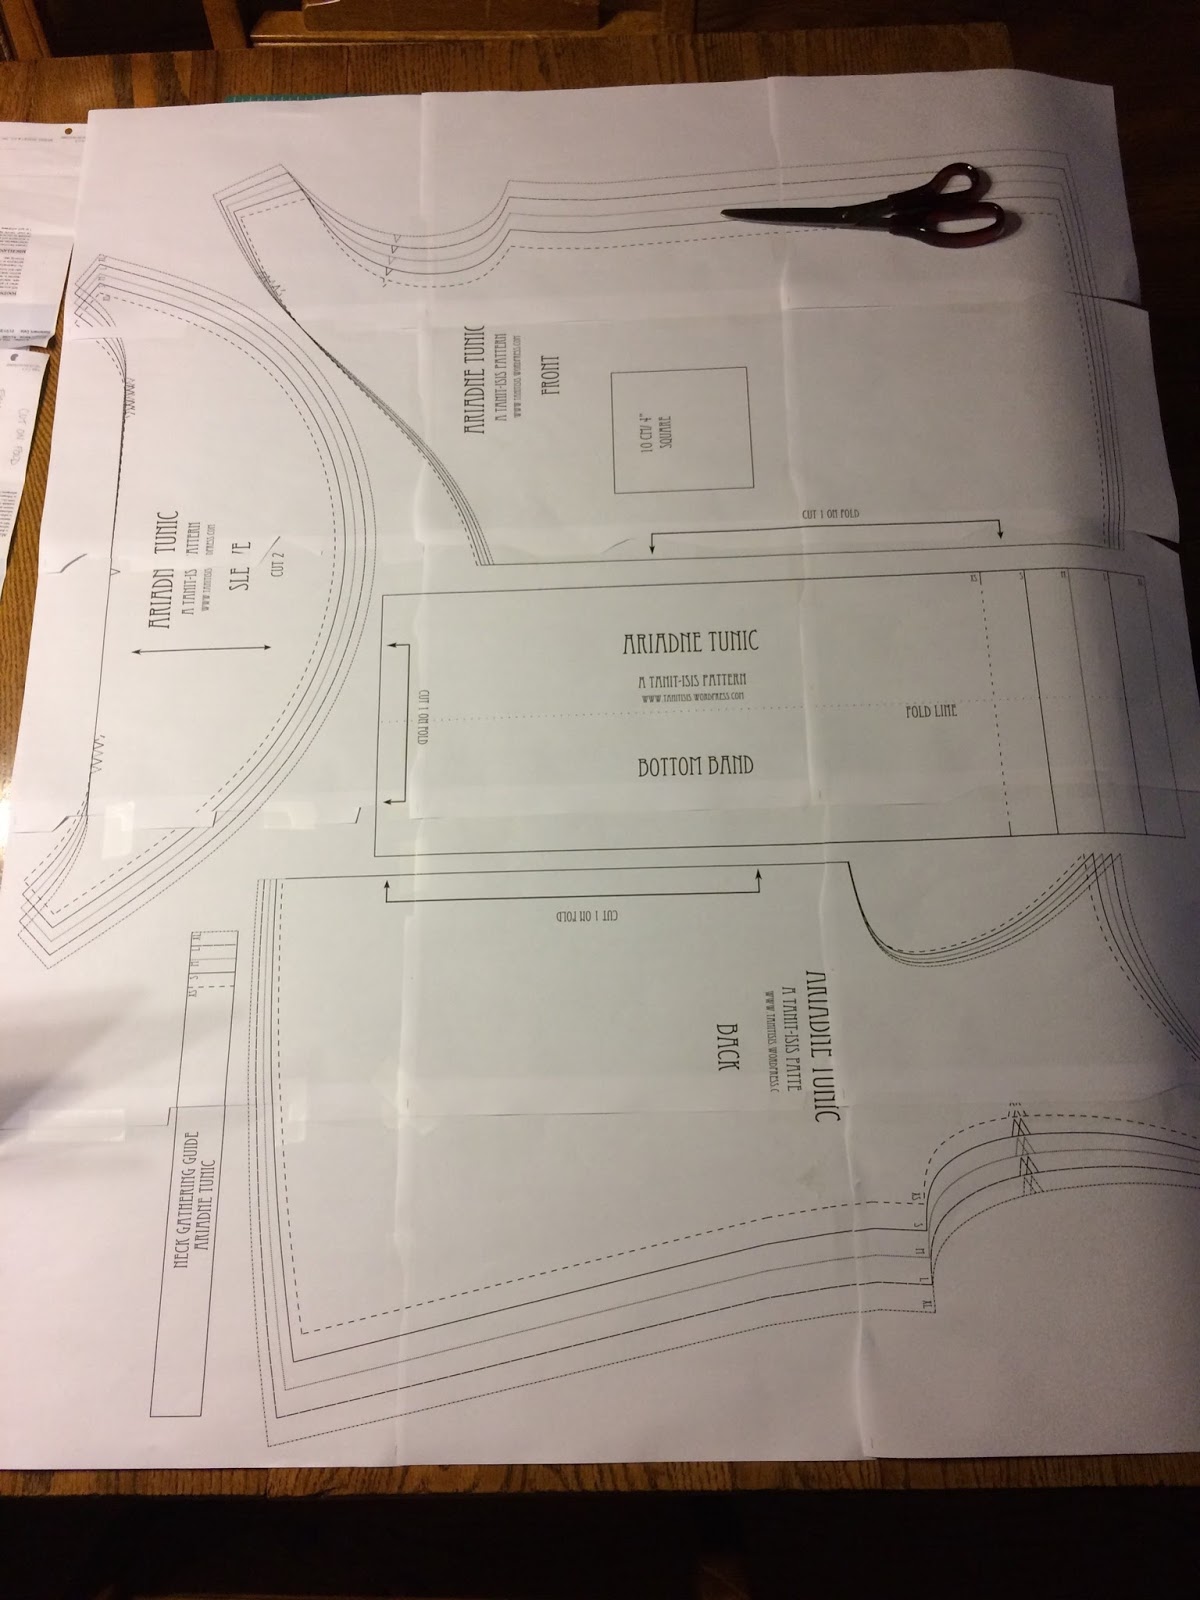
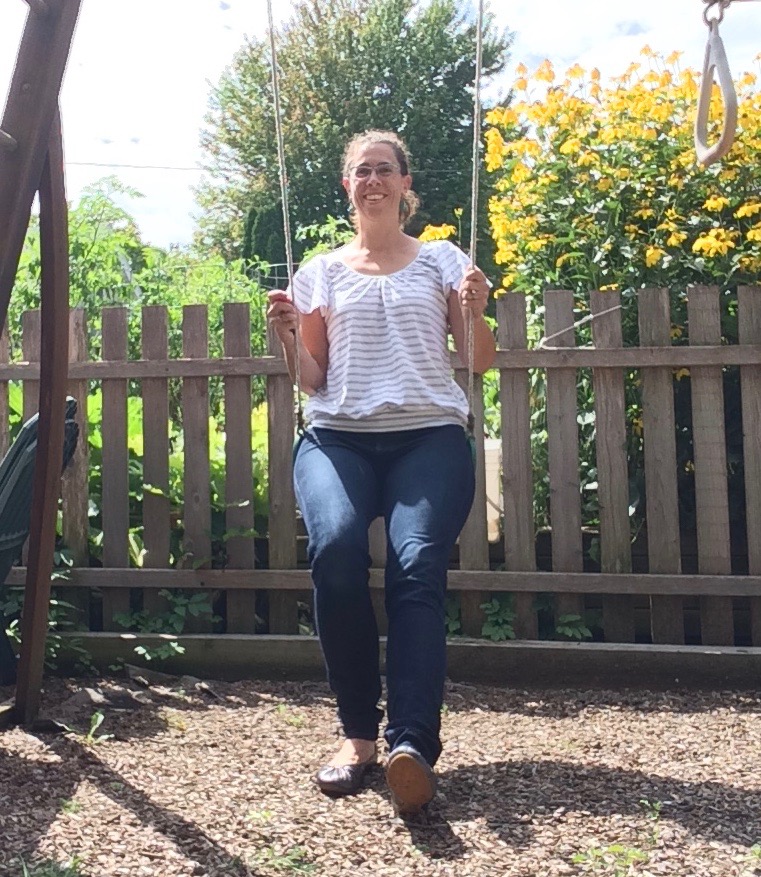
This is the Ariadne Tunic pattern from Tanit-Isis Sews at tanitisis.com. It's the first pattern I have made from this site, but it will not be the last. The things that drew me to this pattern were the fluttery sleeves, gathered neckline, and the fitted waistband. I hesitated a bit because the shirt had the potential to make me look pregnant or to be too short in the torso, but the finished pics online didn't show either of these and my finished shirt turned out fault-free. I made a size medium and it fits perfectly.
The fabric is the last of the gray and white knit that I have used before on a long sleeve shirt. I did want to be particular about matching stripes on the side seams, so layout took a fair amount of time before cutting.

Get those stripes straightened out

Accuracy is improving when I'm taping pdf patterns together
The pattern instructions call for 1/4" seam allowances and I ended up finishing them with the serger.
Serged seams
I reinforced the shoulder seam and left part of the seam strip showing as accent on the shoulder.
Shoulder seam

Gathered neckline
The neckline on this shirt is gathered. It took awhile to accurately pin the gathers for this neckline, but I'm very please with how it turned out.
Keyhole finished with bias tape and edgestitching
There is a keyhole opening on the back and it had the option to finish it with a button closure, but I just sewed the opening closed. The last step was to add the bottom band.

From the gathered neckband at the top to fitted waistband at the bottom, this shirt fits in all the right places

Isn't that keyhole on the back fantastic?  I finished mine with white bias tape.
Fluttery sleeves, I left mine without a hem.  And you can't see it, but the stripes line up on the side seams.

The scooped neckline doesn't hang loose or expose anything.

I think the chickens are admiring my snazzy gardening shirt.

Sunday, August 13, 2017

Camouflage Tanktop


Camouflage Tanktop
This fabric was leftover from a shirt that my mom made. There was really only one way to layout the pattern pieces to fit on the scrap, so no attempt was make to match the pattern on side or shoulder seams. I decided to use the selvage for the bottom hem. The pattern is a basic one that I have been consistently adapting with the hope that it may eventually be a TNT pattern. There was not enough fabric to do the full length of my pattern, you can see that the fabric stops about an inch or so short of the bottom of the pattern.
Cutting out the front
The back and front are a little bit different in length. The back is a tad longer and I debated how to finished the side seams. I ended up not worrying about the length discrepancy and left it as a design feature. The neckline and arm holes were finished with gray knit.
Finishing the neckline

Edgestitching on the neckline looks great and will be added to armhole
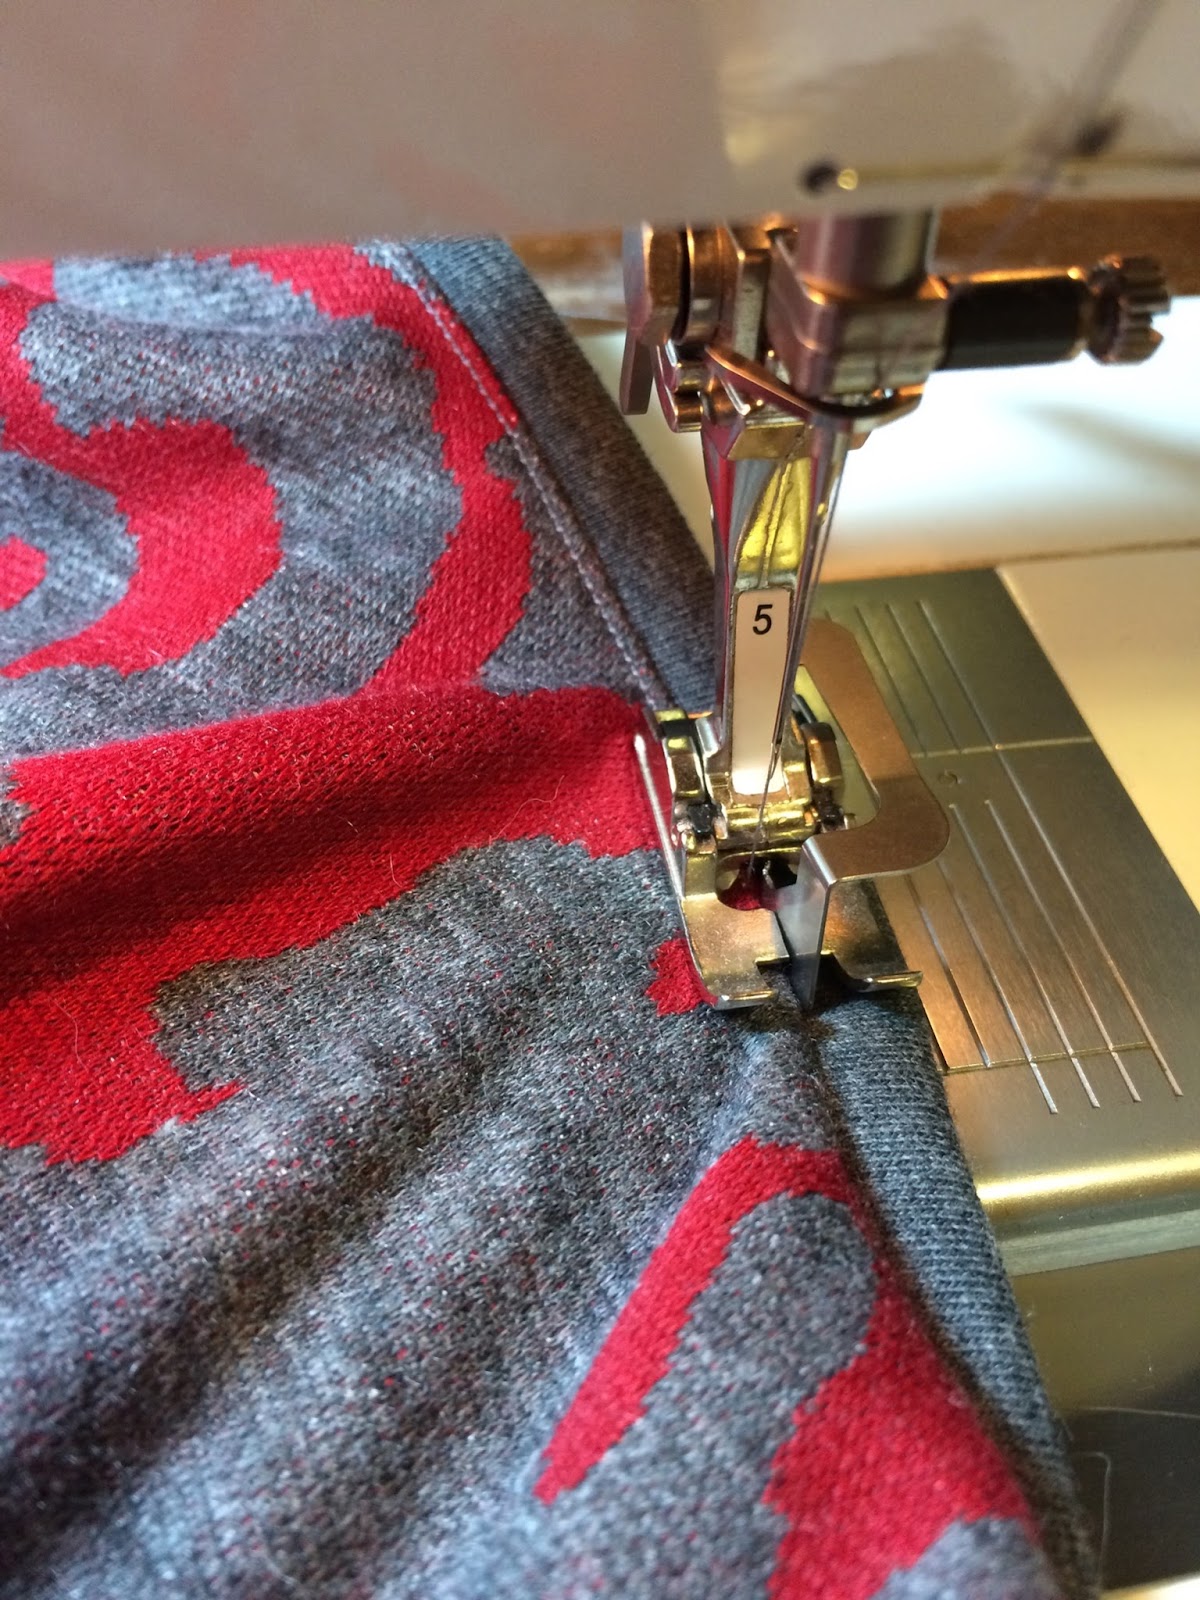
I really like the crisp finished look of the edgestitching. Using the #5 foot, I added edge stitching to the neckline and armholes. The foot did get hung trying to go over the shoulder seams, but I was able to lift the pressure foot a bit and guide it along for a few stitches before releasing the foot and letting it carry on.
Edgestitching

Trimming inside the armhole
This project went together fairly quickly and it is so comfy that I'm sure it will see regular wear.  It's quite versatile and can be worn by itself this summer then with a long-sleeve layer as it gets colder in the fall.
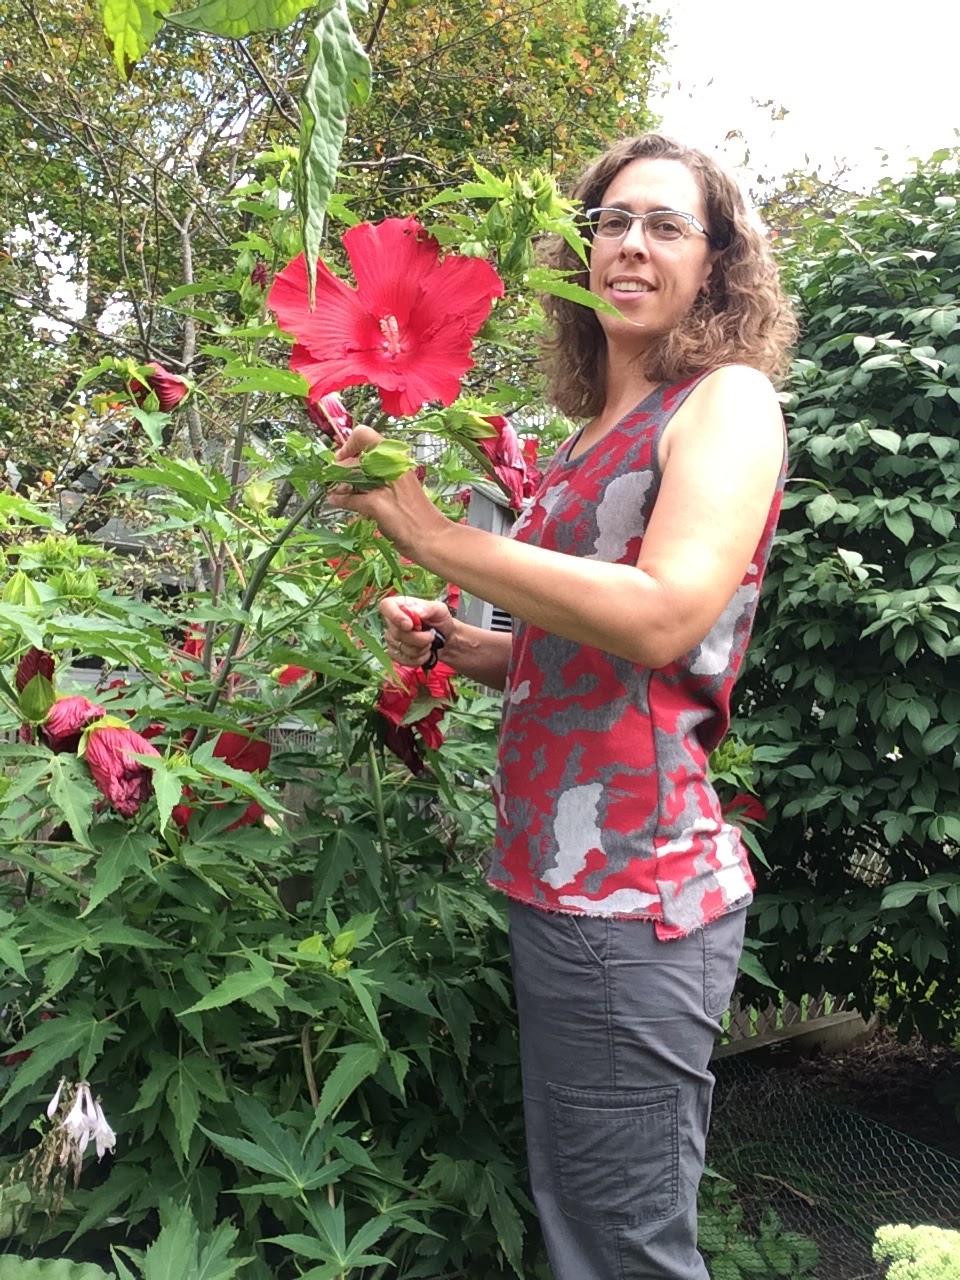
Those flowers are looking a bit spent, but my shirt goes well with their red
Next time position the camera higher up for more cool shirt and less backside
Gray on neckline and armholes coordinates perfectly
Front and back are different lengths, both with selvage hem

Monday, July 31, 2017

Orange Quilt

The fabrics are leftover from a quilt I made for our bed a few years ago. They are all bright orange and yellow with some red mixed in.  The pattern was easy to cut out and it pieced together quickly.  
It would end up in an overall square shape

Batting and backing were added while sitting on the living room floor
The backing was a piece of fleece that had a white and gray chevron pattern.  It would make a very soft baby quilt should it get called into action.  I chose to do the quilting by machine in a variety of concentric triangle shapes.  The triangles are of varying sizes and types and layers between adjacent triangles are varying thicknesses.
Close-up view of fabrics and one triangle drawn on
Most of the quilting was done indoors on my Bernina 801 Sport, but there was one day at the end of the project were I brought an extension cord out to the back patio and completed the last few triangles overlooking the garden.  I could look up at anytime and see birds, butterflies, chipmunks, and flowers. I should sew out there more often.
Outside with a view
In the shade and loving the summer heat
Quilting finished
When I look at the back of the quilt, I'm not completely satisfied with the quilting.  Some of the stitches seem a bit loose.  I don't think the 801 liked working with the fleece backing and it didn't always hold the tension consistent. This quilt is not going to fall apart, but I would definitely want to try something different, maybe a walking foot, if I do another fleece backed quilt. The binding was made from more scraps.  Some of the pieces were getting pretty small, but there was still a good variety of fabrics. The binding was machine sewn on the front and then hand-sewn on the back. After getting washed and then hanging dry in the sun, the quilt radiates oranges, golds, and some reds.  I like how the quilting turned out, there are triangles and parts of triangles facing nearly every direction.  This was a good project to finish in July, the colors are very summery.
Finished quilt

Closeup of triangle quilting

Hanging above the climbing baby butternut squash


Tuesday, July 25, 2017

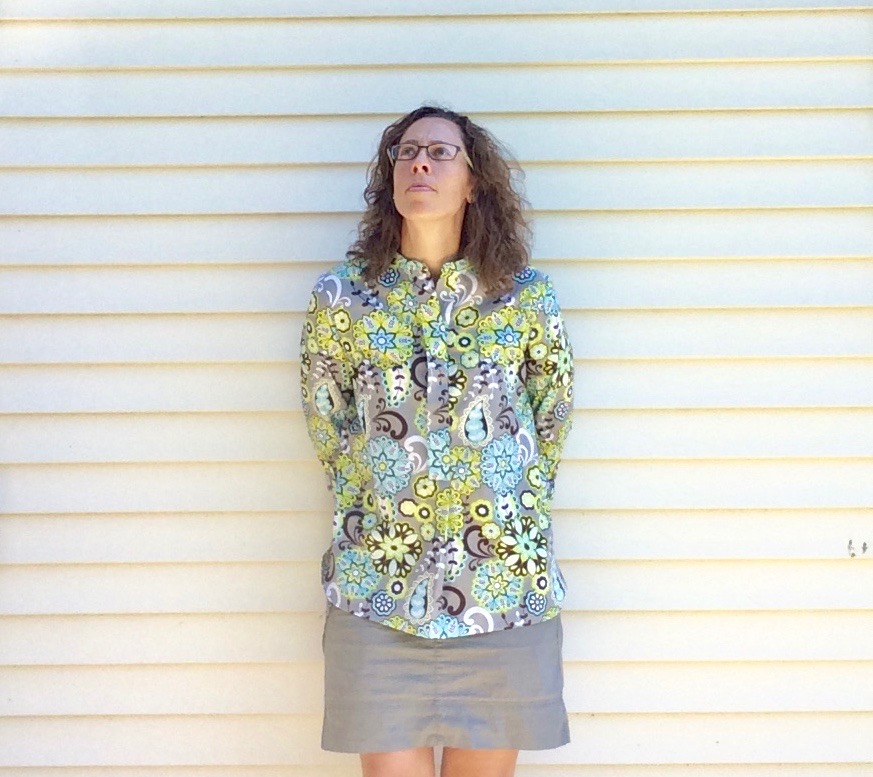
Chartreuse and Turquoise Shirt Complete


Bright colors and bold pattern
The last two days I worked on my shirt in the morning. Yesterday I started with the sleeve tabs. They were supposed to be a little wider and have a triangle on the end instead of just a slant--I'll have to read the directions more closely next time.
Tabs
Tabs with buttonholes and corresponding buttons
Next, I put the collar together and attached it to the shirt. It is edgestitched along the top and bottom.
Collar
This morning I put the tabs on the sleeves, set in the sleeves, hemmed them, and then added the buttons. Since the shirt is not lined, rolled sleeves reveal the backside of the fabric.  It's definitely a more casual look and I might consider lining the next shirt-maybe in a contrasting fabric?
Finished sleeve rolled up and secured with tab
The shirt was finished up today before lunch. It's very sunny outside, so taking pictures was a bit challenging. I tried to use the garden as background, but the lighting was difficult.  Here are a few shots that turned out well.
Back view
I didn't add any length to the original pattern and I like the finished back of this shirt. The pattern is also pretty well centered.
Side view
The tabs on the three-quarter length sleeves are a nice detail.  I don't think I'd ever wear the sleeves not rolled up.
Front view
I spent quite a bit of time trying to get the four hidden buttons under the front placket in the right place so that the placket would lay flat.  It looks like time well spent. In the original pattern there were pocket flaps under the front yoke, but I left them out figuring they'd get lost in the loud pattern anyway.

Ok, this last picture is definitely washed out, but it does show that the shirt works well for jumping in the garden.  That's another point in its favor, right?
I do plan to make this pattern again, but maybe not right away. What's next in the sewing project queue?