Yesterday I searched for a project that would use up some of the fabric scraps I had left over from the wall hanging I made last weekend. Originally, the fabric came in a bundle of 5"x 5" squares and after putting together a small quilt, some of the leftover pieces were pretty small.
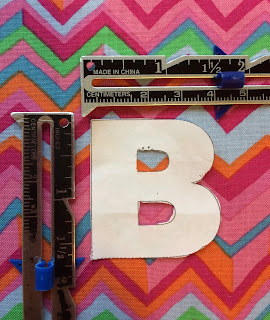
I finally decided to make a fabric alphabet after finding a source for free letter patterns on the website chezbeeperbebe.blogspot.com. Each of the letters is under 2" square and I thought I could use almost all of my scraps. |
| Letter size |
 |
| Some letters ended up with partially sewn edges |
 |
| A-Z in fantastic fabrics |
When I finished those 26 letters though, I decided I may want to actually use these letters for a toy for my nieces. They're not ready to read or spell yet, but I think they may have fun playing with the letters in the future. To extend the range of words one could spell with this letter set, I decided to use all of the remaining scraps to make as many letter doubles as I could. There weren't enough scraps for a full second alphabet, but I ended up adding 14 doubles. As you can see from the first pic in this post, I played around with various phrases to see what letters would be most helpful. Yes, I did get a second "S" made after the creative spelling in that pic.
This was a fun and relatively quick project. I'd be willing to try it again when I have a good collection of scraps calling out to be put into service.


No comments:
Post a Comment