 |
| Starting with a table cloth |
This fabric came to me in the form of a table cloth. It was picked up at either an estate sale, garage sale, or flea market or a very budget friendly price. From the start I knew it would be a refashioning project. In August of 2018 I started to make it into a circle skirt. I wasn't working from a pattern though and when I got to the waistband it was a bit overwhelming to try to get a good fit. The entire project was set aside until March 2019 when I pulled this fabric back out and decided to recut the pieces into a shirt.
 |
| Beginning the skirt to shirt conversion |
There wasn't much extra fabric and I could not be very particular about layout and pattern matching. I did manage to use the already sewn hem for the bottom of the front and back panels, and it looks like there is an extra panel on the sides under the arms, but that was just a seam already made in the skirt.
 |
| 100% cotton |
 |
| Very tight fit when laying out the pieces |
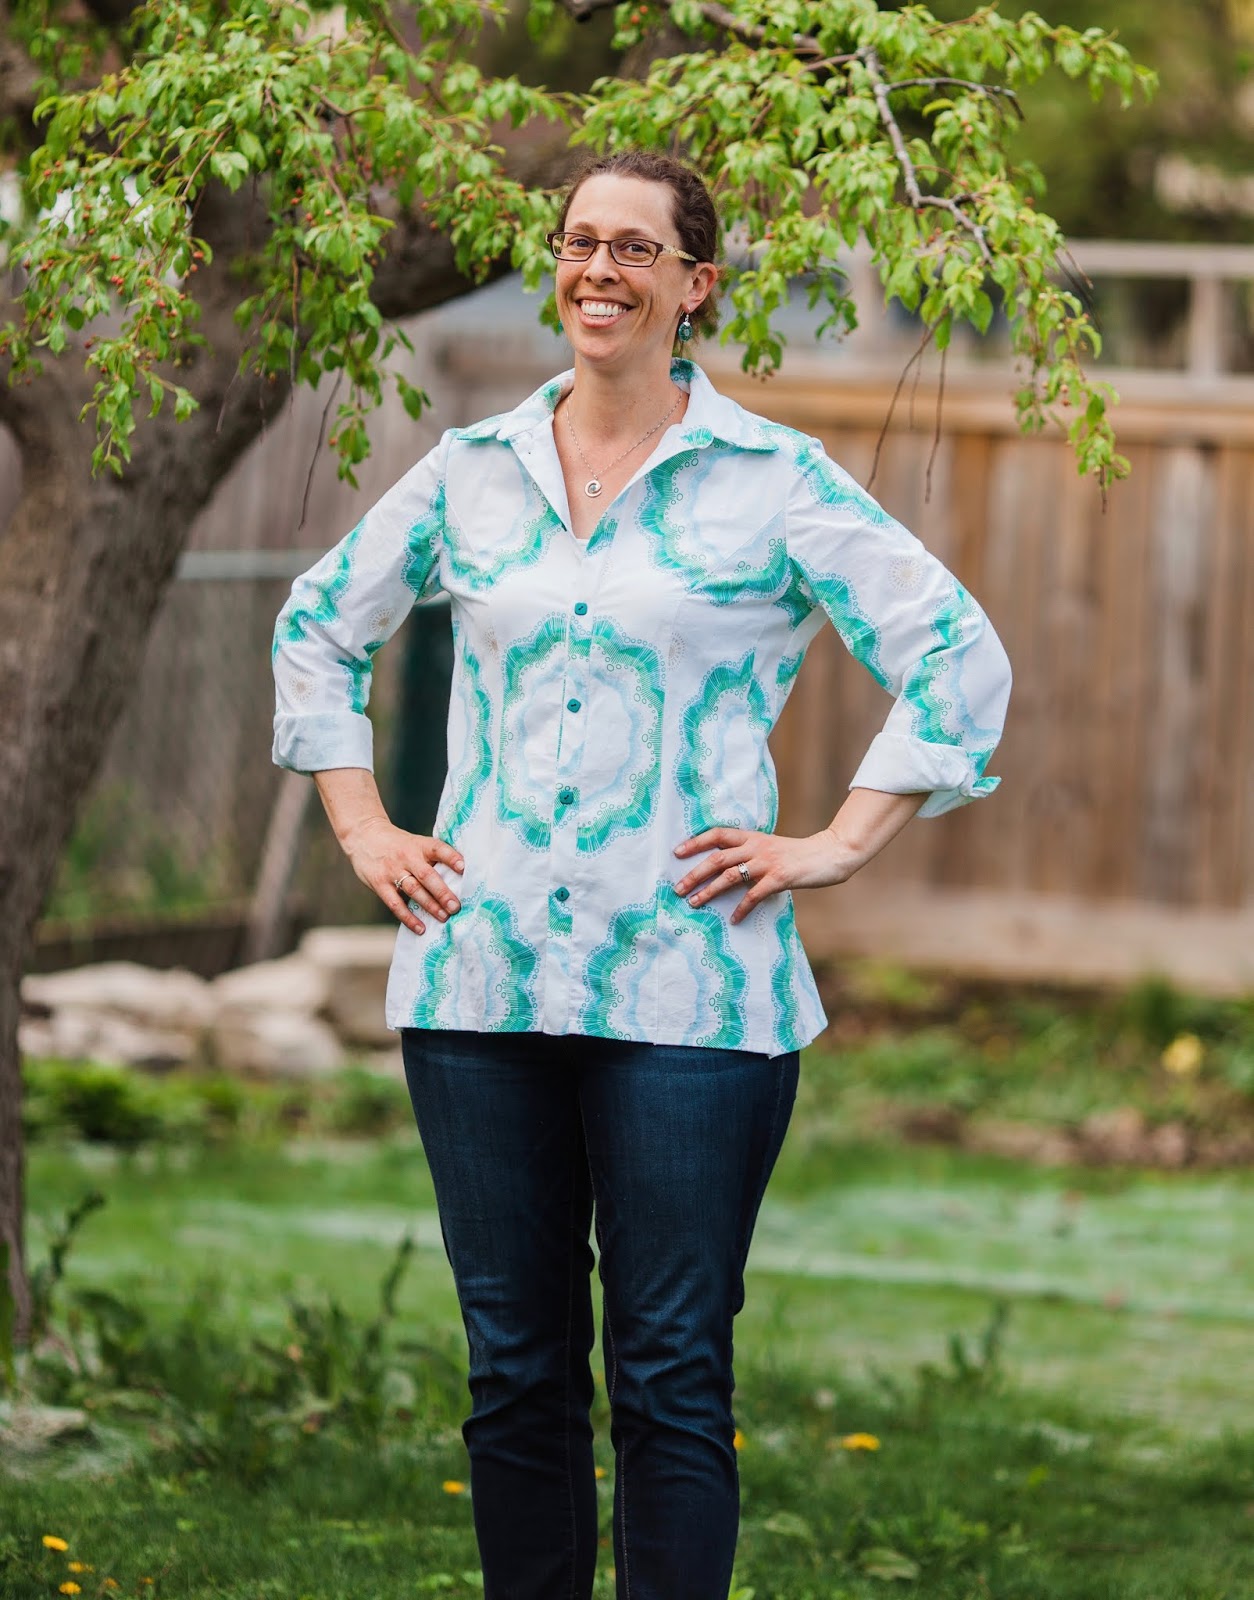
It was the second time I had sewn up this pattern and it went a bit quicker this time. I practiced using french seams on the sides, shoulders, and sleeves, and I didn't have to do my own hem. The shirt was sewn on my Bernina 1230 and top-stitched on the Bernina 717. When I stood back to admire the shirt on the dress form, I noticed that the patterns showing on the right and left front openings were very different. On one, I had managed to get mostly the white background and the other had more of the green and blue. Even though the flower patterns didn't line up exactly and it meant that I would have to button my shirt from the wrong side, I chose to keep the more colorful band on the top.
 |
| Colorful button band on top |
Next, I came to the conclusion that I really do need to expand my button collection. There have been a couple projects in a row now where progress has come to a standstill while I source buttons. This time I checked Joann and then Vogue. There was nothing at Joann, but Vogue had a couple of options. I tried out 4 different types and settled on the ones in the top of the picture. I took the last 13 buttons they had and paid less for them than I did for the fabric. This refashion came in at just under $5 total. That is a win in my book.
 |
| Checking size, color, price |
The buttonholes were done on the Singer 201 with the attachment. Since I added length to the pattern, the suggested button placements one the front opening had to be adjusted. I didn't put one up at the collar and six were spaced out nicely on the rest of the band.
 |
| Button placement |
 |
| Buttonhole before trimming |
It took two evening to get the buttonholes made and trimmed and the buttons sewn on. Every time I sat down to work, I ended up with a fur baby in my lap. I could only access a few inches of my project at a given time.
 |
| Stewie claimed the lap this time |
I'm going to blame cat distractions for my sleeve cuff errors as well. Of course, I didn't notice until both buttonholes were completed and the buttons were sewn on that they both overlap going forwards instead of backwards. I made this same mistake before on a shirt a couple years ago, but I didn't change it then and I'm not going to now. I know I can live with this imperfection.
 |
| Backwards opening sleeve cuff |
The collar looks fairly balanced with the fabric pattern and two-thirds of the back is fabric matched. The panel pattern on the right is a bit off, but at least there was enough fabric to make a panel
 |
| No button at very top, I'd never button it anyway |
 |
| Panel on right side is doing its own thing |
Pictures from the neighbor's back yard. Their crab apple tree will be blooming soon.


No comments:
Post a Comment