 |
| Marie Jacket |
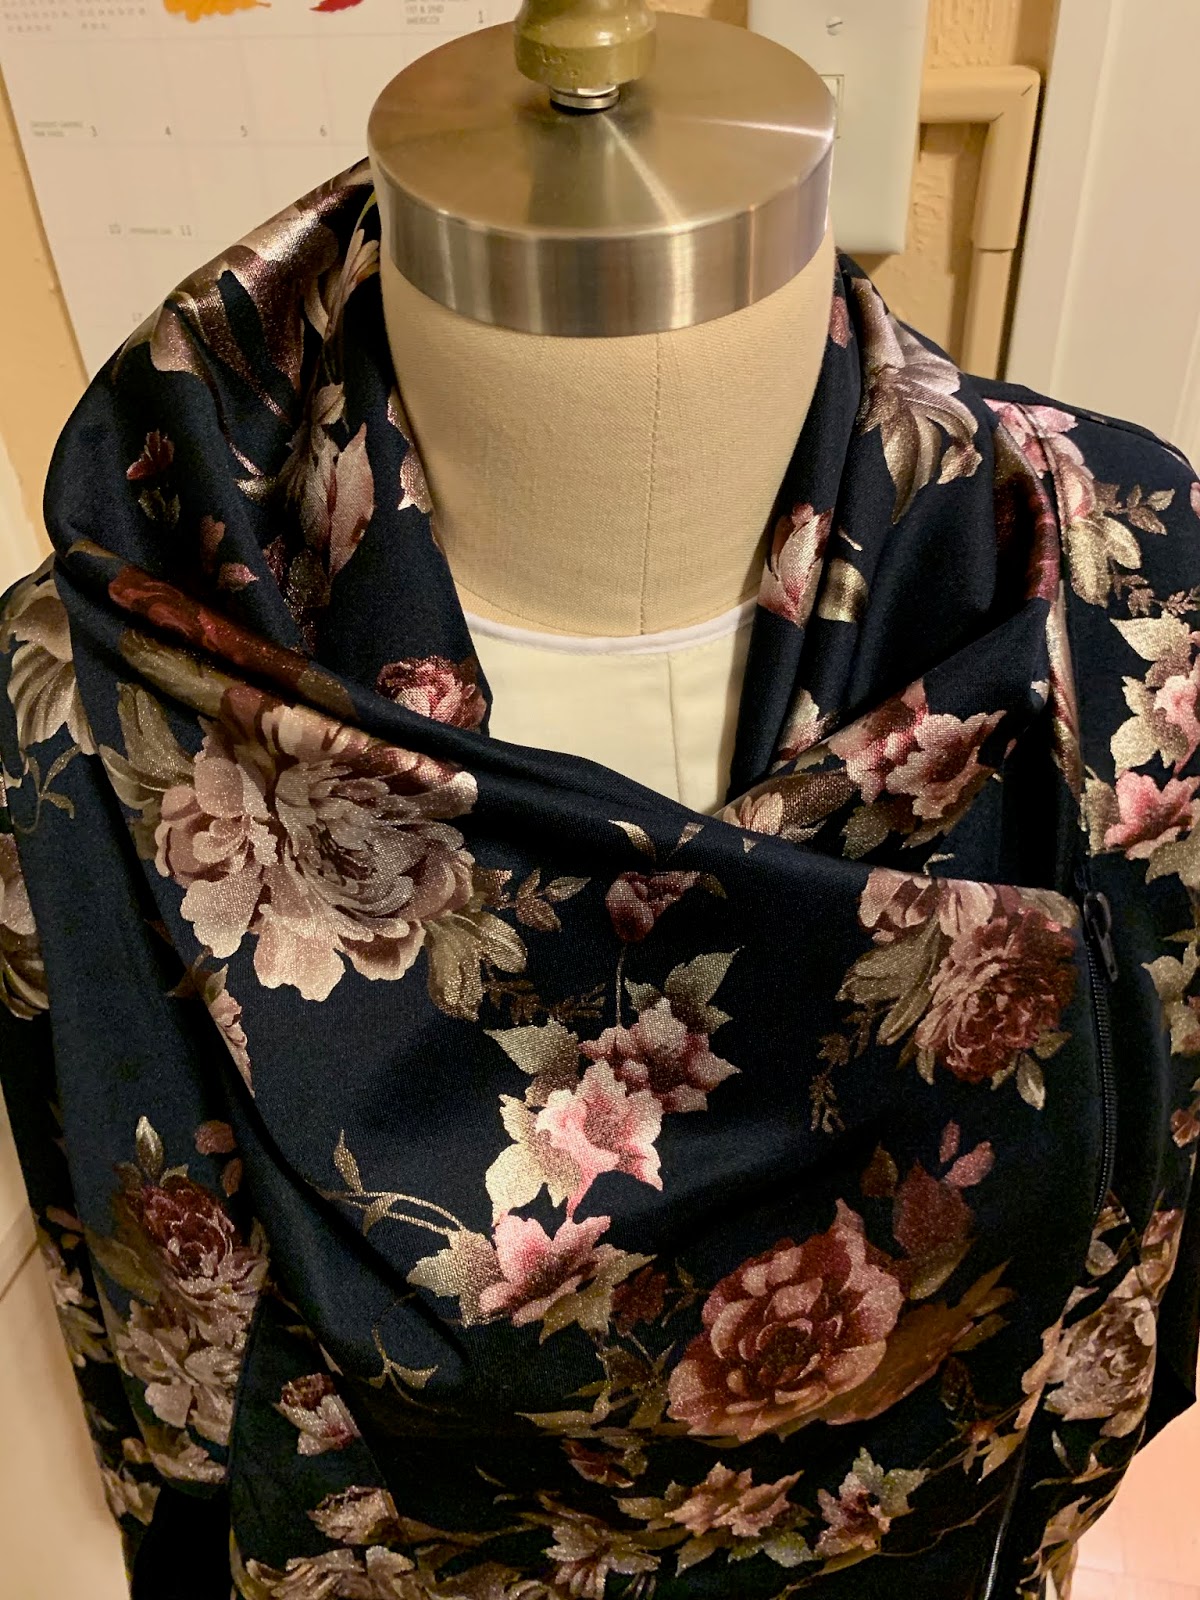
The fabric is a shiny floral ponte from Joann's. I think I bought it last year and was planning to make a dress, but then decided it would get worn more often as a jacket.
I made this pattern a year ago with purple knit I got from Ginny's in Rochester. That first jacket fit a bit tighter than this version, but I found that I wore it regularly and wanted to try the pattern again. The Style Arc pattern, Marie, is one of mom's and I borrowed it to trace out and sew up a size 14. The first time I made this jacket, I had trouble following the sewing directions and I ended up making myself a post-it note with reminders on it in case I used the pattern again. These reminders came from blogs and pattern reviews that I had read while researching this pattern and from my own errors while assembling the jacket the first time. For example,
I remember having to take out and reset the zipper on the first jacket and then deciding it was just going to stay 'a bit wrong' after the second attempt. The notes were handy the second time around and I was glad I had taken time to write then down.
The sleeves on my original jacket were too short, so I lengthened them 2" before cutting this time. That's the only change I made to the pattern. I didn't have quite enough of the floral ponte, so I had to get creative with the layout. One of the back pieces has part of the selvedge in it and that's visible along the center back seam. Not a worry for me though, it just ensures that no one else will have a jacket like mine. I also made no attempt at pattern alignment. There was little-to-no spacing between pattern pieces so flower placement was not a consideration.
 |
| It was a tight fit with the pattern pieces |
I used my Bernina 1230 and my Bernette 34D serger to sew this jacket. The sewing machine had navy thread and the serger had black thread. Both machines handled the fabric well.
 |
| Serged yoke and center back seam |
 |
| Top-stitched yoke seam |
The zipper is from Vogue Fabrics. I had cut out the jacket and was already sewing it together when I realized I didn't have a compatible zipper. My only options at home were short invisible zippers or a white separating zipper. Vogue does not keep a very wide selection of zippers in their Evanston store these days. The pattern called for a 17" separating zipper, but I went with a navy blue 18" as it was the only one I could find. Knowing that I had to do the zipper twice on my first jacket, I took extra time to set this one in and I'm pleased with how it turned out. It is top-stitched to hold the seam flat.
One note I gave myself last time was to set the sleeves in flat and I did that again this time. They went in easily and those seams were finished with the serger. I think this helps avoid extra bulk around the shoulders and under the arms. Another note I had was to make sure the zipper did not extend into the hem and I double-checked the placement before sewing in the facing.
 |
| Facing on the neckline |
 |
| Before side and sleeve seams are in |
After sewing in the facing, I flipped it right-side out to check flower placement. It looked like the two big pink flowers would be in the center, not on my chest, so I was happy with that placement.
 |
| Back and sleeve length are good |
I have worn this jacket several times already and never got around to putting in a snap or hook and eye inside to hold the flap under the zipper closed. Currently, a safety pin is employed when needed and I'm not in a hurry to upgrade that fastener.
 |
| Hangs nicely when front is left open |
 |
| Back seam is visible with selvedge |
This is a very comfortable top and I'm sure I will make it again with other fabrics.


No comments:
Post a Comment